
Crafting a hearty chili at home starts with sautéing aromatic onions and garlic to build a flavorful base. Next, you'll add drained and rinsed beans, along with diced tomatoes, simmering the mixture to achieve the signature chili consistency. Don't forget to season with a blend of spices like chili powder, cumin, and oregano, adjusting to your personal taste preferences. Top your masterpiece with shredded cheese, sour cream, diced onions, and fresh cilantro for a complete sensory experience. Chili-making is an art of exploration, so don't be afraid to get creative – your taste buds will thank you.
Key Takeaways
- Sauté aromatics like onions and garlic to establish a flavorful base for the chili.
- Add beans and diced tomatoes to create the signature texture and consistency of the dish.
- Simmer the chili for 10-15 minutes to allow the spices to infuse and the flavors to meld.
- Adjust the seasoning with common spices like chili powder, cumin, oregano, paprika, and cayenne to achieve the desired flavor profile.
- Top the chili with a variety of garnishes, such as shredded cheese, sour cream, diced onions, and fresh cilantro, to enhance the overall eating experience.
History
The origins of chili can be traced back to the indigenous cuisines of Mexico, where the spicy stew was a staple in the diets of ancient Mesoamerican civilizations.
These early versions of chili often featured a blend of dried chili peppers, tomatoes, onions, and various spices, simmered together to create a rich and flavorful dish.
As Spanish conquistadors arrived in the region, they were introduced to this captivating culinary creation and brought it back to Europe, where it gradually gained popularity and evolved over time.
Today, chili has become a beloved comfort food around the world, with countless regional variations and personal interpretations.
From the iconic Texas-style chili to the vegetarian-friendly versions, this versatile dish has firmly cemented its place in the pantheon of great global cuisines.
The enduring legacy of chili is a testament to the ingenuity and diversity of human culinary traditions.
Recipe

Chili is a beloved comfort food that warms the soul and satisfies the appetite. This hearty recipe is a classic that combines a blend of spices, vegetables, and protein for a delicious and satisfying meal.
The key to a great chili lies in the layers of flavor. By simmering the ingredients together, the individual tastes meld and create a harmonious dish that's both savory and slightly spicy. Whether you enjoy it on its own or topped with your favorite toppings, this chili is sure to become a new family favorite.
Ingredients:
- 1 pound ground beef
- 1 large onion, diced
- 3 cloves garlic, minced
- 2 tablespoons chili powder
- 1 tablespoon ground cumin
- 1 teaspoon dried oregano
- 1 teaspoon salt
- 1/2 teaspoon black pepper
- 1 (15 oz) can diced tomatoes
- 1 (15 oz) can kidney beans, drained and rinsed
- 1 (15 oz) can pinto beans, drained and rinsed
- 1 cup beef broth
In a large pot or Dutch oven, cook the ground beef over medium-high heat until browned and crumbled. Drain any excess fat.
Add the onion and garlic, and sauté until the onion is translucent, about 5 minutes. Stir in the chili powder, cumin, oregano, salt, and pepper, and cook for an additional minute to toast the spices.
Pour in the diced tomatoes, kidney beans, pinto beans, and beef broth. Bring the mixture to a boil, then reduce the heat and let it simmer for 30-45 minutes, stirring occasionally, until the flavors have combined and the chili has thickened to your desired consistency.
For best results, let the chili sit for 10-15 minutes before serving to allow the flavors to meld further.
Top with your favorite toppings, such as shredded cheese, sour cream, diced onions, or crushed tortilla chips. Enjoy! You can also add a squeeze of fresh lime juice or a sprinkle of chopped cilantro for an extra burst of flavor. If you have leftovers, they can easily be repurposed to make delicious enchiladas at home for a quick and satisfying meal the next day. Get creative with your toppings and sides to customize the dish to your taste!
Cooking Steps

Sauté the aromatic vegetables like onions, garlic, and spices in a large pot until they're fragrant and softened.
Next, stir in the beans and diced tomatoes, then let the chili simmer for 30-45 minutes, allowing the flavors to meld together.
Step 1. Sauté Aromatics Until Fragrant
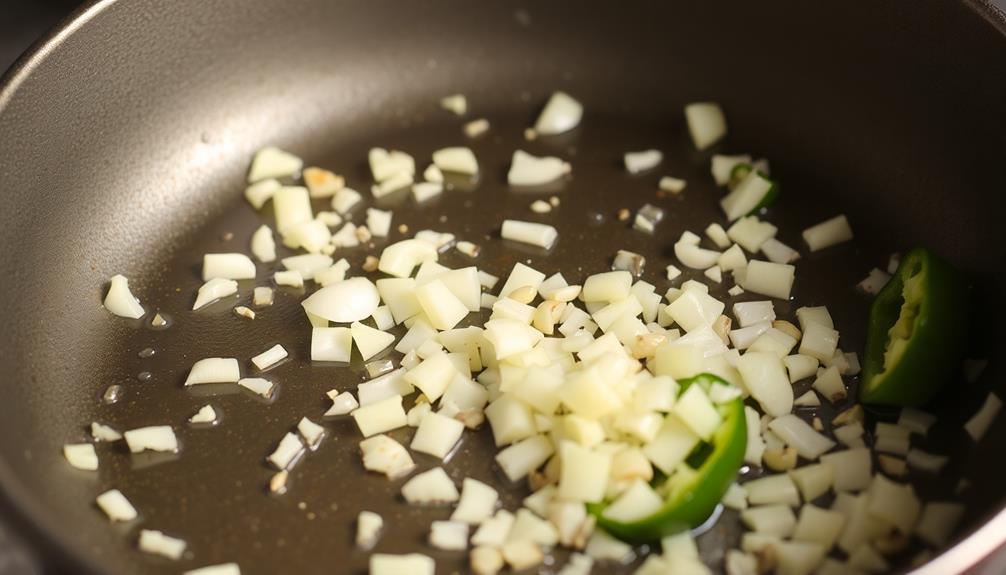
Once you have your ingredients prepped, sauté the aromatics in a large pot or Dutch oven over medium heat.
You'll want to start with the onions, cooking them for 3-5 minutes until they're translucent and fragrant. Next, add the garlic and continue sautéing for another minute or two, being careful not to let the garlic burn.
Onions and garlic form the flavor foundation for your chili, so it's important to take the time to properly sauté them.
You'll know they're ready when the kitchen is filled with that mouthwatering aroma. Resist the urge to rush this step – the better you sauté the aromatics, the more depth of flavor you'll achieve in the final dish.
Once the onions and garlic are perfectly sautéed, you can move on to adding the remaining chili ingredients.
This crucial first step sets you up for success in crafting a hearty, flavorful chili that's sure to impress.
Step 2. Add Beans and Tomatoes

With the aromatics now sautéed to perfection, it's time to add the beans and tomatoes. This is a crucial step in building the hearty, robust flavor of your chili.
First, add the canned beans to the pot. You can use a variety of beans like kidney, pinto, or black beans – just make sure to drain and rinse them first. The beans will lend a satisfying texture and heartiness to your chili.
Next, pour in the diced tomatoes. Fresh, canned, or even fire-roasted tomatoes will work well. The tomatoes will provide acidity and juiciness to balance out the other ingredients. Be sure to also add the juices from the can for maximum tomato flavor.
Gently stir the beans and tomatoes into the sautéed aromatics. Allow the mixture to simmer for 10-15 minutes, letting the flavors meld together.
This allows the beans to soften and the tomatoes to break down, creating the signature chili consistency you're after.
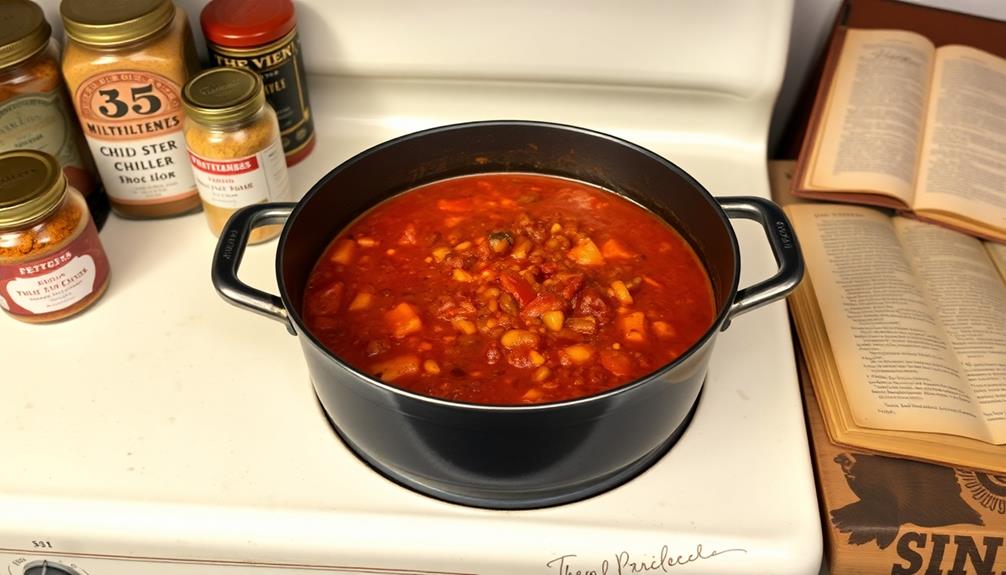
Step 3. Simmer Chili Until Flavors Meld

Next, let's simmer the chili for 10-15 minutes to allow the flavors to fully meld together. This crucial step allows the individual ingredients to harmonize, creating a richly textured and deeply satisfying dish.
As the chili simmers, the spices will infuse the beans and tomatoes, while the meat tenderizes and the whole mixture develops a more cohesive, well-rounded flavor profile.
During this time, feel free to give the chili an occasional gentle stir to ensure even cooking. You'll know the chili is ready when it has thickened to your desired consistency and the flavors have fully integrated.
Don't be tempted to rush this process – the slow, gentle simmering is what transforms a good chili into a great one.
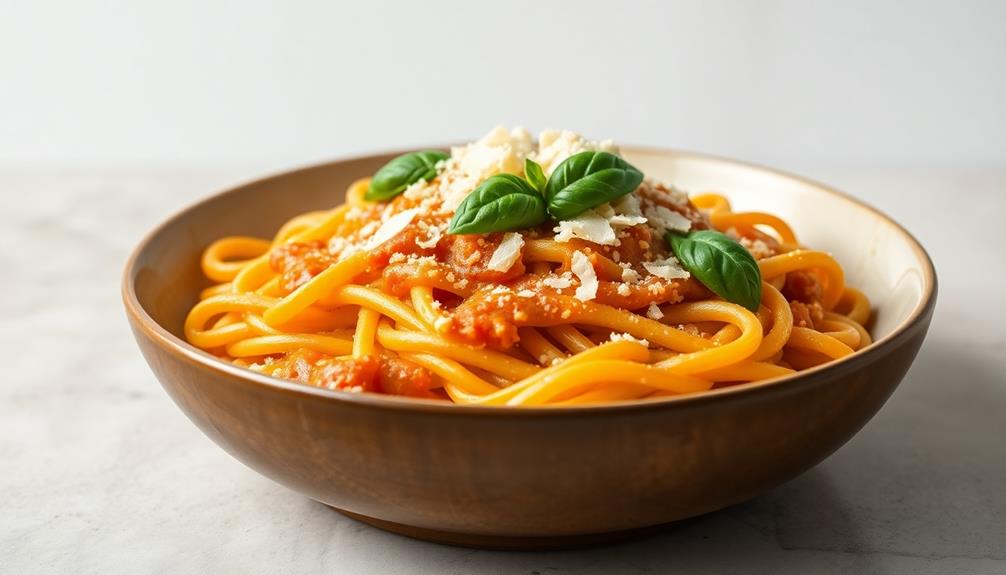
Once the flavors have melded, your hearty chili is ready to serve. Ladle it into bowls and top with your favorite garnishes, such as shredded cheese, diced onions, or a dollop of sour cream.
Enjoy this comforting and satisfying dish with family and friends.
Step 4. Stir in Desired Seasonings
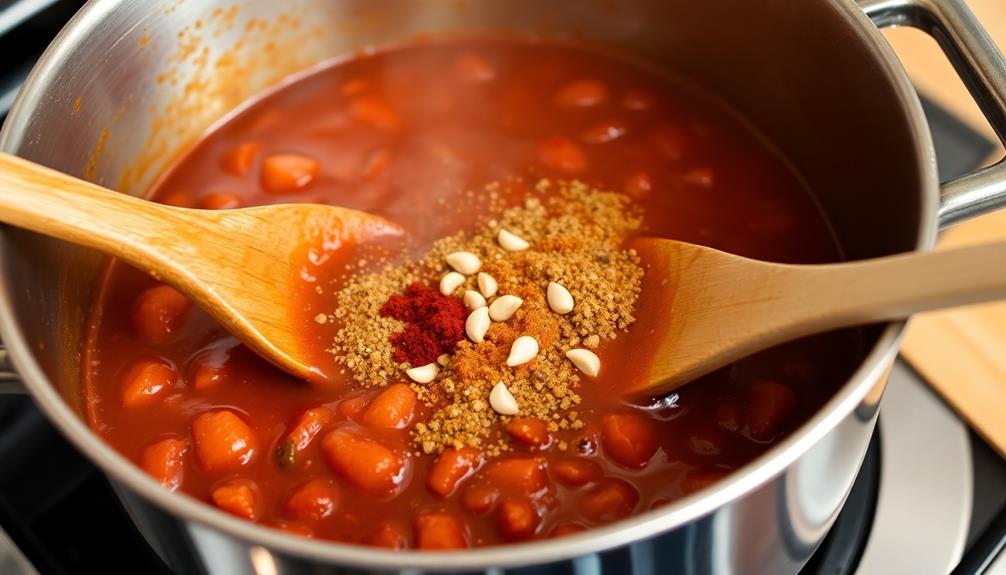
After the chili has simmered and the flavors have melded, it's time to add any final seasonings to taste. This is where you can really make the chili your own by adjusting the spice level and depth of flavor.
First, consider the spices you'd like to add. Common options include:
- Chili powder: Adds a classic chili flavor and heat.
- Cumin: Provides an earthy, smoky note.
- Oregano: Lends an herbal undertone.
- Paprika: Brings a mild, slightly sweet flavor.
- Cayenne pepper: Increases the heat level.
Stir in the seasonings a little at a time, tasting as you go. This allows you to achieve the perfect balance of flavors to suit your personal preferences.
Don't be afraid to experiment – the beauty of homemade chili is that you can tailor it to your taste buds. Once the seasoning is just right, let the chili simmer for an additional 10-15 minutes to allow the flavors to fully incorporate.
Serve hot and enjoy!
Step 5. Garnish With Desired Toppings

Once the chili has reached the desired flavor profile, it's time to top it off with your favorite garnishes. Chili is a versatile dish that can be customized to suit your personal tastes, and the toppings you choose can really make it your own.
Some classic chili garnishes include:
- Shredded cheese: A sprinkle of cheddar, Monterey Jack, or a Mexican cheese blend adds a creamy, melty touch.
- Sour cream: A cool, tangy dollop of sour cream helps balance the heat of the chili.
- Diced onions: Fresh, crisp onions provide a nice crunch and subtle flavor.
- Chopped cilantro: For a burst of freshness, top your chili with fragrant, herbaceous cilantro.
- Sliced jalapeños: For the spice lovers, these add an extra kick of heat.
- Crushed tortilla chips: The crunch of tortilla chips complements the hearty texture of the chili.
Experiment with different combinations of toppings to find your perfect chili experience. The possibilities are endless, so get creative and enjoy! You might be surprised by how unconventional pairings can elevate the dish, like adding a dollop of guacamole or even a hint of tangy slaw. For a unique twist, try incorporating a spoonful of a **classic tartar sauce recipe** for a creamy, zesty contrast to the heat of the chili. Whatever toppings you choose, let your taste buds guide the way!
Final Thoughts

Chili-making is an art form that rewards experimentation and personal touch. As you've seen, there's no single "right" way to make the perfect chili. The beauty lies in finding the flavors and textures that speak to your unique tastes.
Don't be afraid to switch up the spices, vegetables, or protein to suit your preferences. With practice, you'll develop an instinct for balancing the heat, acidity, and richness. Always taste and adjust as you go – that's how you'll land on a recipe that's truly your own.
And don't forget the joy of topping your creation. Shredded cheese, diced onions, sour cream – these simple garnishes can elevate your chili to new heights.
Ultimately, the most important ingredient is passion. Approach each batch with enthusiasm and an open mind. The result will be a hearty, flavorful chili that warms both your belly and your heart.
Frequently Asked Questions
Can I Use Ground Beef Instead of Ground Turkey?
You can absolutely use ground beef instead of ground turkey. Ground beef will give your chili a richer, heartier flavor compared to turkey. Just be sure to adjust the cooking time as needed to fully cook the beef.
How Long Can I Keep Leftover Chili in the Fridge?
You can keep leftover chili in the fridge for 3-4 days. Make sure to store it in an airtight container, and reheat it thoroughly before serving. This will help maintain the flavors and prevent any bacterial growth.
Is It Possible to Make Chili in a Slow Cooker?
Absolutely! Slow cookers are perfect for making chili. Just add the ingredients, set it and forget it. The long, slow simmer allows the flavors to meld, resulting in a rich, hearty chili that's easy to prepare.
Can I Make the Chili Spicier by Adding More Chili Powder?
Yes, you can make your chili spicier by adding more chili powder. Start with a small amount and gradually increase it until you reach your desired level of heat. Be careful not to overdo it, as too much chili powder can overwhelm the other flavors.
Do I Need to Pre-Cook the Beans Before Adding Them to the Chili?
You don't need to pre-cook the beans before adding them to the chili. The beans will cook and soften as the chili simmers. Just be sure to use canned beans or soak dried beans beforehand to speed up the cooking process.