Make delicious donuts at home and delight your family and friends with fresh, customizable treats. The origins trace back to Dutch immigrants introducing oily cakes, which evolved into the iconic ring shape popularized in the late 1800s. With a basic recipe and some overnight proofing, you can craft soft, fluffy donuts and experiment with glazes, sprinkles, and fillings to create unique flavor profiles. Fry the dough until golden, then decorate as desired for a bakery-worthy result. The process offers a rewarding experience, allowing you to hone your baking skills. Continue reading for a step-by-step guide to mastering homemade donuts.
Key Takeaways
- Prepare a homemade donut recipe with basic ingredients like all-purpose flour, sugar, baking powder, salt, milk, egg, butter, and oil.
- Allow the dough to proof overnight for enhanced flavor and texture development.
- Roll out the dough, cut into shapes using a donut cutter, and fry until golden brown.
- Customize donuts with various glazes, toppings, and fillings to impress family and friends.
- Embrace the homemade donut-making process as a rewarding experience, and learn from any initial challenges to achieve bakery-worthy results.

HULISEN Donut Cutter, 3.5 inch Stainless Steel Doughnut Cutter with Soft Grip Handle, and Small Biscuit Cutter, Professional Baking Dough Tools, Gift Package
High Grade Material: Made of stainless steel and soft grip handle, no rust, easy to clean and dishwasher…
As an affiliate, we earn on qualifying purchases.
As an affiliate, we earn on qualifying purchases.
History
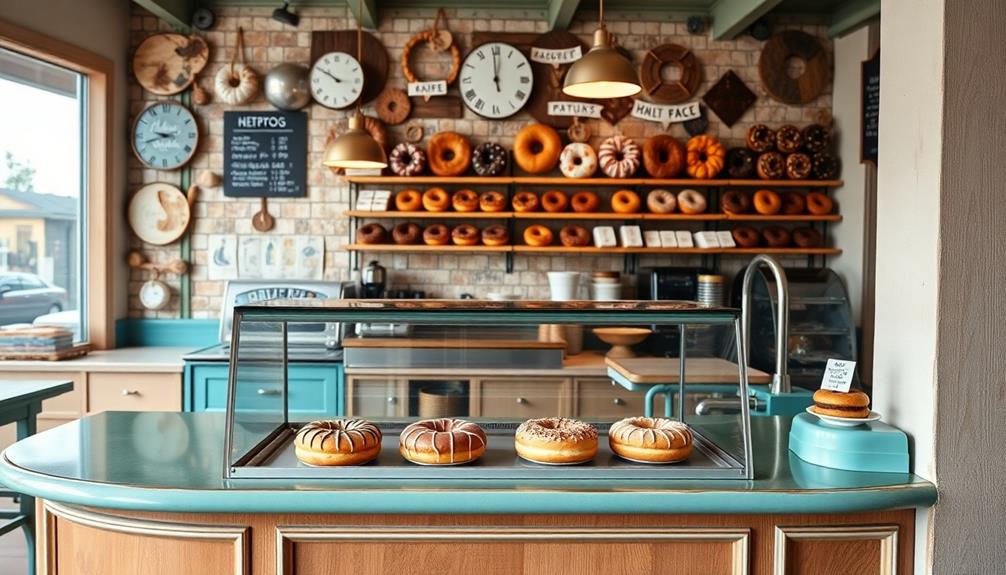
Donuts have a rich and storied history, tracing their origins back to the early 19th century.
These circular treats were first popularized by Dutch immigrants to the United States, who brought their traditional olykoeks, or "oily cakes," with them. These early donuts were made by hand, often fried in pork fat and filled with fruit or nuts.
As the popularity of donuts grew, bakers began to experiment with new shapes and flavors. The familiar ring shape we know today emerged in the late 1800s, when a New England ship captain's mother, Elizabeth Gregory, allegedly cut a hole in the center of her fried cakes to ensure even cooking.
This innovation led to the development of the donut as we recognize it today.
Donuts continued to evolve, with the introduction of mechanical donut machines in the early 1920s, allowing for mass production and greater consistency.
Today, donuts remain a beloved treat, enjoyed by people of all ages around the world.
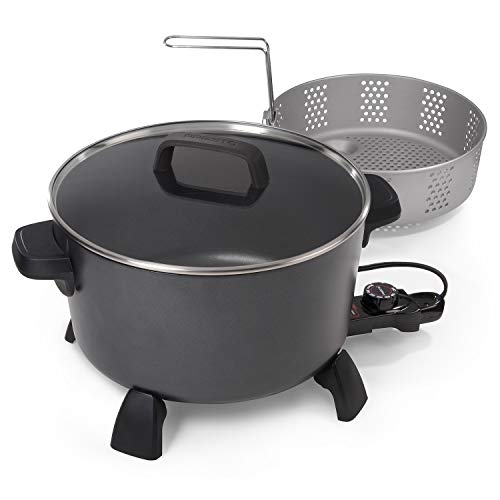
Presto 06009 10-Quart Kitchen Kettle XL Multi-Cooker, Steamer and Deep Fryer, Black
PFAS-free ceramic nonstick finish, inside and out
As an affiliate, we earn on qualifying purchases.
As an affiliate, we earn on qualifying purchases.
Recipe
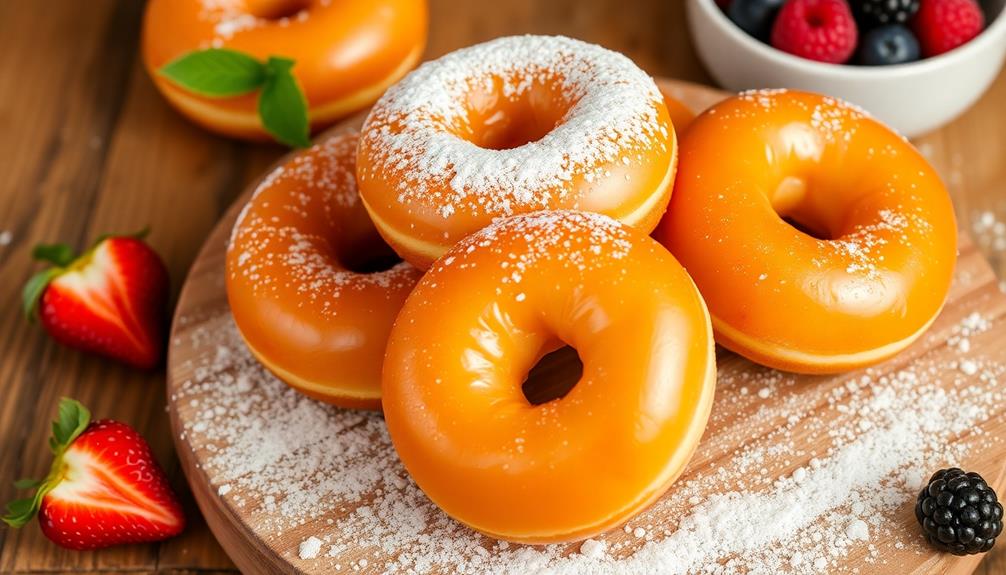
Homemade donuts are a delightful treat that can be enjoyed any time of the day. They offer a level of freshness and customization that store-bought donuts simply can't match. Whether you're in the mood for a classic glazed donut or something more adventurous, this recipe will guide you through the process of creating delectable donuts in the comfort of your own kitchen.
Baking donuts at home allows you to control the quality of the ingredients and experiment with different flavor profiles. From traditional flavors to unique combinations, the possibilities are endless. With a little time and effort, you can impress your family and friends with your homemade donut creations.
- 2 cups all-purpose flour
- 1/4 cup granulated sugar
- 2 teaspoons baking powder
- 1/2 teaspoon salt
- 1/3 cup milk
- 1 egg
- 2 tablespoons unsalted butter, melted
- Vegetable oil for frying
Preheat the oil in a deep fryer or heavy-bottomed pot to 350°F. In a large mixing bowl, combine the flour, sugar, baking powder, and salt. In a separate bowl, whisk together the milk, egg, and melted butter. Gradually incorporate the wet ingredients into the dry ingredients, mixing until a smooth dough forms.
Roll out the dough on a lightly floured surface to about 1/2-inch thickness. Use a donut cutter or two different sized round cookie cutters to cut out the donut shapes. Carefully lower the donuts into the hot oil and fry for 1-2 minutes per side, or until golden brown. Drain the donuts on a paper towel-lined plate and allow to cool slightly before glazing or coating with desired toppings.
When frying the donuts, it's important to maintain the oil temperature and not overcrowd the pot. This will ensure an even and crisp exterior. Additionally, you can experiment with various glazes, sprinkles, or fillings to customize your donuts to your taste preferences.

Ultimate Baker UltraGlaze Powder (14oz) – All-Natural Mirror Glaze for Cakes, Donuts, Pastries & Desserts Tapioca-Based, Gluten-Free, Ready-to-Use Baking Essential (Magic)
1. All-Natural Glaze Made with Tapioca – Formulated with clean, all-natural ingredients including tapioca syrup. Free from GMOs,…
As an affiliate, we earn on qualifying purchases.
As an affiliate, we earn on qualifying purchases.
Cooking Steps
First, you'll need to proof the dough overnight, allowing the yeast to work its magic and the flavors to develop. First, you’ll need to proof the dough overnight, allowing the yeast to work its magic and the flavors to develop. In the morning, you’ll be greeted with a soft, elastic texture that’s ideal for baking. Much like following the perfect sushi rice recipe, where precision and patience are key, giving the dough ample time to rise ensures the best possible result.
Then, roll out the dough and use a cookie cutter or knife to cut it into your desired donut shapes.
Step 1. Proof the Dough Overnight

After mixing the dough, allow it to proof overnight in the refrigerator. This slow, gradual fermentation process allows the yeast to work its magic, developing the dough's flavor and texture. Simply cover the dough with plastic wrap or a damp towel and let it rest for 8-12 hours.
The cold temperature of the fridge slows down the yeast activity, giving you more control over the proofing time. This extended proof results in a deeper, more complex flavor in the final donut. In the morning, the dough will have puffed up and become easier to handle.
- Proofing the dough overnight saves time on the day of frying
- The long fermentation enhances the dough's taste and consistency
- The cooler temperature allows you to proof the dough for longer
Gently punch down the risen dough to release any air bubbles before shaping and frying your homemade donuts.
The slow overnight proof is a key step for achieving light, fluffy, and flavorful donuts right at home.
Step 2. Roll Out the Dough
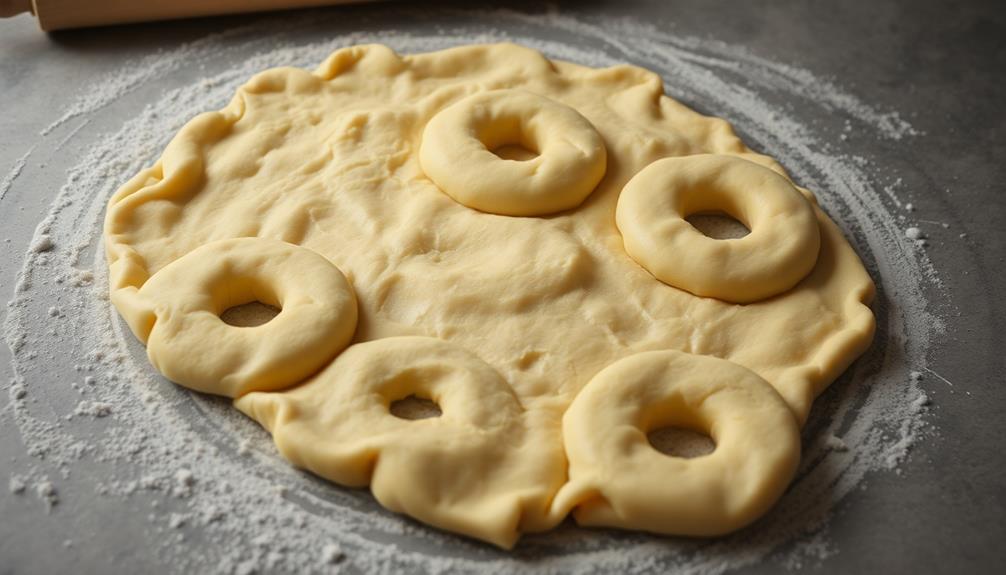
With the dough proofed and ready, it's time to roll it out. Lightly flour a clean, flat surface and begin rolling the dough with a rolling pin. Gently press down and push outwards, creating an even sheet about 1/2-inch thick.
Be careful not to overwork the dough, as this can make the donuts tough.
Once the dough is rolled out, use a donut cutter or biscuit cutter to cut out the donut shapes. Arrange the donut rings on a parchment-lined baking sheet, leaving a bit of space between them.
Gather the dough scraps, re-roll, and cut additional donuts until you've used all the dough.
For the donut holes, simply use a small round cutter or the end of a piping tip. Place the donut holes on the baking sheet as well.
Allow the cut donuts to rest for 10-15 minutes before frying. This brief rest helps them hold their shape better during the cooking process.
Step 3. Cut Dough Into Shapes
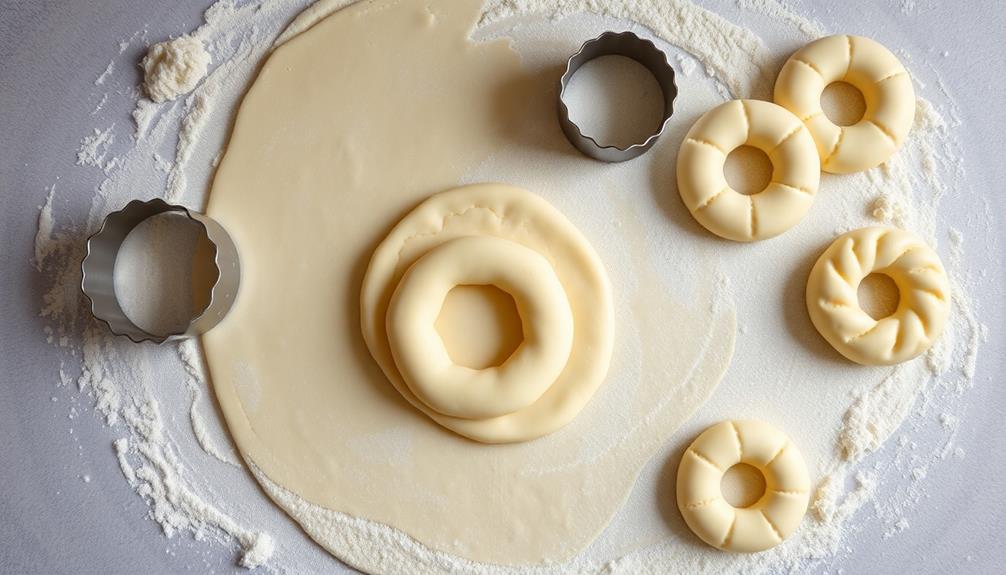
Now that your dough has rested and risen, it's time to shape it into delightful donut forms. Start by lightly flouring your work surface and rolling out the dough to about 1/2-inch thickness.
Using a donut cutter or two differently-sized round cookie cutters, cut out the donut shapes, making sure to cut the center hole as well. Gently transfer the donut shapes to a parchment-lined baking sheet, being careful not to distort their form.
For the donut holes, you can simply use a small round cutter or even a knife to cut them from the centers. Arrange these on the baking sheet too.
If you have any remaining dough scraps, gather and re-roll them to cut out more donuts. Once all your shapes are ready, cover the baking sheet and let the donuts rest for another 15-20 minutes before frying or baking.
This final proofing step will help them achieve a light, fluffy texture.
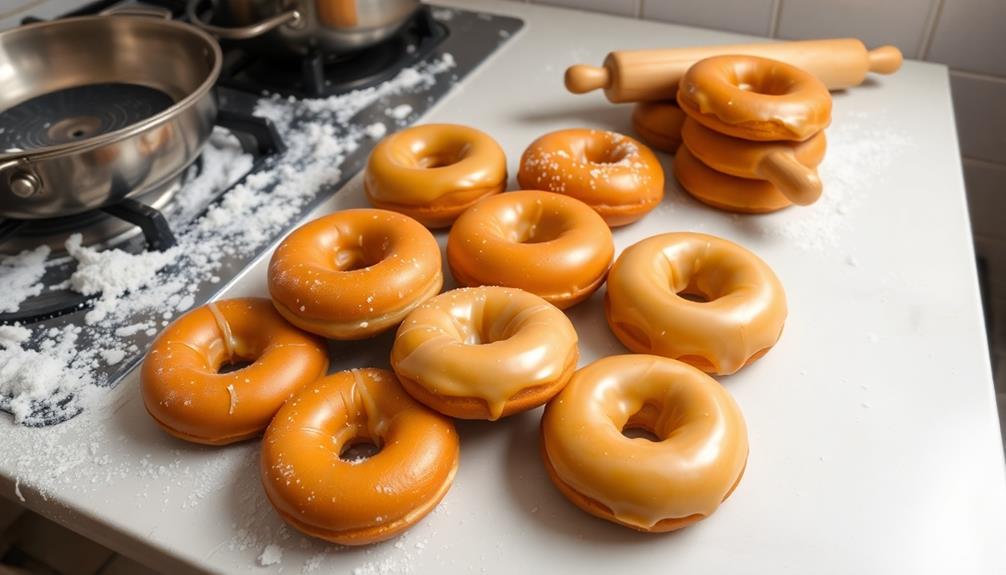
Step 4. Fry the Dough Until Golden
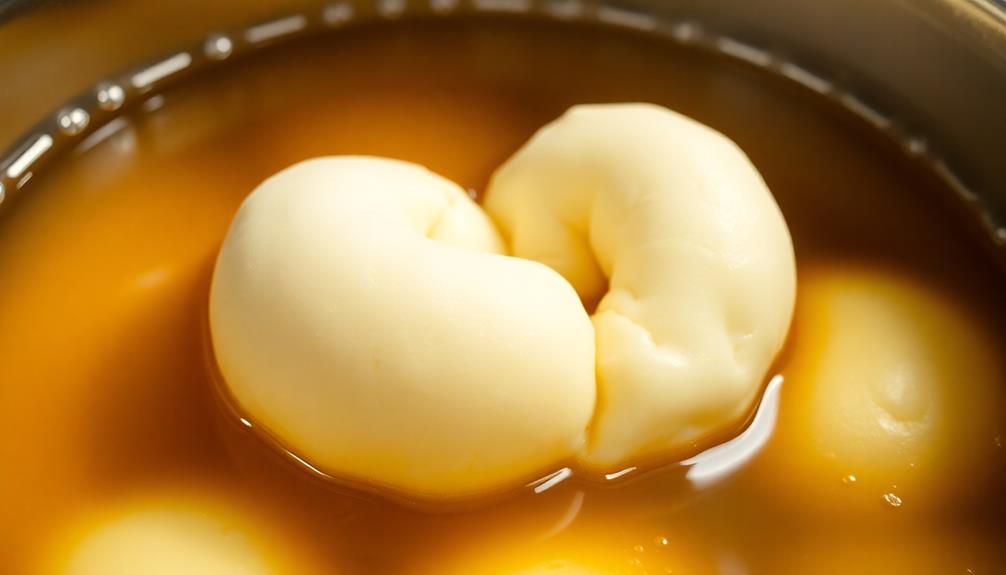
Once the donuts have finished resting, you're ready to fry them. Heat at least 3 inches of oil in a large, heavy-bottomed pot or Dutch oven to 350°F. Use a deep-fry or candy thermometer to monitor the temperature, as it's crucial to maintain this ideal frying temperature.
When the oil is ready, gently lower the shaped dough into the hot oil using a slotted spoon or spider strainer. Fry the donuts for 1-2 minutes per side, flipping occasionally, until they're a beautiful golden brown.
Be careful not to overcrowd the pot, as this can cause the oil temperature to drop. Drain the fried donuts on a paper towel-lined plate or wire rack to remove any excess oil.
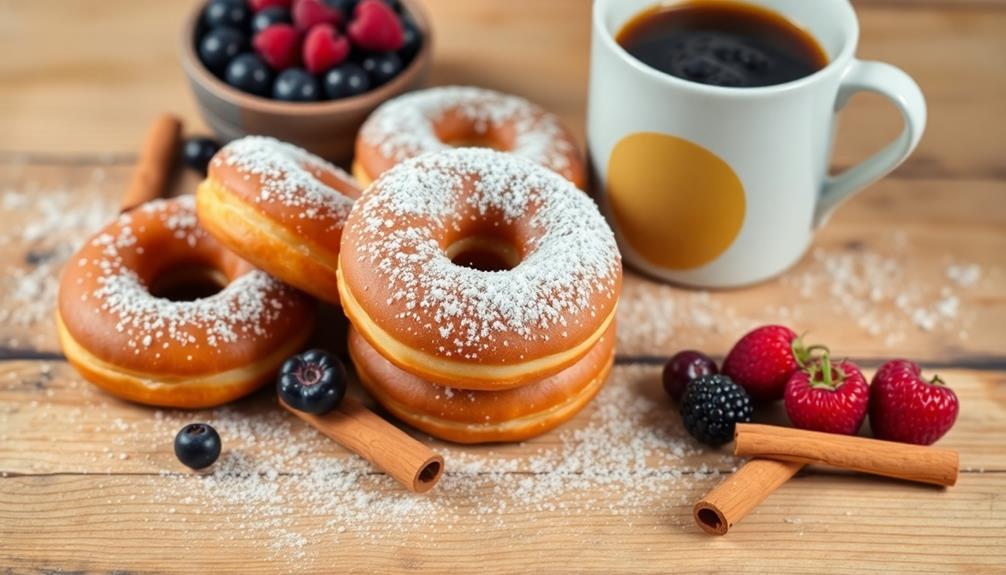
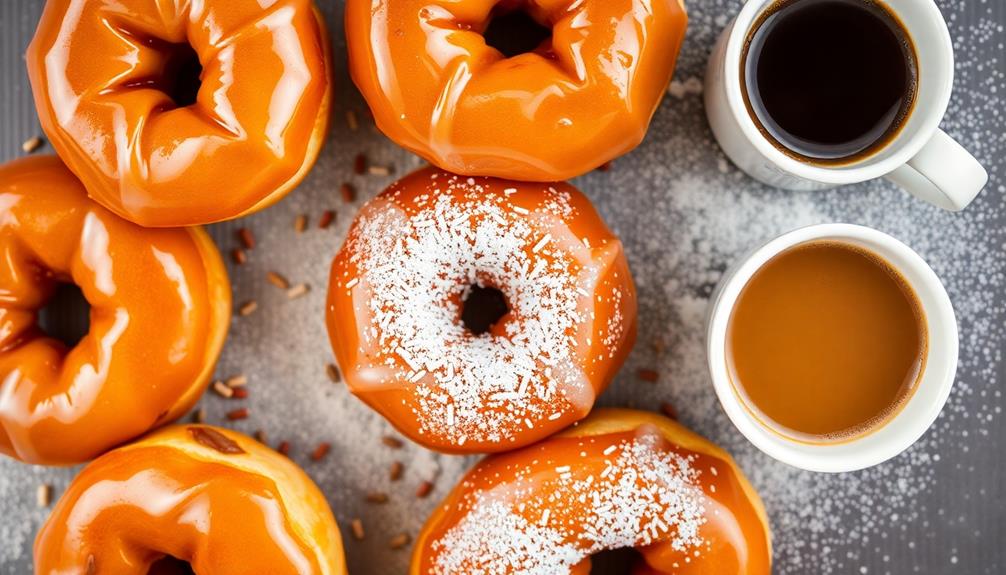
While still warm, you can toss them in cinnamon-sugar or your desired coating. Serve the freshly fried, crisp-on-the-outside, and soft-on-the-inside donuts immediately for the ultimate homemade treat. Pair these indulgent donuts with a cup of coffee or a smoothie for a delightful morning treat. If you’re looking for a lighter option to balance out the sweetness, try starting your day with a **healthy breakfast oatmeal recipe** packed with fruits and nuts. That way, you can enjoy both a nutritious and delicious start to your morning! For an added twist, you could even serve your donuts alongside a side of fresh fruit or yogurt to bring a bit of balance to the richness. Alternatively, explore other **healthy oatmeal breakfast ideas** that incorporate superfoods like chia seeds or flaxseeds for an extra nutrient boost. This way, you can mix indulgence with health-conscious choices, ensuring that your morning routine caters to both your taste buds and your wellness goals!
Step 5. Glaze or Top as Desired
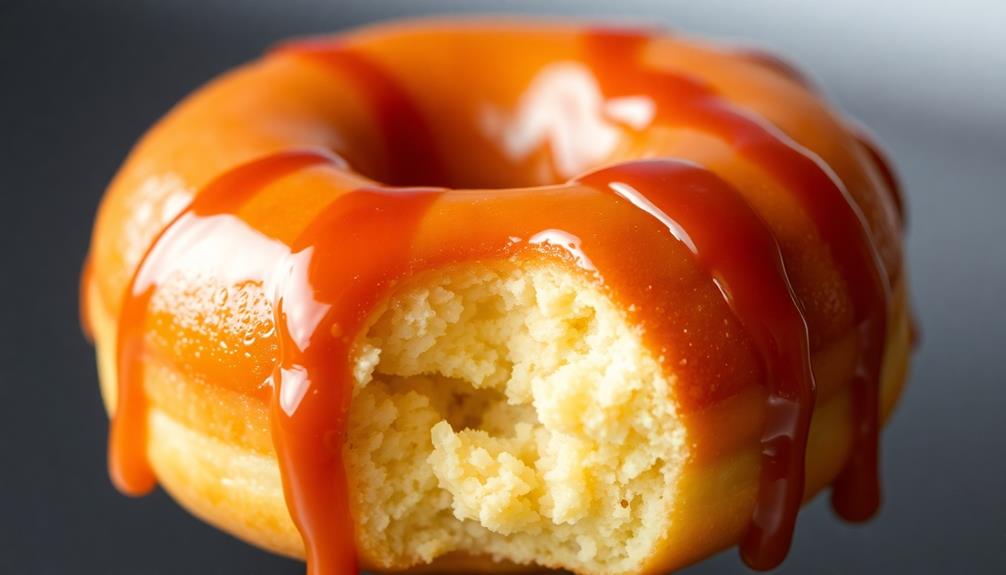
After frying the donuts to perfection, you can glaze or top them as desired. Let your creativity shine and customize each batch to your liking!
For a classic glazed donut, prepare a simple glaze by whisking together powdered sugar, milk, and a touch of vanilla extract. Dip the warm donuts into the glaze, letting the excess drip off before placing them on a wire rack to set.
Adding nutritional benefits like chia seeds to your donut batter can enhance their health profile, making them a delightful treat that also supports digestive health.
Alternatively, you can top your donuts with a variety of toppings:
- Sprinkle with cinnamon-sugar for a timeless treat.
- Drizzle with melted chocolate or caramel for an indulgent finish.
- Coat in crushed nuts, sprinkles, or coconut for a crunchy topping.
- Get creative with fruit compotes, crumbled cookies, or even crushed candy.
The possibilities are endless! Have fun experimenting and find your family's favorite donut customizations.

6 PCS Cream Icing Piping Nozzle Tip Stainless Steel Long Cream Puff Piping Tips Cake Decorating Tools Multipurpose Pastry Piping for Small Pastries Puffs Cupcakes Filling Donuts Other Pastries
【PROFESSIONAL CAKE LCING NOZZLE】We provide 6 long cream puff nozzles, 3 large and 3 small, which are enough…
As an affiliate, we earn on qualifying purchases.
As an affiliate, we earn on qualifying purchases.
Final Thoughts
While baking delicious donuts at home may require some effort, the joy of creating these sweet treats from scratch is truly rewarding. From the satisfying smell of freshly fried dough to the pride of glazing and decorating each unique creation, the homemade donut experience is one to savor.
Don't be intimidated by the process – with a bit of practice, you'll be whipping up bakery-worthy donuts in no time. Experiment with different flavor combinations, explore unique toppings, and find your personal donut-making style. The beauty of homemade donuts is that they can be tailored to your exact preferences.
As you continue on your donut-making journey, remember to have fun and embrace the little imperfections. Each batch is an opportunity to learn and improve.
Frequently Asked Questions
Can I Use a Different Type of Flour?
Certainly, you can use a different type of flour. While all-purpose flour is commonly used, you can experiment with whole wheat, gluten-free, or even nut-based flours to create unique textures and flavors in your homemade doughnuts.
How Long Do Homemade Donuts Last?
Homemade donuts typically last 2-3 days at room temperature when stored properly in an airtight container. They'll stay fresh longer if you refrigerate them, but the texture may become a bit denser. Enjoy them as soon as possible for the best flavor and texture.
Can I Freeze the Dough for Later Use?
You can freeze the dough for later use. Freeze the raw dough in an airtight container or plastic bag for up to 2-3 months. When ready to use, thaw it in the refrigerator overnight before frying or baking.
What Equipment Do I Need to Make Donuts?
To make donuts at home, you'll need a few essential pieces of equipment. You'll want a deep fryer or heavy pot for frying, a rolling pin, donut cutter or rings, and a cooling rack. With these basics, you can whip up delicious homemade donuts.
Can I Substitute Any of the Ingredients?
When it comes to substituting ingredients, you've got some flexibility. You can swap out certain things like milk for plant-based milk, or use different types of flour. Just be mindful of how the substitutions might affect the final texture and flavor.