Craving the irresistible aroma and melt-in-your-mouth texture of homemade cookies? Our comprehensive guide delves into the rich history behind these beloved treats, tracing their origins back to ancient civilizations. Discover the secrets to crafting the perfect classic cookie – soft, chewy, and perfectly balanced in sweetness. From mastering the art of creaming butter and sugars to folding in premium chocolate chips, each step is outlined to ensure your baking success. Store these freshly-baked delights in an airtight container, or get creative by customizing the dough with your favorite mix-ins. Keep reading to unlock the full details on this timeless recipe.
Key Takeaways
- A classic cookie recipe that yields soft, chewy cookies with balanced sweetness, featuring essential ingredients like flour, butter, sugars, eggs, and chocolate chips.
- Proper techniques for creaming butter and sugars, gradually mixing in dry ingredients, and folding in chocolate chips to maintain an airy, tender texture.
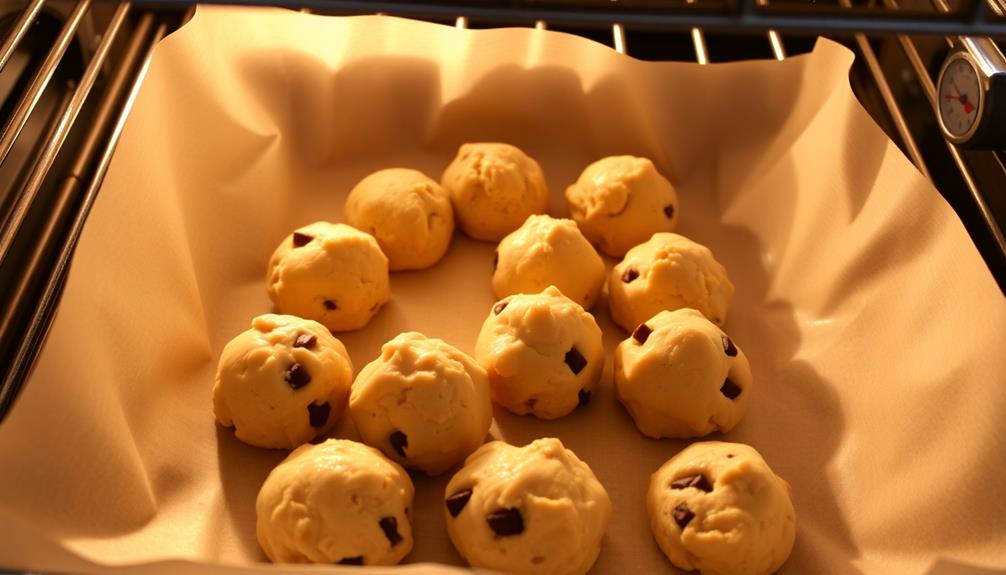
- Importance of preheating the oven to 375°F (190°C) and portioning the dough with proper spacing to achieve the desired texture and even baking.
- Tips for storing cookies in an airtight container to maintain freshness and flavor, and the versatility of the recipe to be customized with various mix-ins.
- The timeless appeal of homemade cookies, which can become a cherished staple in any baking repertoire with the ability to enhance enjoyment through each delicious bite.
Top picks for "deliciou cookie recipe"
Open Amazon search results for this keyword.
As an affiliate, we earn on qualifying purchases.
History
The origins of the beloved cookie can be traced back to ancient civilizations, where the earliest forms of this delectable treat were likely created as a means of preserving surplus grains.
Over time, the cookie evolved, with various cultures and regions developing their own unique recipes and techniques.
In ancient Greece, small, cake-like biscuits were enjoyed as a dessert, while in ancient Rome, cookies were often used as offerings to the gods.
During the Middle Ages, cookies became more widely available, with monasteries and wealthy households producing intricate, ornamental varieties.
As trade routes expanded, the exchange of ingredients and culinary knowledge led to the emergence of more diverse cookie styles.
In the 17th century, the term "cookie" was coined in the Netherlands, referring to the small, flat cakes that had become popular throughout Europe.
The cookie's journey continued, with each era and culture leaving its mark on this beloved confection, shaping the delicious treat we know and love today.
Recipe
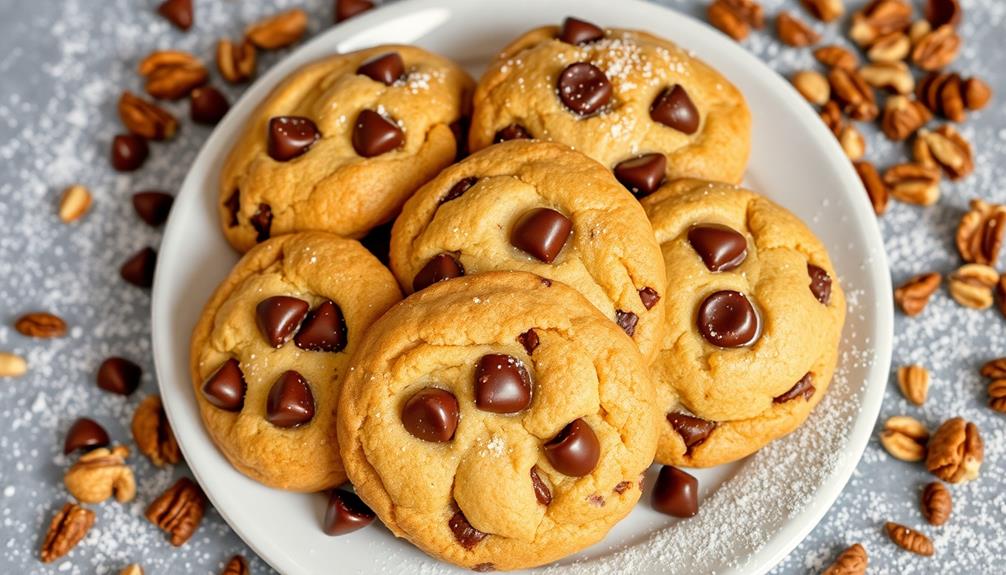
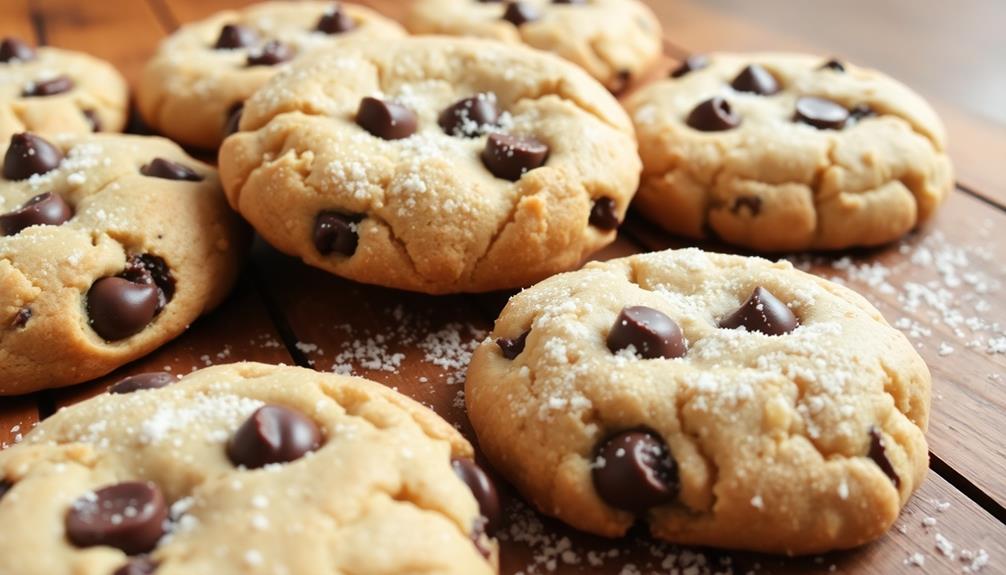
Baking delicious homemade cookies is a rewarding and satisfying experience. The aroma of freshly baked cookies filling the air is simply irresistible. Whether you're looking to treat yourself or share with loved ones, this classic cookie recipe is sure to delight.
This recipe yields a batch of soft, chewy cookies with a perfect balance of sweetness. The key to achieving the ideal texture lies in the careful combination of ingredients and the proper baking technique.
Ingredients:
- 2 cups all-purpose flour
- 1 teaspoon baking soda
- 1/2 teaspoon salt
- 1 cup unsalted butter, softened
- 1 cup granulated sugar
- 1 cup light brown sugar, packed
- 2 large eggs
- 2 teaspoons vanilla extract
- 2 cups semi-sweet chocolate chips
Preheat your oven to 375°F (190°C). Line a baking sheet with parchment paper. In a medium bowl, whisk together the flour, baking soda, and salt.
In a large bowl, cream the softened butter and both sugars until light and fluffy. Beat in the eggs one at a time, then stir in the vanilla. Gradually mix the dry ingredients into the wet ingredients until just combined. Fold in the chocolate chips. Spoon the dough onto a baking sheet, spacing each portion evenly, and bake until the edges are golden and crisp. While the cookies cool, it’s the perfect time to whip up your favorite drink—try pairing these treats with a **perfect hot chocolate recipe** for a cozy and indulgent experience. Enjoy the rich, gooey cookies with a warm, chocolaty beverage for the ultimate comfort indulgence. As you bite into the warm, gooey cookies, the rich chocolate chips melt perfectly in your mouth, complementing the heavenly aroma that fills your kitchen. Paired with a **perfect homemade hot chocolate recipe**, the combination creates a delightful harmony of flavors that’s sure to satisfy any sweet tooth. Whether you’re enjoying them on a chilly evening or for a moment of simple indulgence, this duo is guaranteed to bring warmth and joy to your day.
Scoop rounded tablespoons of dough onto the prepared baking sheet, spacing them about 2 inches apart. For best results, let the dough rest for at least 30 minutes before baking. This allows the flavors to develop and the cookies to hold their shape better during the baking process.
Enjoy these delightful cookies with a cold glass of milk or a hot cup of coffee. Savor the perfect combination of crispy edges and soft, chewy centers.
Cooking Steps
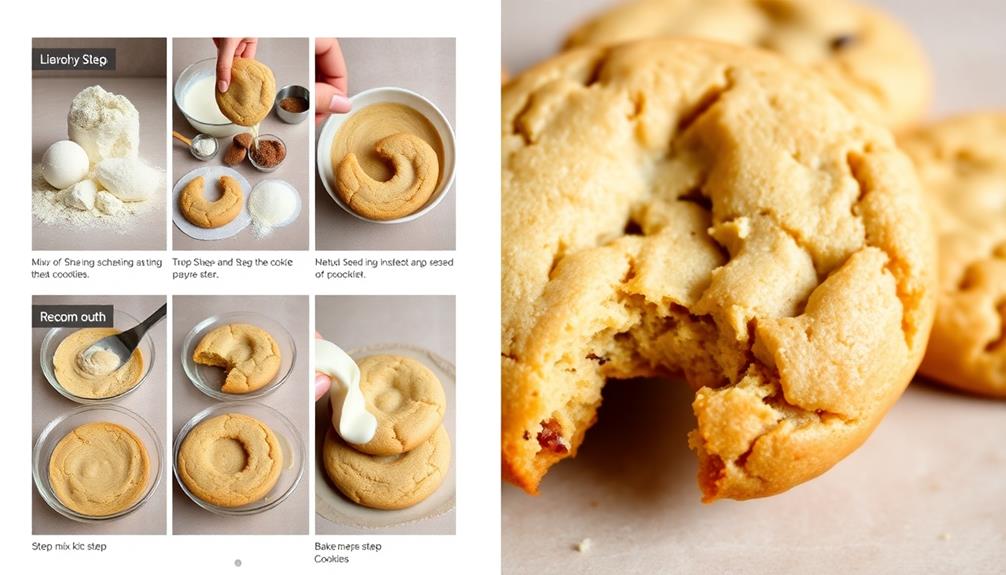
First, you'll need to preheat your oven to 350°F.
Then, cream the butter and sugars together until light and fluffy.
Step 1. Pre-Heat Oven to 350°F
Preheat your oven to 350°F. This critical step ensures your cookies bake evenly and reach the perfect texture. The oven needs to be at the right temperature before you start baking, so it's best to do this first.
Once your oven is preheated, it'll maintain a consistent 350°F temperature. This allows the cookies to cook through without burning the outside while leaving the inside undercooked. The even heat distribution is key for achieving those classic, evenly-baked cookies.
Preheating takes around 10-15 minutes, depending on your oven. You'll know it's ready when the oven indicator light turns off, signaling it has reached the set temperature.
Now you're all set to start portioning out the dough and placing the cookies in the oven. Just be sure to keep an eye on them, as baking times can vary.
Step 2. Cream Butter and Sugars
To begin, cream the butter and sugars together in a large mixing bowl. Using a hand mixer or stand mixer, beat the softened butter, granulated sugar, and brown sugar for 2-3 minutes until light and fluffy. This step is crucial for achieving the perfect cookie texture.
The butter should be at room temperature, not straight from the refrigerator, to ensure it mixes in smoothly. Creaming the butter and sugars incorporates air into the dough, creating a tender and delectable cookie.
Be sure to scrape down the sides of the bowl occasionally to ensure all the ingredients are evenly incorporated.
Once the butter and sugars are well combined, you're ready to move on to the next step. The creamed mixture should have a light, pale color and a slightly increased volume.
Pay close attention to the consistency, as this lays the foundation for cookies with the ideal balance of chewiness and crispness.
Step 3. Add Dry Ingredients
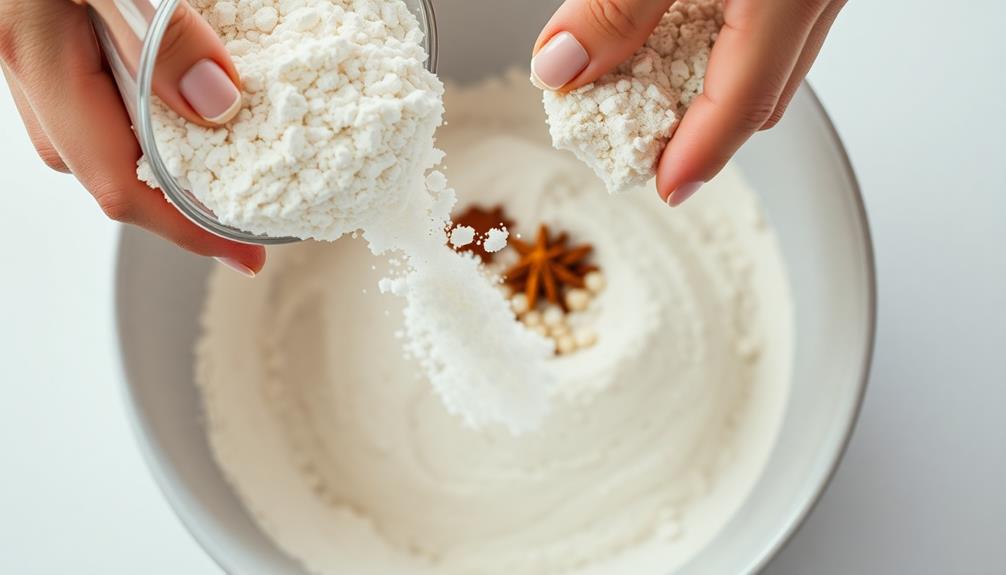
After the butter and sugars have been creamed to perfection, you'll want to gradually add the dry ingredients to the mixture. This includes all-purpose flour, baking soda, and a pinch of salt. Gently incorporate each ingredient, taking care not to overmix, as this can result in tough, dense cookies. For an extra touch of flavor, consider using essential oils such as peppermint oil to enhance the aroma of your cookies.
First, add the flour one cup at a time, mixing just until it's combined. Be sure to use the proper measuring technique, spooning the flour into the cup and leveling it off with a knife.
Next, add the baking soda and salt, mixing them in thoroughly. These dry ingredients not only contribute to the structure and flavor of the cookies, but also help create the perfect texture.
Once all the dry ingredients have been added, give the dough one final mix to ensure everything is well incorporated. At this point, you're ready to scoop the dough onto your baking sheets and get them in the oven.
The dry ingredients have now been successfully incorporated, setting you up for deliciously soft and chewy homemade cookies.
Step 4. Fold in Chocolate Chips
Next, gently fold in the chocolate chips. This step is crucial for ensuring an even distribution of the sweet morsels throughout the dough.
Using a rubber spatula or wooden spoon, slowly incorporate the chocolate chips, taking care not to overmix and deflate the dough. Folding, rather than stirring, helps maintain the light and airy texture you've worked hard to achieve.
Additionally, you might enjoy a cup of coffee while baking, as it may reduce the risk of certain diseases and can enhance your mood during the process.
The chocolate chips should be the last ingredient added to the batter. This prevents them from sinking to the bottom of the cookies during baking.
By gently folding them in, you'll end up with pockets of melty chocolate in each bite. For best results, use high-quality chocolate chips or chunks – the better the chocolate, the more delicious the final cookies will be.
Take your time with this step, as it can make or break the texture and appearance of your cookies.
Once the chocolate chips are evenly distributed, your dough is ready to be portioned and baked to perfection. Spoon the dough onto a lined baking sheet, spacing each portion evenly to allow room for spreading as they bake. While the cookies are in the oven, consider looking up the perfect frosting recipe for cakes—it’s a great way to pair freshly baked treats with an extra layer of sweetness. Once golden and slightly crisp at the edges, remove your cookies from the oven and let them cool before enjoying!
Step 5. Scoop Dough Onto Baking Sheet
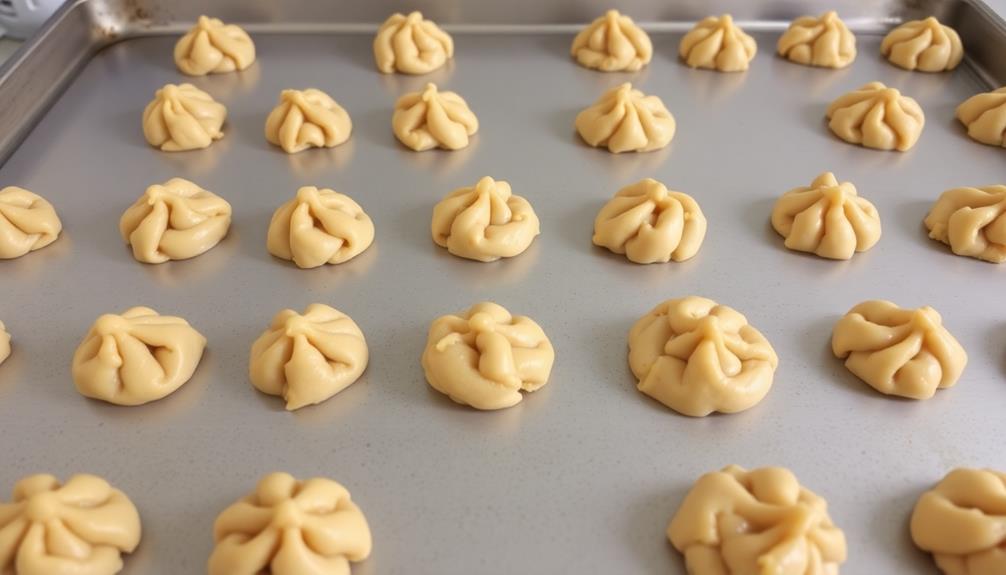
Grab your trusty cookie scoop or spoon and portion out the chocolatey dough onto your prepared baking sheet.
You'll want to space the dough about 2 inches apart, as these cookies will spread quite a bit during baking. Scoop or roll the dough into rounded balls, aiming for about 1-2 tablespoons per cookie.
As you place the dough onto the sheet, be gentle – you don't want to compact or flatten the balls too much. Leave them in their natural, slightly rounded shape. This will help the cookies bake up soft and chewy in the center with crisp edges.
Once the sheet is full, place it in the preheated oven. Bake for 10-12 minutes, until the edges are set and the centers are still slightly soft.
Allow the cookies to cool on the baking sheet for 5 minutes before transferring them to a wire rack to cool completely. Enjoy your freshly baked chocolate chip cookies!
Final Thoughts
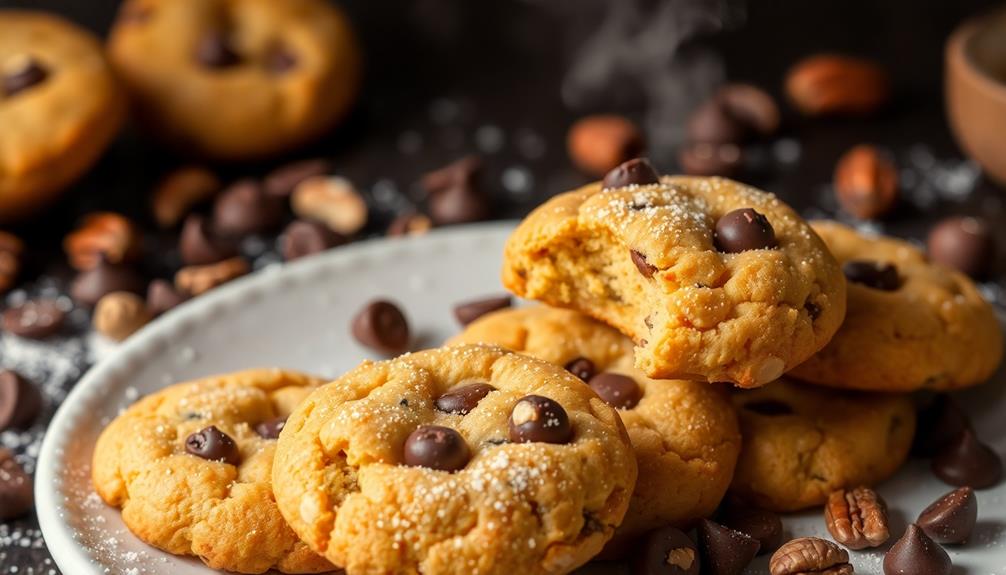
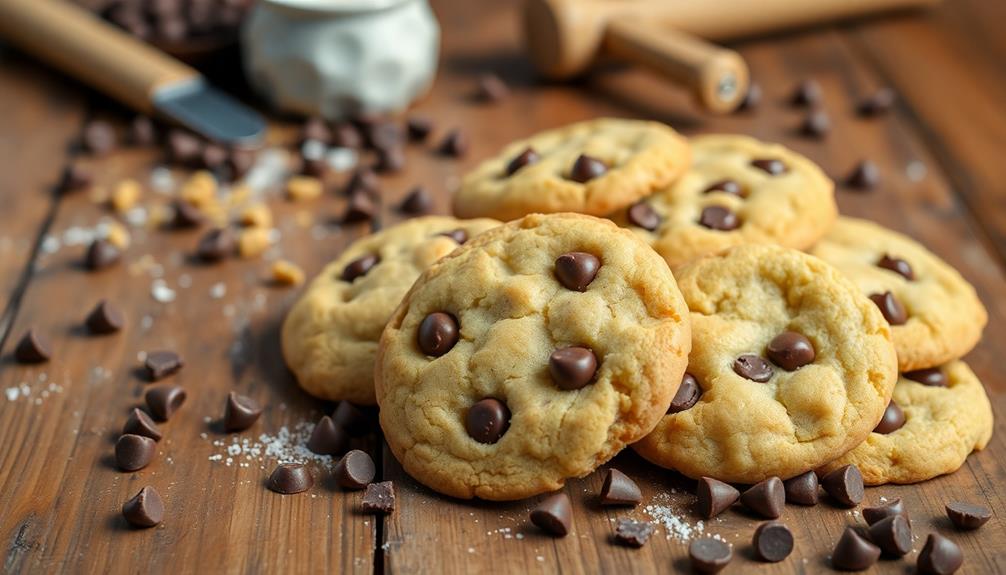
These homemade cookies are sure to delight your friends and family. With their irresistible combination of crisp edges and soft, chewy centers, they're a true crowd-pleaser.
You'll find that these cookies hold up well, maintaining their texture for several days after baking. This makes them an excellent choice for gifting, bake sales, or enjoying at home.
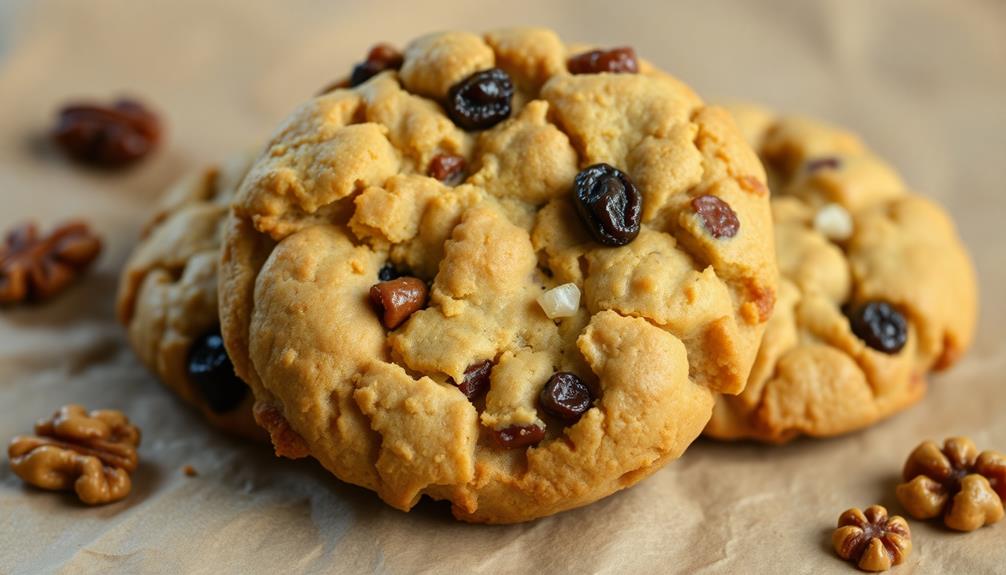
When stored in an airtight container, the cookies will stay fresh and retain their delightful flavor. Feel free to experiment with different mix-ins, such as chocolate chips, nuts, or dried fruit, to create your own signature version.
Additionally, the dough freezes beautifully, allowing you to bake up fresh cookies whenever the craving strikes.
These cookies are a timeless classic that are sure to become a cherished recipe in your repertoire. Savor each bite and enjoy the homemade goodness that fills your kitchen.
Frequently Asked Questions
What Is the Shelf Life of These Cookies?
The shelf life of these cookies depends on various factors, such as their ingredients and storage conditions. Typically, they can last for up to a week when stored in an airtight container at room temperature. But let's discuss the recipe in more detail.
Can I Substitute Any Ingredients in the Recipe?
You can certainly substitute ingredients in the recipe, but keep in mind that it may affect the taste and texture of the cookies. Consider using similar ingredients or consulting baking guides to ensure a successful substitution.
How Do I Store Leftover Cookies?
You can store leftover cookies in an airtight container at room temperature for up to a week. You can also freeze them for longer storage, just be sure to thaw them before serving.
Can I Freeze the Dough for Later Use?
Yes, you can freeze the dough for later use. Wrap it tightly in plastic wrap or aluminum foil, then place it in an airtight container or freezer bag. It'll keep for up to 3 months in the freezer.
Are These Cookies Suitable for People With Dietary Restrictions?
When it comes to dietary restrictions, you'll want to carefully review the ingredients in this cookie recipe. Some modifications may be needed to accommodate specific needs, such as using gluten-free flour or omitting certain allergens. Always double-check before serving.