
Mastering homemade caramel is an enriching journey tracing back to ancient civilizations. The basic recipe features sugar, cream, and vanilla – yet crafting the perfect caramel requires patience and attention to detail. Slowly heating the sugar to the ideal color is crucial, as rushing can lead to burnt results. Incorporating cream and butter creates a smooth, pourable consistency, while cooling techniques prevent unwanted crystallization. Though initial attempts may not be flawless, practice makes perfect. Homemade caramel elevates desserts with its indulgent, buttery flavor – and with the right techniques, you'll be whipping up gourmet caramel treats in no time.
Key Takeaways
- Understand the historical origins and evolution of caramel from ancient civilizations to modern industrial production.
- Learn the essential ingredients and preparation steps for making homemade caramel, including proper techniques for cooking, cooling, and storage.
- Recognize the critical factors for successful caramel-making, such as patience, precise measurements, and troubleshooting techniques.
- Discover various cooling methods to achieve the desired smooth, pourable consistency and prevent crystallization.
- Explore how homemade caramel can enhance desserts and treats, offering a rich, buttery flavor profile as a versatile ingredient.
History
The origins of caramel can be traced back to ancient civilizations, where sugarcane and honey were used to create sweet, amber-colored confections.
These early versions of caramel were often enjoyed as a delicacy, with some cultures even using it in religious ceremonies.
Over time, the process of caramelization – the browning and flavor development that occurs when sugar is heated – was refined, and caramel eventually became a staple ingredient in both savory and sweet dishes.
In the 19th century, the industrial revolution brought about significant advancements in caramel production.
Factories began mass-producing caramel, making it more accessible to the general public.
This led to the development of various caramel-based treats, from caramel candies to caramel sauces and toppings.
Today, caramel is enjoyed around the world, with endless variations and applications in both home and professional kitchens.
Recipe
Homemade caramel is a delightful and versatile treat that can be used in a variety of desserts or enjoyed on its own. The process of making caramel may seem daunting, but with a few simple steps, you can create a rich, velvety sauce that will impress your friends and family.
The key to successful caramel-making is to have all of your ingredients and equipment ready before you begin. This will ensure a smooth and stress-free process. Once you have mastered the basic technique, you can experiment with different flavors and variations to suit your personal preferences.
Ingredients:
- 1 cup (200g) granulated sugar
- 1/4 cup (60ml) water
- 1/2 cup (120ml) heavy cream
- 1 teaspoon (5ml) vanilla extract
- Pinch of salt
Instructions:
In a medium-sized saucepan, combine the sugar and water. Cook over medium-high heat, stirring occasionally, until the mixture comes to a boil. Reduce the heat to low and let it simmer gently for about 5 minutes, or until the sugar has completely dissolved. Remove from heat and allow the syrup to cool to room temperature before using. This is a basic guide on how to make simple syrup, which can be used in a variety of cocktails and desserts.
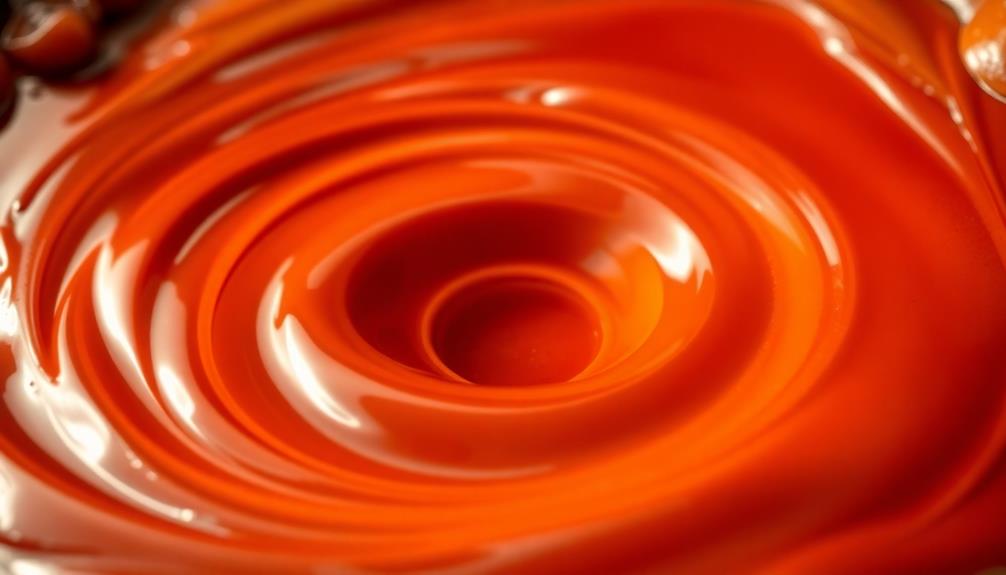
Once boiling, stop stirring and allow the mixture to cook, occasionally swirling the pan, until it turns a deep amber color, approximately 5-7 minutes.
Carefully pour in the heavy cream (the mixture will bubble and steam rapidly), whisking constantly until the caramel is smooth and fully incorporated.
Remove the pan from the heat and stir in the vanilla extract and salt. Allow the caramel to cool slightly before serving or using in your desired recipe. Remove the pan from the heat and stir in the vanilla extract and salt. Allow the caramel to cool slightly before serving or using in your desired recipe. Once the caramel has cooled, it’s perfect for drizzling over a healthy oatmeal breakfast recipe, adding a touch of indulgence to your morning routine. You can also store any leftovers in an airtight container in the refrigerator to use later in desserts or as a sweet topping for other dishes.
Tips:
- Be patient and don't rush the caramel-making process. It's important to allow the sugar to caramelize properly for the best flavor and texture.
- Keep a close eye on the caramel as it cooks, as it can go from perfectly amber to burnt in a matter of seconds.
- If the caramel seizes or becomes too thick, you can thin it out by adding a small amount of additional heavy cream and stirring until smooth.
- Homemade caramel can be stored in an airtight container in the refrigerator for up to 2 weeks.
Cooking Steps
Measure your ingredients precisely to ensure the caramel turns out perfectly.
Slowly heat the sugar, stirring constantly to prevent burning.
Once the sugar has caramelized, carefully add the cream and butter, then allow the caramel mixture to cool before using.
Step 1. Measure Ingredients Precisely
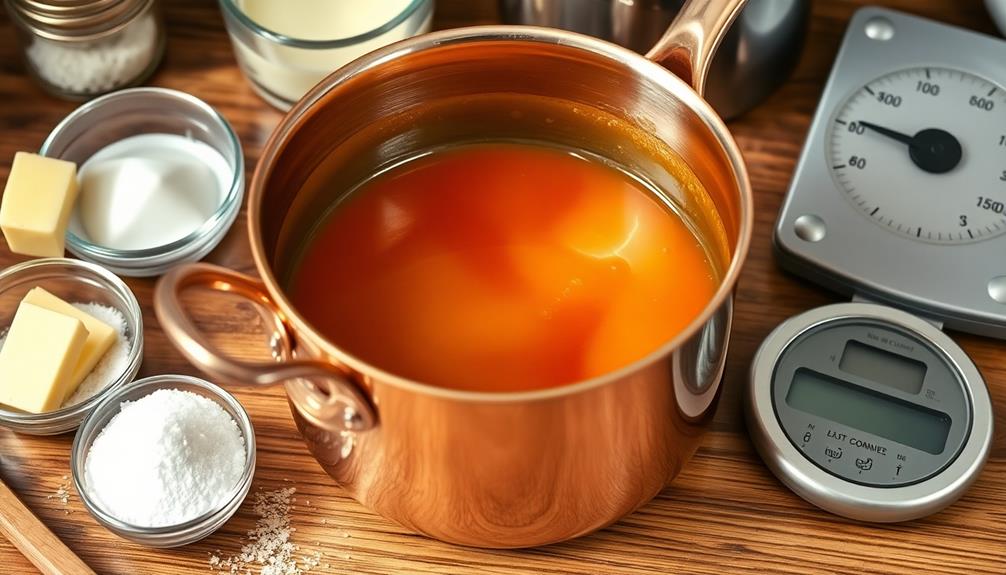
Precise measurements are crucial when crafting homemade caramel. Even the slightest variation in ingredient quantities can dramatically impact the texture and flavor of the final product.
Start by investing in an accurate digital scale, as cup measurements often fall short for delicate recipes like this.
Next, carefully measure out the sugar, water, and any additional flavorings. For the sugar, use a clean, dry measuring cup, leveling the top with a knife.
When measuring liquids, pour slowly into a clear liquid measuring cup, ensuring the meniscus (the curved surface) sits at the desired line.
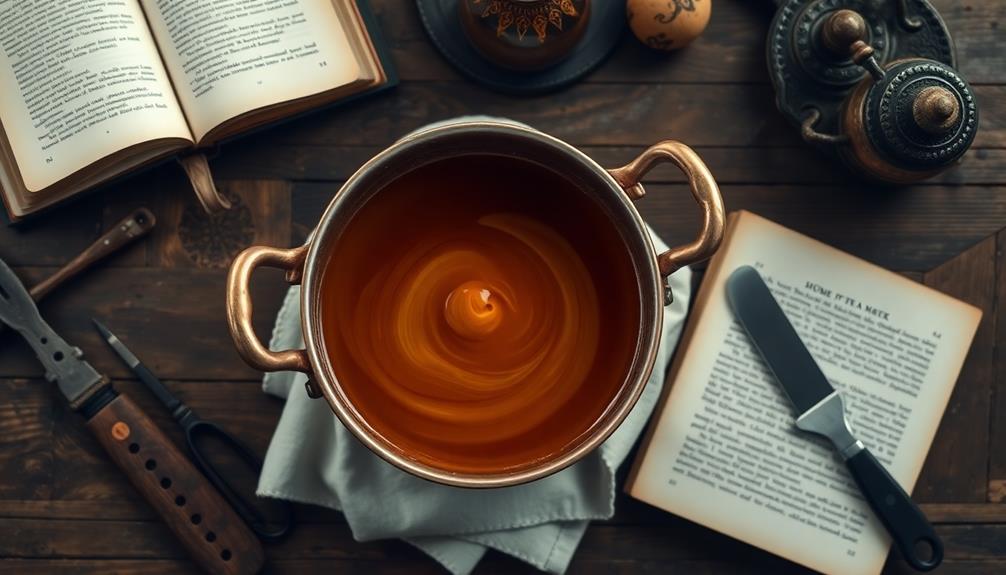
Step 2. Heat the Sugar Slowly
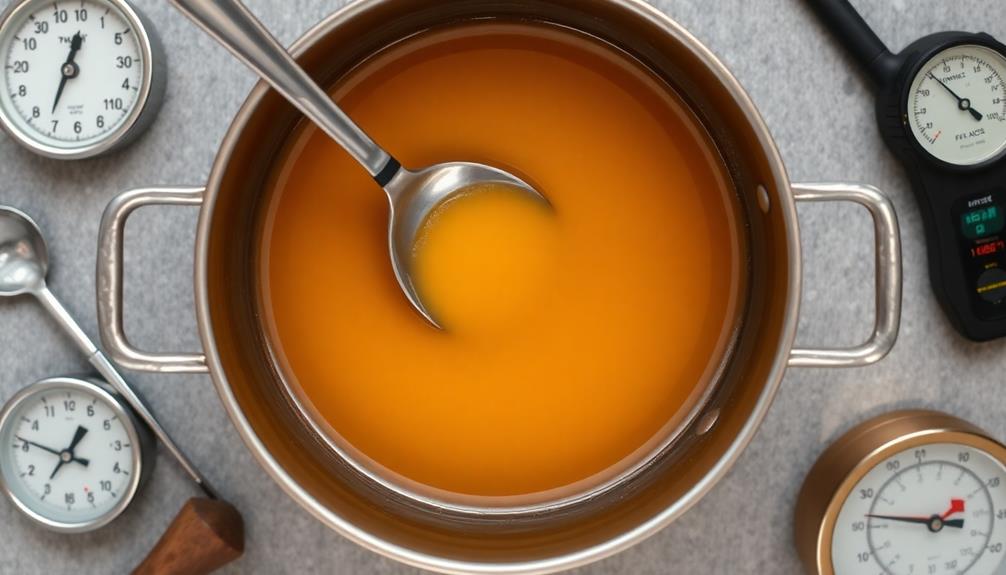
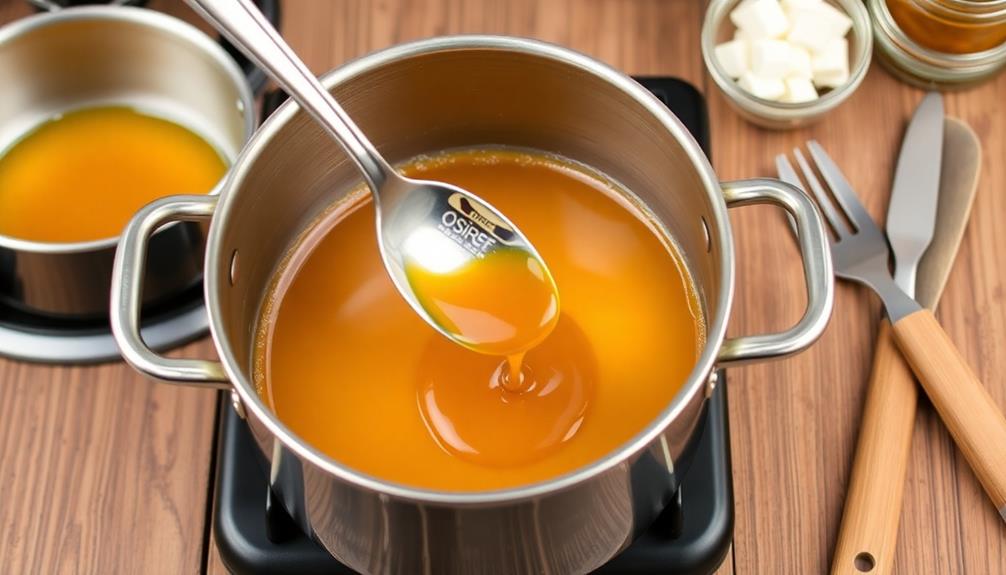
With your measurements in hand, you're ready to start heating the sugar. This is a critical step in the caramel-making process. Slowly and gently heat the sugar over medium-low heat, stirring constantly with a heat-resistant spatula or wooden spoon.
It's important to resist the urge to crank up the heat – this will cause the sugar to burn and become bitter. As the sugar begins to melt, it will form small clumps. Continue stirring patiently until the sugar has completely liquefied and transformed into a clear, golden syrup.
Once it reaches this stage, you can increase the heat slightly, but still maintain a gentle simmer. Keep a close eye on the mixture, as caramel can go from perfectly golden to burnt in a matter of seconds. Periodically swirl the pan to ensure even heating.
The caramel is ready when it reaches a deep amber color, similar to the shade of maple syrup. At this point, remove the pan from the heat immediately to prevent overcooking.
Step 3. Stir the Mixture Constantly
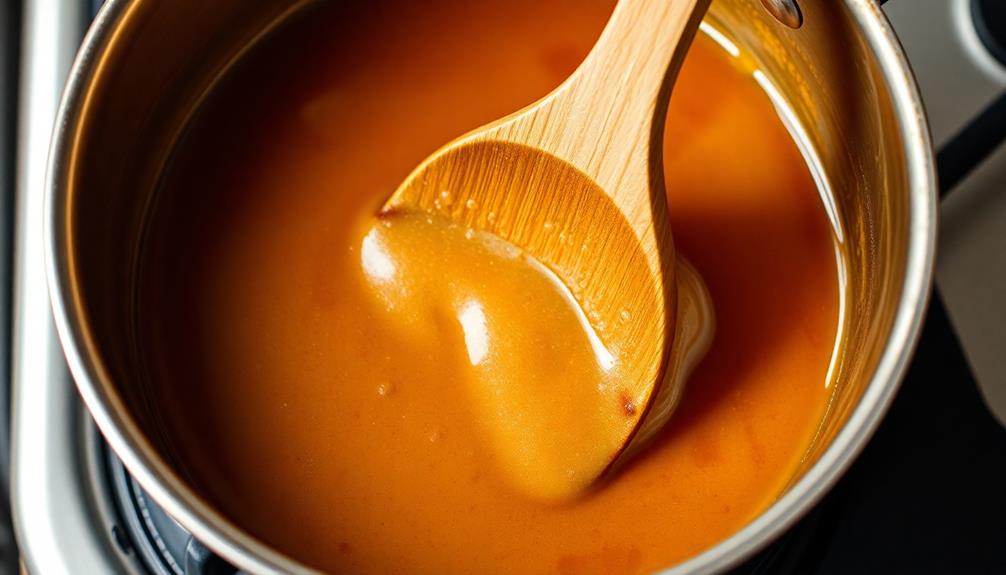
As the sugar liquefies, you'll need to stir it constantly with a heat-resistant spatula or wooden spoon. This continuous agitation prevents the sugar from burning and ensures an even distribution of heat throughout the mixture. Stirring helps the sugar melt evenly, preventing pockets of unmelted granules that could lead to a gritty or uneven caramel.
Be prepared to stir vigorously and without interruption. The caramel can go from perfectly golden to burnt in a matter of seconds, so your full attention is required. Maintain a steady, circular motion, scraping the sides of the pan to incorporate any sugar crystals that form.
Pay close attention to the color changes. The caramel will gradually transition from clear to a pale yellow, then to a deep amber.
Once it reaches your desired shade, immediately remove the pan from the heat to stop the cooking process. Continuing to stir after reaching the perfect color will ensure a smooth, luscious caramel.
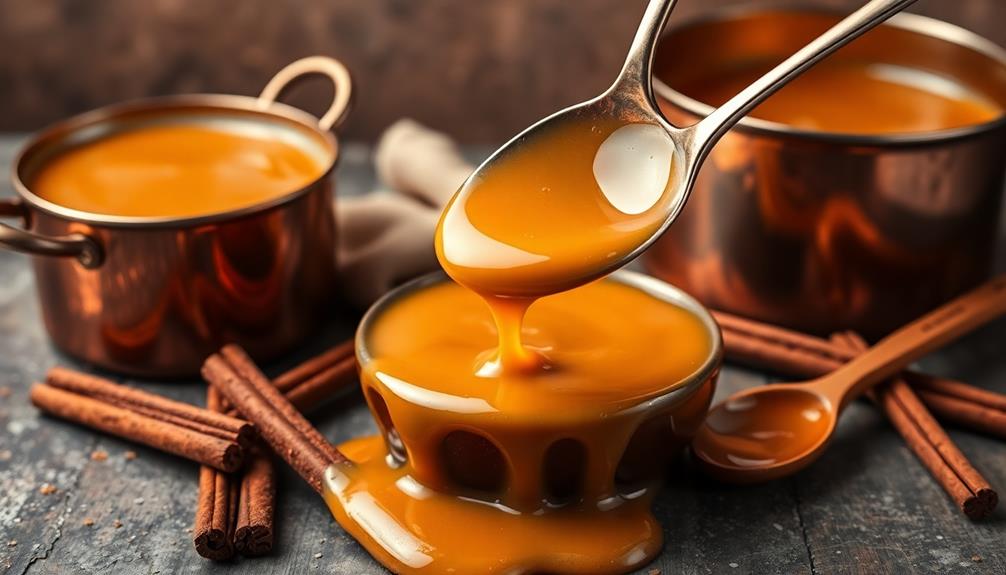
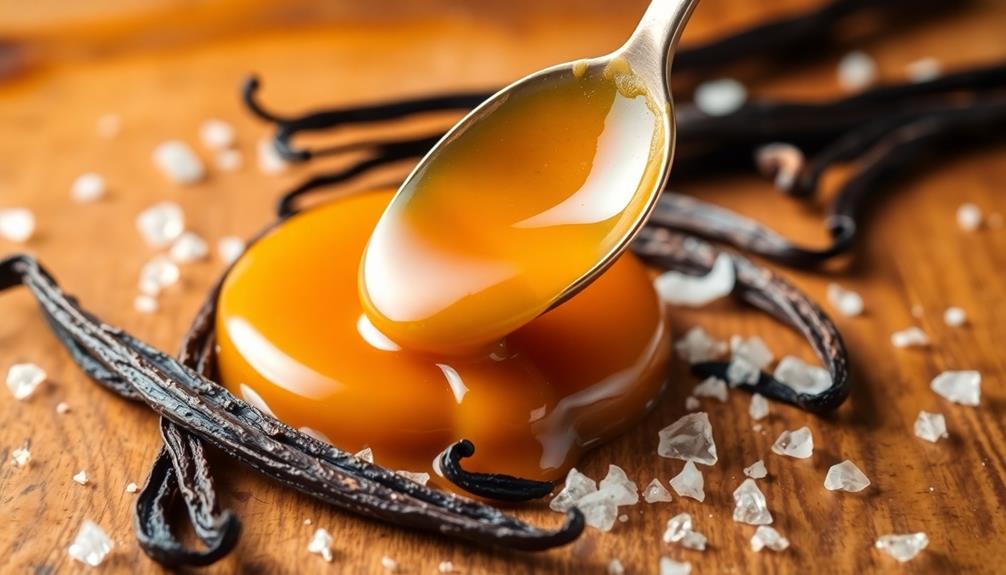
Step 4. Add Cream and Butter
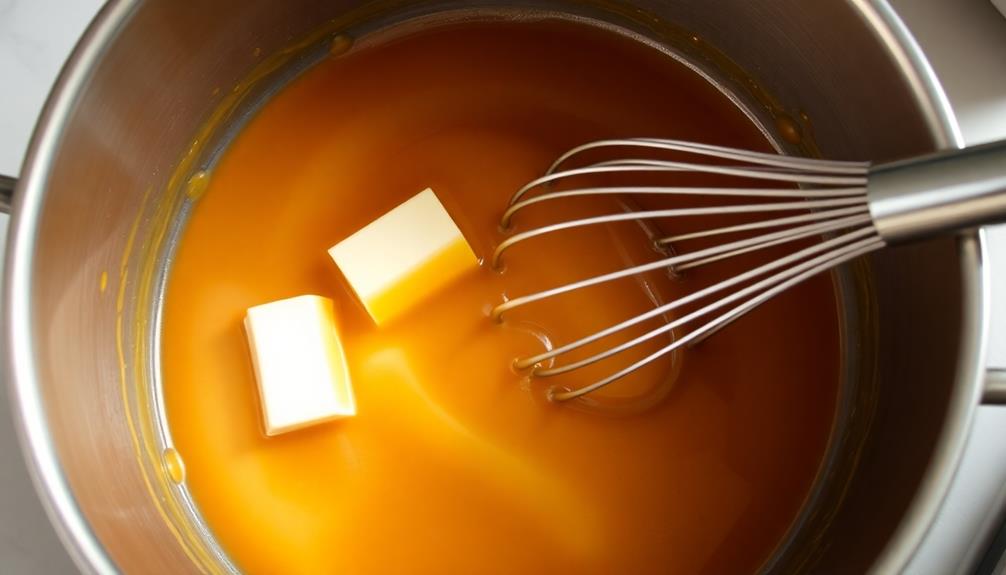
Once the caramel has reached your desired color, it's time to introduce the cream and butter. These additional ingredients will help create a smooth, creamy texture and add a rich, indulgent flavor to your homemade caramel.
First, slowly pour in the heavy cream, being careful as the mixture may bubble and splatter. Whisk the cream into the caramel until it's fully incorporated and the mixture is smooth. The cream will help temper the intensity of the caramel, creating a more balanced and velvety consistency.
Next, add the butter, one cube at a time, whisking well after each addition. The butter will melt into the caramel, contributing to its silky mouthfeel and adding a touch of sweetness. Continue whisking until all the butter has melted and the caramel is glossy and uniform.
Once the cream and butter are fully incorporated, your caramel is ready for the final step: cooling and serving.
Be patient as the caramel cools, as this process is crucial for achieving the perfect texture.
Step 5. Cool the Caramel Mixture
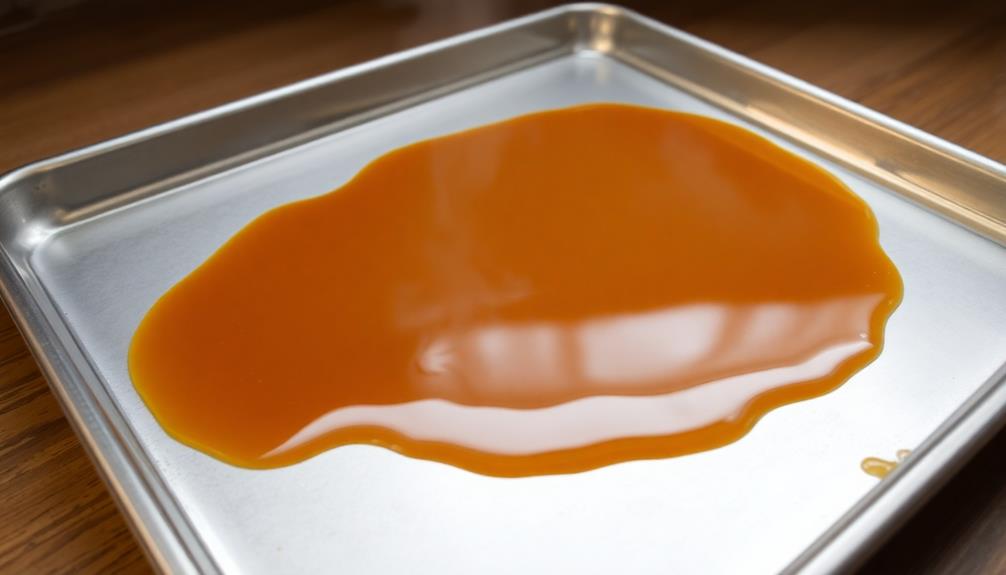
After incorporating the cream and butter, remove the pan from the heat and allow the caramel mixture to cool.
It's crucial to let the caramel cool completely before using or storing it, as this helps it thicken to the perfect, pourable consistency.
As the caramel cools, you may notice it changing colors slightly, going from a deep golden hue to a richer, more amber tone.
This is a natural part of the cooling process and indicates that the caramel is developing its signature flavor.
To cool the caramel safely and effectively:
- Pour the caramel into a heat-proof container, such as a glass bowl or a metal pan. Avoid using plastic, as it may melt.
- Allow the caramel to sit at room temperature, stirring occasionally, until it reaches your desired thickness, about 30-45 minutes.
- For a quicker cool-down, place the container in the refrigerator, checking and stirring every 10-15 minutes.
Once cooled, the caramel will be ready to use in your favorite recipes or to enjoy on its own.
Final Thoughts
Although making homemade caramel may seem daunting at first, the end result is well worth the effort. With a little patience and attention to detail, you'll be able to craft rich, buttery caramel that elevates any dessert or treat.
Remember, the key to success is maintaining control over the cooking process. Keep a close eye on the sugar as it caramelizes, and don't be afraid to adjust the heat as needed to achieve the perfect color and consistency.
And when it comes time to cool the caramel, be sure to follow the recommended techniques to ensure a smooth, pourable final product.
Even if your first attempt doesn't turn out as expected, don't get discouraged. Caramel-making is an art form, and it takes time to develop the necessary skills.
With each batch you make, you'll gain invaluable experience and become more confident in your abilities. Soon, you'll be whipping up homemade caramel like a pro.
Frequently Asked Questions
How Long Does Homemade Caramel Last Once Made?
Your homemade caramel can last up to 2 weeks when stored properly in an airtight container in the refrigerator. The exact shelf life may vary depending on the ingredients and storage conditions, so it's best to check for any changes in texture or smell.
Can I Use a Different Type of Sugar for Caramel?
You can certainly use different types of sugar to make caramel, but the end result may vary in terms of flavor and texture. Granulated white sugar is the most common choice, but you can experiment with brown sugar, honey, or maple syrup for unique variations.
What's the Best Way to Store Leftover Caramel?
The best way to store leftover caramel is to let it cool completely, then transfer it to an airtight container or jar. It'll keep in the fridge for up to 2 weeks, so you can enjoy it again later.
Can I Make Caramel in Advance for a Recipe?
Yes, you can make caramel in advance for a recipe. Store the cooled caramel in an airtight container in the refrigerator for up to 2 weeks. Reheat it gently before using it in your recipe.
Is Homemade Caramel Healthier Than Store-Bought Varieties?
Homemade caramel can be healthier than store-bought varieties. You have control over the ingredients, avoiding preservatives and excessive sugar found in many commercial caramels. However, homemade caramel still contains significant amounts of sugar, so it should be enjoyed in moderation as part of a balanced diet.