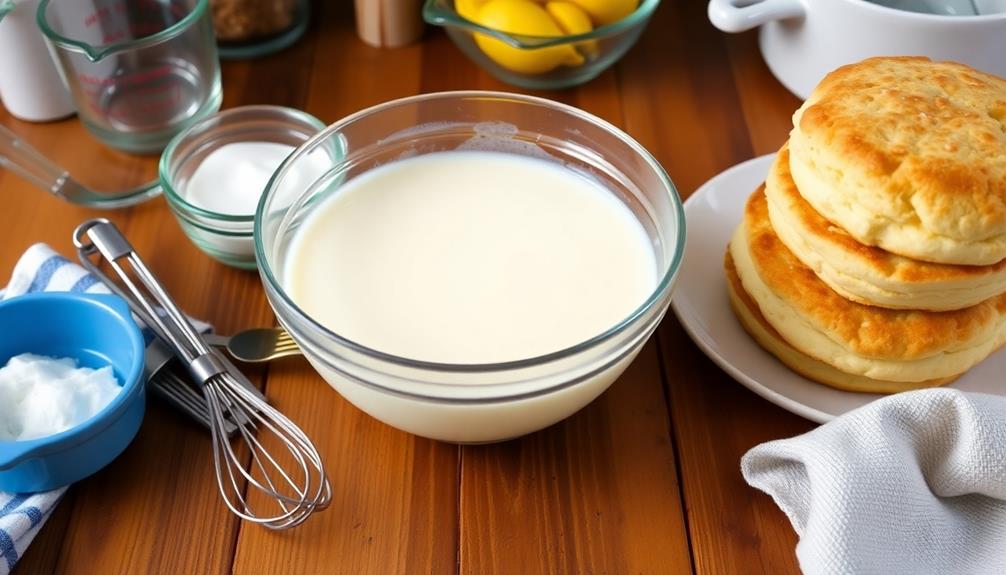
Homemade buttermilk is a tangy, versatile ingredient with a rich history. Once a byproduct of butter churning, buttermilk has seen a resurgence in popularity for its delicious flavor and health benefits. To make your own, simply mix 1 cup of milk with 1 tablespoon of lemon juice or vinegar, let it sit for 5-10 minutes until thickened, then strain out the solids. This homemade version offers superior quality and freshness compared to store-bought options. Use it in baking, marinades, or even enjoy it as a refreshing drink. To take your buttermilk skills further, read on for more detailed tips and tricks. Additionally, homemade buttermilk can be stored in the refrigerator for up to a week, ensuring you always have some on hand for your culinary creations. If you’re curious about expanding your dairy-making repertoire, you might also want to explore **how to make homemade butter**, which pairs beautifully with your fresh buttermilk in a variety of recipes. By mastering these simple techniques, you can elevate your cooking and baking with wholesome, made-from-scratch ingredients.
Key Takeaways
- Make homemade buttermilk with just 2 ingredients – milk and an acidic ingredient like lemon juice or vinegar.
- Allow the milk-acid mixture to sit for 5-10 minutes until it thickens and curdles.
- Strain the curdled milk through a fine-mesh sieve or cheesecloth to separate the buttermilk solids.
- Store the homemade buttermilk in an airtight container in the refrigerator for up to 1 week.
- Use the homemade buttermilk to add tangy flavor and moisture to baked goods, dressings, and marinades.
History

Typically, buttermilk has its roots in the dairy-making process. As farmers churned butter from cream, the liquid byproduct left behind was what we now know as buttermilk. This nutrient-rich liquid was often consumed or used in cooking, as it provided a tangy flavor and beneficial bacteria.
Historically, buttermilk was an important part of many traditional diets, especially in rural communities where dairy production was a way of life. It was prized for its versatility, as it could be used in baking, as a marinade, or simply enjoyed as a refreshing drink.
Over time, as commercial dairy processing became more common, the production of traditional buttermilk declined. However, in recent years, there's been a renewed interest in homemade and artisanal buttermilk, as people rediscover its unique flavor and potential health benefits.
Recipe
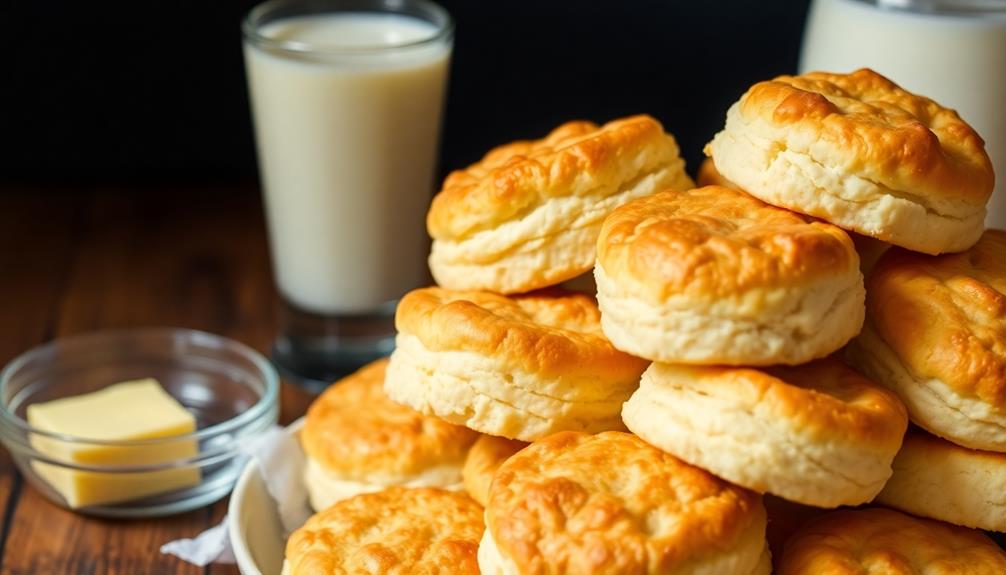
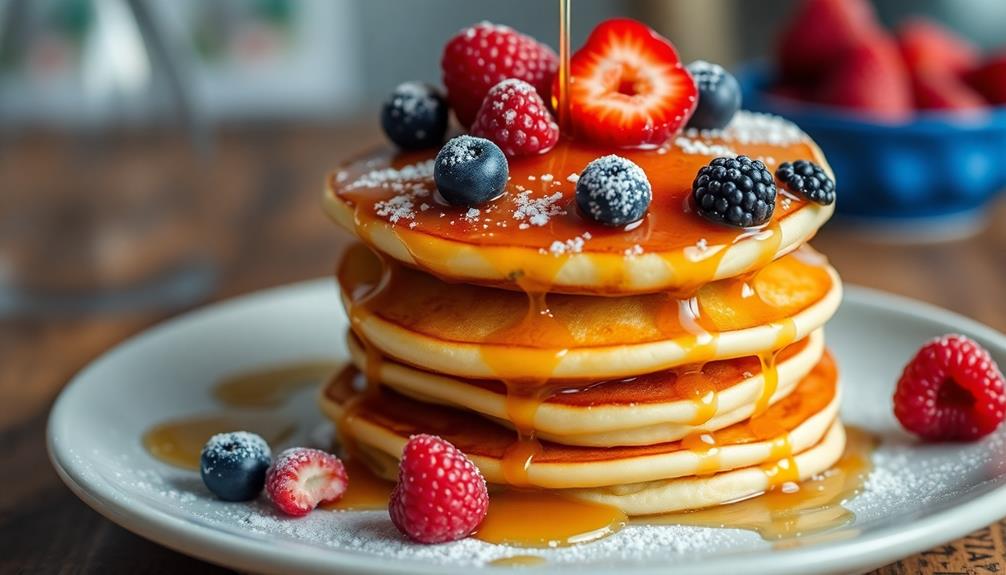
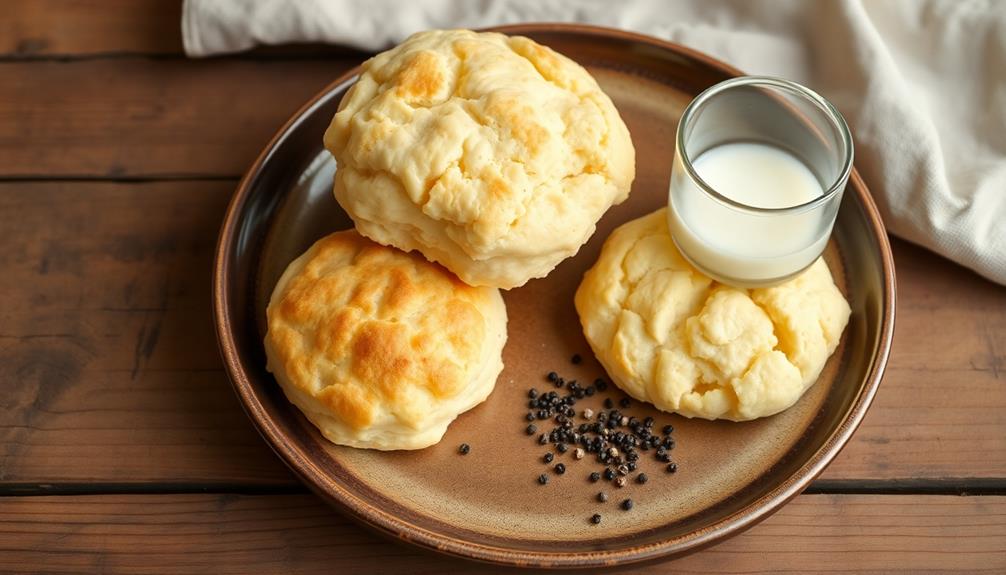
Buttermilk is a versatile ingredient that can be used in a variety of baked goods, from fluffy pancakes to tender biscuits. Making your own buttermilk at home is surprisingly easy and allows you to have a fresh supply on hand whenever you need it.
The process of making homemade buttermilk is simple: you'll start with regular milk and add an acidic ingredient, such as lemon juice or white vinegar, to curdle the milk and create the desired tangy flavor and thick consistency. This homemade buttermilk can then be used in recipes that call for the store-bought variety. Let the mixture sit for about 5–10 minutes at room temperature, allowing the acid to work its magic and thicken the milk. This quick and cost-effective solution is perfect for baking or cooking when you’re out of store-bought buttermilk. If you’re curious about other homemade dairy projects, you might also want to explore how to make homemade butter for an equally rewarding kitchen experience.
Ingredients:
- 1 cup (240 ml) milk
- 1 tablespoon (15 ml) lemon juice or white vinegar
Instructions:
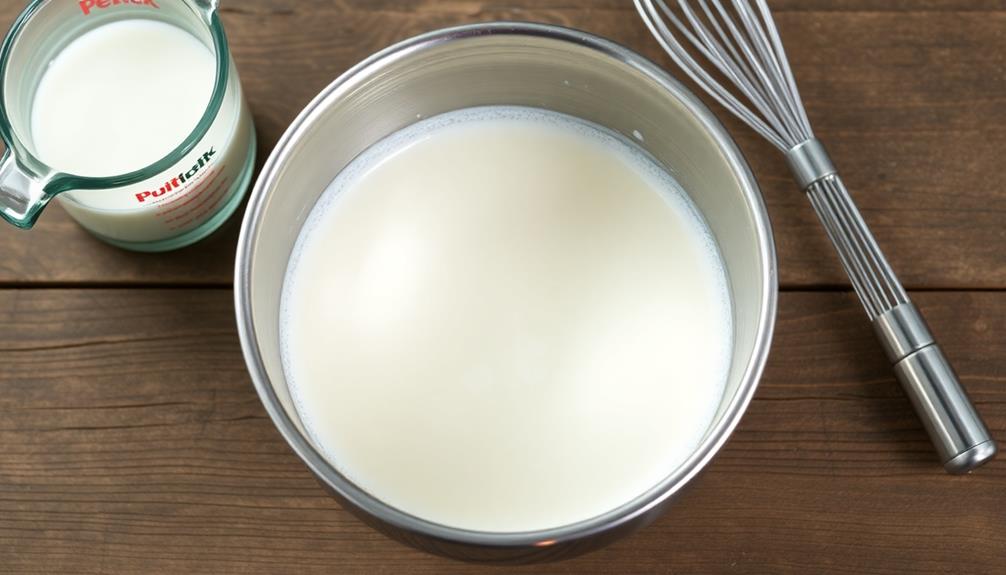
In a small bowl or measuring cup, combine the milk and lemon juice or vinegar. Stir gently and let the mixture sit for 5-10 minutes, or until it has thickened and curdled slightly.
Once the buttermilk is ready, it can be used immediately in your recipe or stored in the refrigerator for up to 1 week.
When making homemade buttermilk, it's important to use fresh, high-quality milk for the best results. The acidity of the lemon juice or vinegar will cause the milk to curdle, but the final product should have a smooth, pourable consistency.
Experiment with different ratios of milk to acid until you find the perfect balance for your taste preferences.
Cooking Steps
To make homemade buttermilk, start by adding lemon juice to the milk.
Let the mixture curdle, then strain it through cheesecloth.
Discard the liquid and keep the solids, transferring them to an airtight container for storage.
Step 1. Add Lemon Juice to Milk
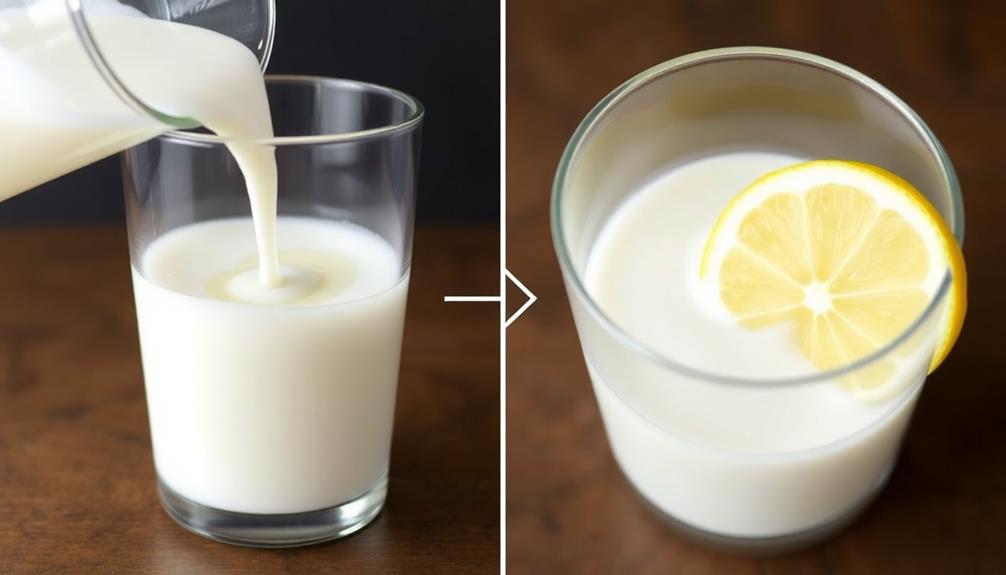
First, add 1 tablespoon of fresh lemon juice to 1 cup of milk. This simple process is an easy way to make a homemade buttermilk substitute when you don't have the real thing on hand, allowing you to embrace creativity in your cooking just as you'd in design thinking.
Stir the mixture gently and let it sit for about 5-10 minutes. You'll notice the milk begin to curdle and thicken, creating a tangy, buttermilk-like consistency. The lemon juice causes the milk to coagulate, mimicking the natural fermentation that occurs when making authentic buttermilk.
The acidity in the lemon juice reacts with the milk proteins, resulting in the desired thick, creamy texture. This homemade buttermilk can be used in a variety of recipes, from baking fluffy biscuits to creating tangy marinades.
For best results, use fresh lemon juice rather than bottled, as the natural citric acid in fresh lemons is more effective in curdling the milk. And remember, the ratio is 1 tablespoon of lemon juice per 1 cup of milk.
Step 2. Let Mixture Curdle
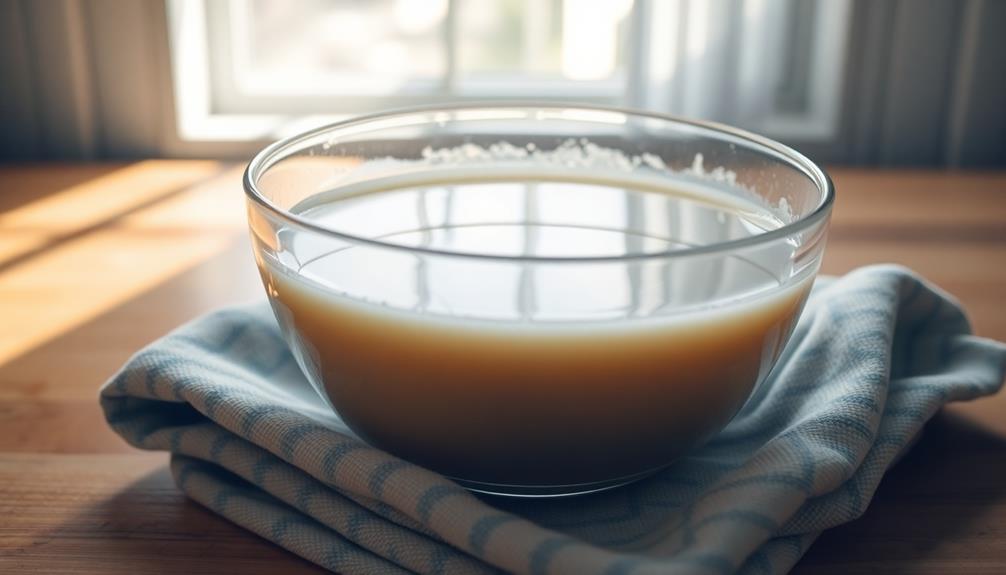
After adding the lemon juice, let the mixture sit for about 5-10 minutes. This allows the acid in the lemon juice to interact with the milk, causing it to curdle and separate into curds and whey.
During this time, you might consider incorporating some fresh herbs for an enhanced flavor experience, similar to how herb-infused cocktails elevate drinks with aromatic notes. You'll know the process is working when you see small, solid lumps forming in the liquid.
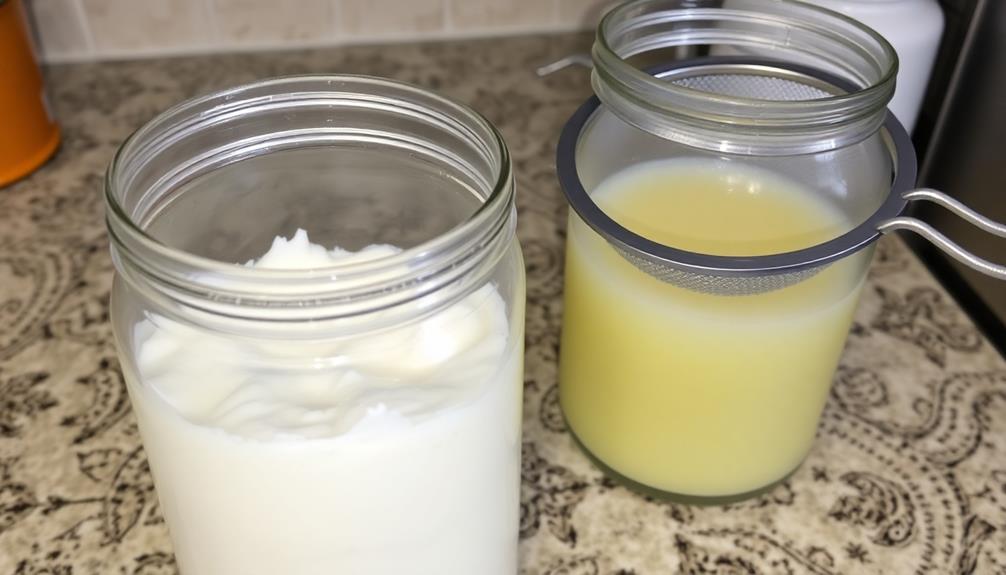
Once the mixture has curdled, you'll need to strain it through a fine-mesh sieve or cheesecloth. This separates the curds, which are the solid pieces, from the liquid whey. The curds are what you'll use to make your homemade buttermilk.
Gently press on the curds to release any remaining whey. You can save the whey for other uses, like baking or making smoothies.
Then, transfer the buttermilk curds to an airtight container and refrigerate until ready to use. Your homemade buttermilk is now ready to be enjoyed in your favorite recipes!
Step 3. Strain Curdled Milk Through Cheesecloth
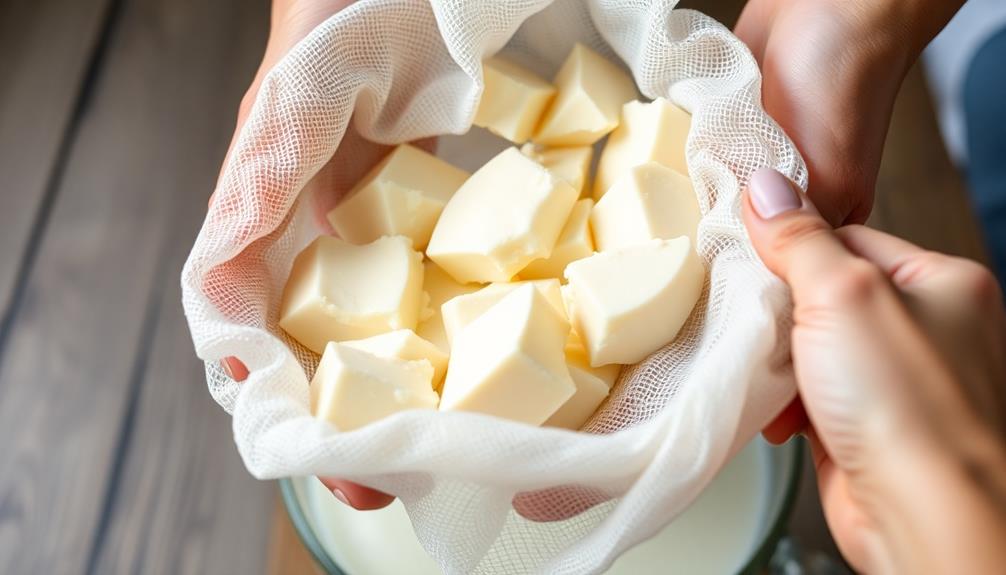
Once the mixture has curdled, you'll need to strain it through a fine-mesh sieve or cheesecloth. This step is crucial for separating the curds (the thickened milk solids) from the whey (the liquid).
Start by lining a fine-mesh sieve or colander with a few layers of cheesecloth. Carefully pour the curdled milk mixture into the prepared sieve, allowing the whey to drain through. Gently press on the curds with a spoon to help release more of the whey.
Once the majority of the whey has drained, you can transfer the curds to a clean bowl or container. Discard the strained whey or save it for other uses, such as in baking or smoothies.
The curds you've collected are the homemade buttermilk. At this point, you can use the buttermilk immediately in your recipe or store it in an airtight container in the refrigerator for up to 5 days.
Step 4. Discard Liquid; Keep Solids
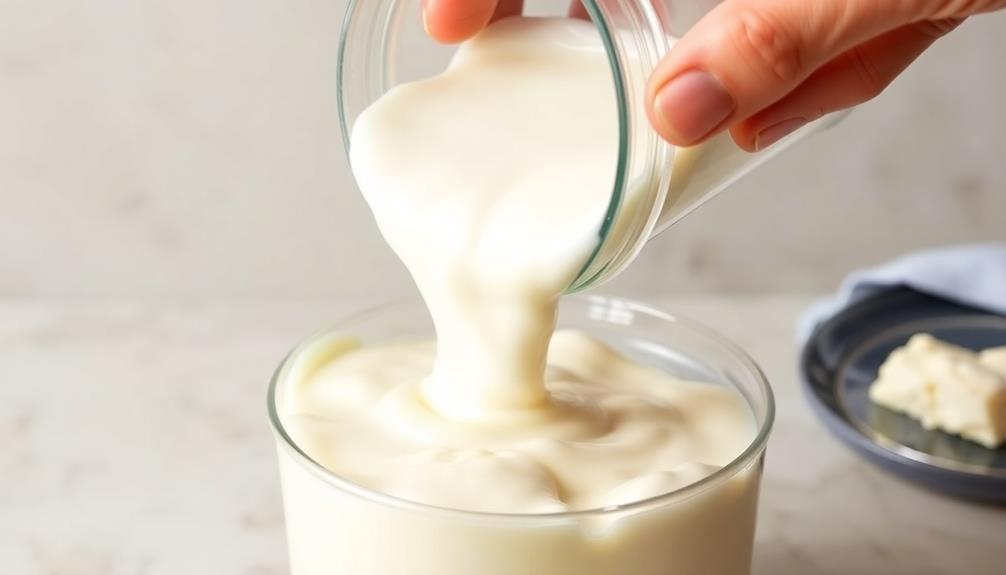
With the whey drained, you can now discard the liquid and keep the solids – the homemade buttermilk. This thick, creamy mixture is the final product you've been working towards. The solid curds are what'll provide the classic buttermilk flavor and texture.
First, carefully pour the contents of the cheesecloth-lined strainer into a clean bowl or container. The liquid whey can be discarded or saved for other uses, such as in baking or as a protein-rich addition to smoothies.
Next, scoop the thick, tangy buttermilk solids into your desired storage container. This could be a jar, sealed container, or even just a bowl if you plan to use it right away.
Be sure to press down gently on the curds to remove any remaining whey.
Your homemade buttermilk is now ready to use in recipes calling for the store-bought version. Enjoy the fresh, homemade flavor in baked goods, dressings, marinades, and more.
Step 5. Transfer to Airtight Container
Transfer the homemade buttermilk solids to an airtight container for storage. This crucial step helps preserve the fresh buttermilk and prevent contamination.
Choose a clean, dry container with a tight-fitting lid, such as a mason jar or an airtight food storage container. Gently scoop or pour the solids into the container, being careful not to introduce any stray liquids or impurities.
Once the buttermilk solids are safely contained, you can store them in the refrigerator for up to 1 week. This allows you to enjoy the full flavor and thickness of your homemade buttermilk whenever you need it.
Simply give the container a gentle shake before use, as the solids may settle slightly during storage.
When ready to use the buttermilk, simply add the desired amount of solids to your recipe, adjusting the liquid ingredients as needed. The concentrated buttermilk solids will provide the characteristic tangy flavor and creamy texture you love.
Enjoy your freshly made buttermilk in all your favorite baking and cooking applications!
Final Thoughts
Homemade buttermilk is a straightforward process that rewards your efforts with a tangy, versatile ingredient. Making it at home allows you to control the quality, flavor, and consistency – something store-bought options can't always match.
Plus, it's a great way to reduce food waste by repurposing the leftover liquid from churned butter.
With just a few simple steps, you can have fresh buttermilk on hand for all your cooking and baking needs. Whether you're whipping up flaky biscuits, creamy ranch dressing, or moist cakes, this homemade version will elevate your dishes.
It also serves as a handy substitute for regular milk in recipes that call for its tangy, thick texture.
Frequently Asked Questions
How Long Can Homemade Buttermilk Be Stored?
Homemade buttermilk can usually be stored for up to 7-10 days in the refrigerator. It's best to keep it in an airtight container and check for any signs of spoilage before using. Enjoy your fresh, homemade buttermilk!
Can I Use Store-Bought Milk Instead of Fresh?
You can absolutely use store-bought milk instead of fresh when making homemade buttermilk. The process is the same – just add a bit of vinegar or lemon juice to the milk and let it curdle.
Do I Need to Use a Specific Type of Milk?
You can use any type of milk, whether it's whole, 2%, or skim, to make buttermilk. The type of milk you choose will affect the texture and richness of the final product.
Can I Add Any Additional Ingredients to the Buttermilk?
You can absolutely add additional ingredients to your homemade buttermilk. Feel free to stir in a bit of honey, vanilla extract, or even fresh herbs for a unique twist on the classic recipe.
Is There a Way to Thicken the Buttermilk Further?
You can thicken your buttermilk further by adding a teaspoon of lemon juice or white vinegar. This will help curdle the milk and create a thicker, creamier consistency. Just be sure not to over-thicken it.