
Making homemade butter is easier than you might think. Start with high-quality, chilled heavy cream – around 1 pint. Whip the cream vigorously for 5-10 minutes until solid clumps form. Drain the excess buttermilk, then rinse and knead the butter under cold water to achieve a smooth texture. Shape it, wrap tightly, and refrigerate for up to a week. This preservative-free butter is perfect for baking, sautéing, and more. You can even get creative by infusing it with herbs or spices. Continue reading to learn the detailed cooking steps and discover the fascinating history behind this timeless kitchen staple. Additionally, don’t throw away the buttermilk you drained – it’s perfect for adding tang to pancakes, biscuits, or salad dressings. For a more flavorful option, try incorporating it into a **homemade buttermilk recipe**, where it can serve as the base for dressings or marinades. With just a few basic ingredients, you can elevate your dishes while staying true to natural, preservative-free cooking practices. Homemade butter not only enhances the flavor of your dishes but also adds a personal touch to your cooking. Pair it with a delicious homemade cookie recipe, and you’ll have a truly indulgent treat for family and friends. The fresh, creamy taste of your butter will elevate even the simplest recipes, making every bite unforgettable.
Key Takeaways
- Homemade butter can be easily made using just high-quality heavy cream and a simple whisking process.
- The essential steps involve whipping the cream until solid clumps form, draining the buttermilk, and kneading the butter.
- Homemade butter offers versatility in cooking and baking, and can be infused with various flavors.
- Proper storage in an airtight container can keep homemade butter fresh for up to 2 weeks in the refrigerator.
- Making butter at home provides control over ingredients and a satisfying culinary experience.
History
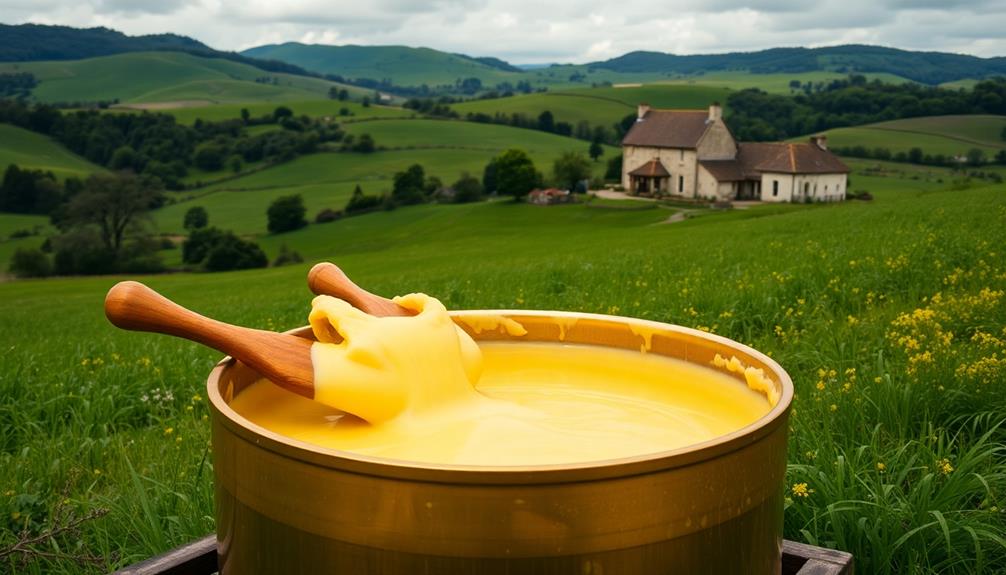
The origins of homemade butter can be traced back centuries, when butter-making was a vital household task. In the past, cows, sheep, and goats were essential sources of dairy, and families would regularly churn butter from the cream that rose to the top of fresh milk.
This process wasn't only a practical way to preserve dairy, but it also allowed people to create a flavorful, spreadable fat that could be used in cooking, baking, and as a versatile ingredient. Over the years, the historical evolution of butter-making has highlighted its cultural significance and the advancements that have shaped the industry.
Over time, butter-making evolved from a laborious, manual process to one that incorporated more advanced tools and equipment.
Wooden butter churns, for instance, became a common sight in many homes, making the task of transforming cream into butter much easier. As technology advanced, electric and hand-cranked butter churns further simplified the process, allowing people to enjoy the rich, creamy goodness of homemade butter with greater convenience.
Recipe
Making homemade butter is a rewarding and satisfying process that allows you to control the quality and freshness of the final product. By starting with high-quality cream, you can create a rich, creamy butter that surpasses anything store-bought.
Additionally, experimenting with different herbal infusion machines can enhance your culinary creations, allowing you to incorporate infused flavors into your butter. The process is surprisingly simple, requiring just a few basic ingredients and a little elbow grease.
Homemade butter not only tastes delicious, but it can also be used in a variety of recipes, from baking to sautéing, making it a versatile addition to your kitchen.
Ingredients:
- 1 pint (2 cups) heavy cream, chilled
- Pinch of salt (optional)
Instructions:
Pour the chilled heavy cream into a large, clean bowl or a stand mixer fitted with the whisk attachment. Begin beating the cream at a medium-high speed.
As the cream begins to thicken, you may need to increase the speed to high. Continue beating until the cream separates into solid butter pieces and buttermilk. This process can take 10-15 minutes.
Once the butter has formed, drain the buttermilk and rinse the butter under cold water to remove any remaining buttermilk. At this stage, you can add a pinch of salt if desired.
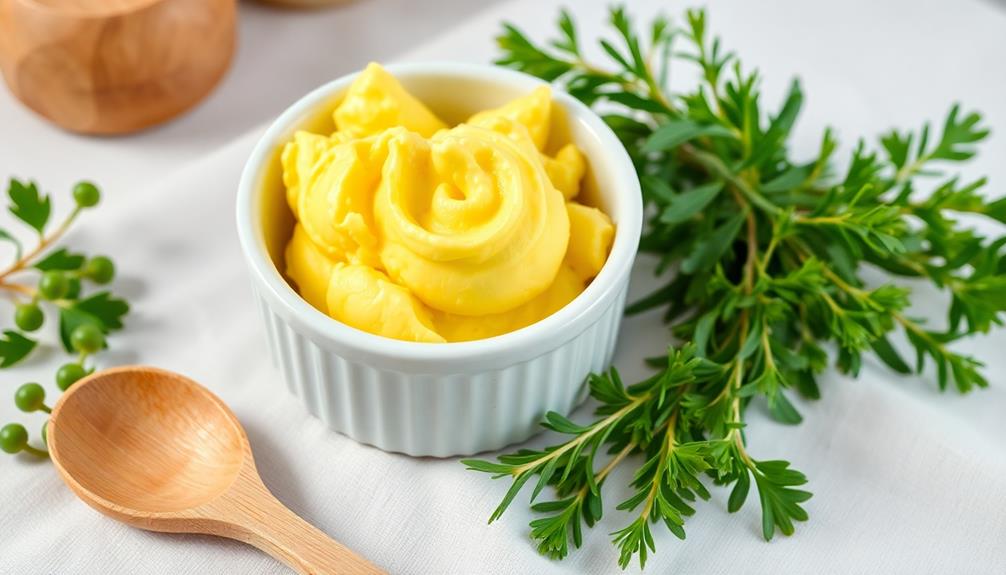
Knead the butter gently to remove any excess moisture, then shape it into a log or pat it into a container. Your homemade butter is now ready to be used in your favorite recipes or enjoyed on its own.
Tips:
- Use the freshest, highest-quality heavy cream for best results.
- Chill the cream and all equipment before starting to ensure maximum butterfat separation.
- Experiment with different techniques, such as shaking the cream in a jar, to find the method that works best for you.
- Store the homemade butter in an airtight container in the refrigerator for up to 1 week.
Cooking Steps
Pour the heavy cream into a bowl and whisk it vigorously until the cream separates into buttermilk and butter.
Drain the excess buttermilk, then rinse and knead the butter to remove any remaining liquid.
Step 1. Pour Heavy Cream Into Bowl
Grab your favorite mixing bowl, and carefully pour in the fresh, creamy heavy cream. The amount you'll need depends on how much butter you want to make, but a good starting point is 1-2 cups of heavy cream. As you gently pour, tilt the container to create a smooth, even flow into the bowl. This helps prevent any splashing or messy spills.
Once the cream is in the bowl, take a moment to admire its rich, velvety texture. You're about to transform this humble dairy product into something truly special.
Before proceeding, make sure the bowl and any other equipment you'll be using are clean and dry. This will help ensure the best possible results for your homemade butter.
With the cream ready, it's time to move on to the next step in the process. Get ready to start whipping that cream into butter!
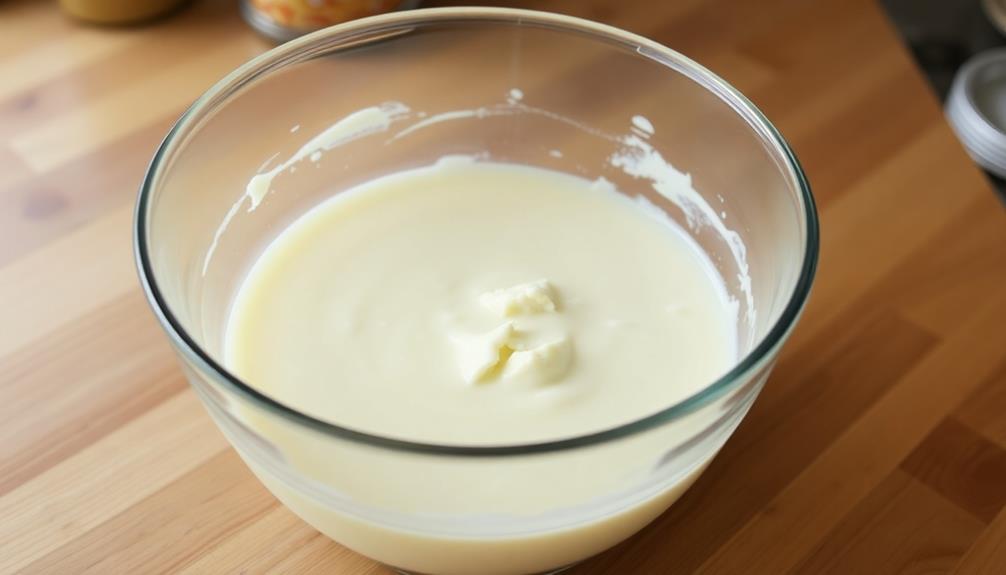
Step 2. Whisk the Cream Vigorously
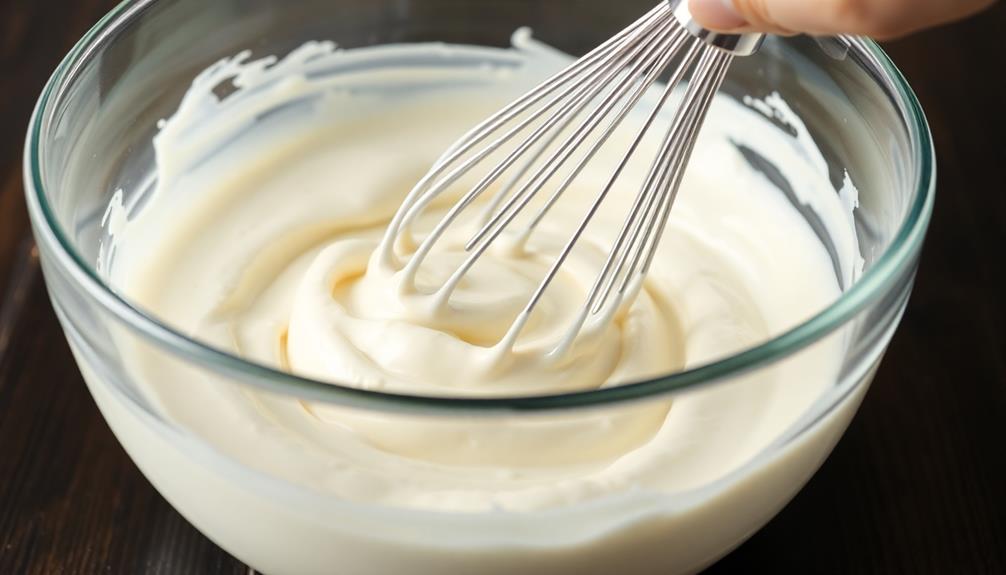
Using a hand mixer or stand mixer fitted with the whisk attachment, whip the cream vigorously. This process will transform the smooth, liquid cream into a thick, airy texture.
As you whisk, the cream will begin to thicken and increase in volume. Whisk continuously for about 5-10 minutes, or until the cream has reached the desired consistency. You'll know the butter is ready when it starts to form solid clumps and the liquid buttermilk separates from the solids.
Once the butter has formed, stop the mixer and use a spatula to gently scrape down the sides of the bowl. This will ensure all the cream is incorporated.
For best results, continue whisking by hand for another minute or two to fully develop the butter's texture and flavor. The end product should have a creamy, spreadable consistency, with a rich, slightly sweet taste.
Get ready to enjoy your homemade butter on toast, in baked goods, or however you prefer!
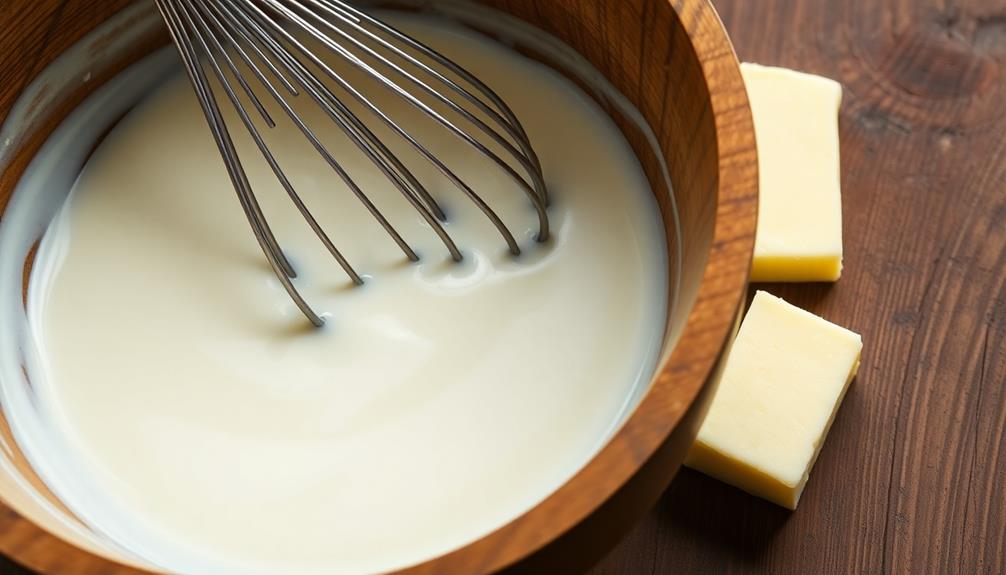
Step 3. Drain Excess Buttermilk
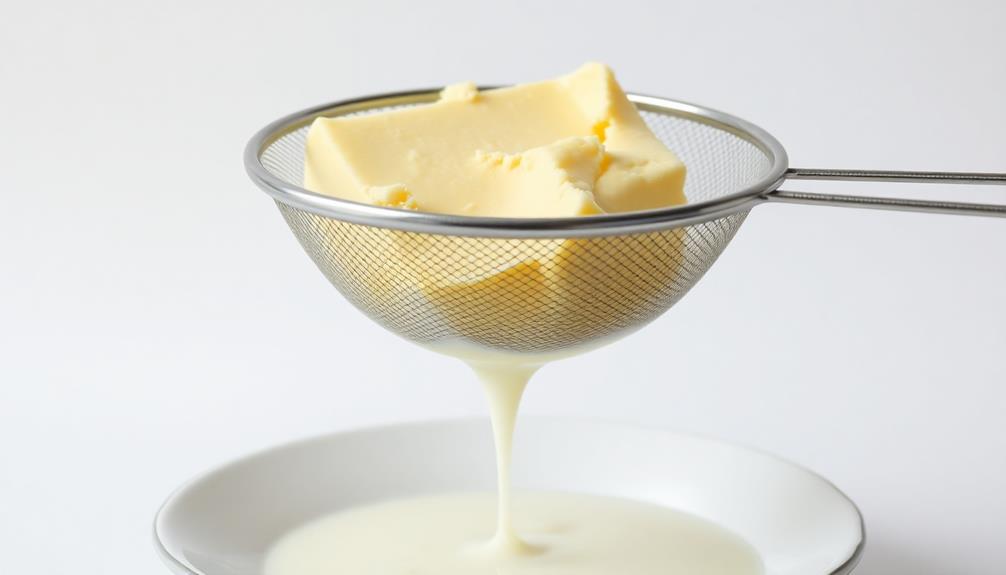
With the butter now formed, it's time to remove the excess buttermilk. This step is crucial, as the remaining buttermilk can turn the butter sour over time. To drain the excess, start by pouring the contents of the bowl through a fine-mesh strainer or cheesecloth, allowing the buttermilk to drain off.
Next, place the butter back into the bowl and gently knead it with your hands. This helps express any remaining buttermilk. You may also want to rinse the butter under cold running water, further removing the buttermilk.
- Pour the contents through a fine-mesh strainer or cheesecloth
- Place the butter back in the bowl and gently knead it
- Rinse the butter under cold running water
Once the butter no longer releases any more buttermilk, it's ready for the next step – rinsing and shaping. Take your time with this process to ensure your homemade butter turns out fresh and delicious.
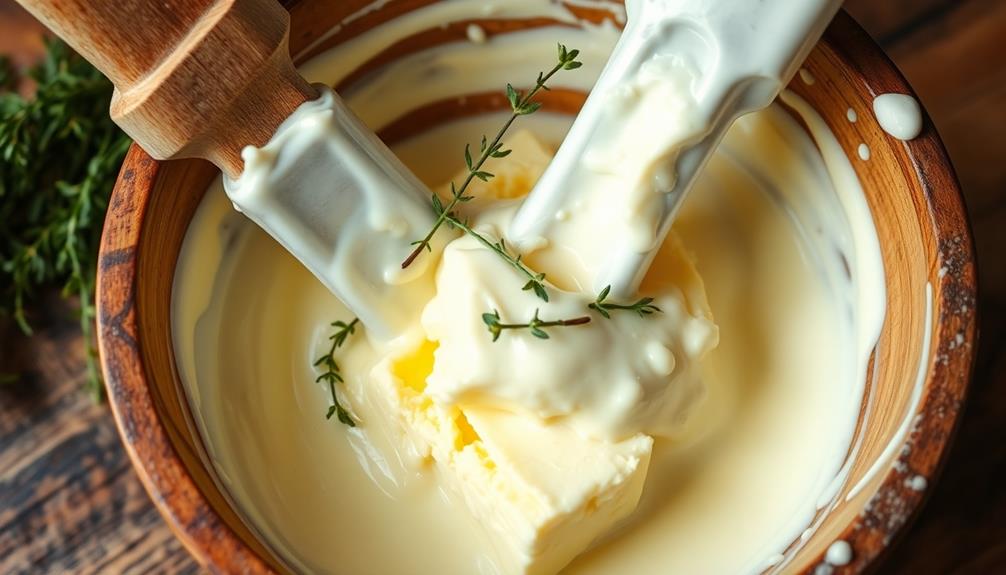
Step 4. Rinse and Knead the Butter
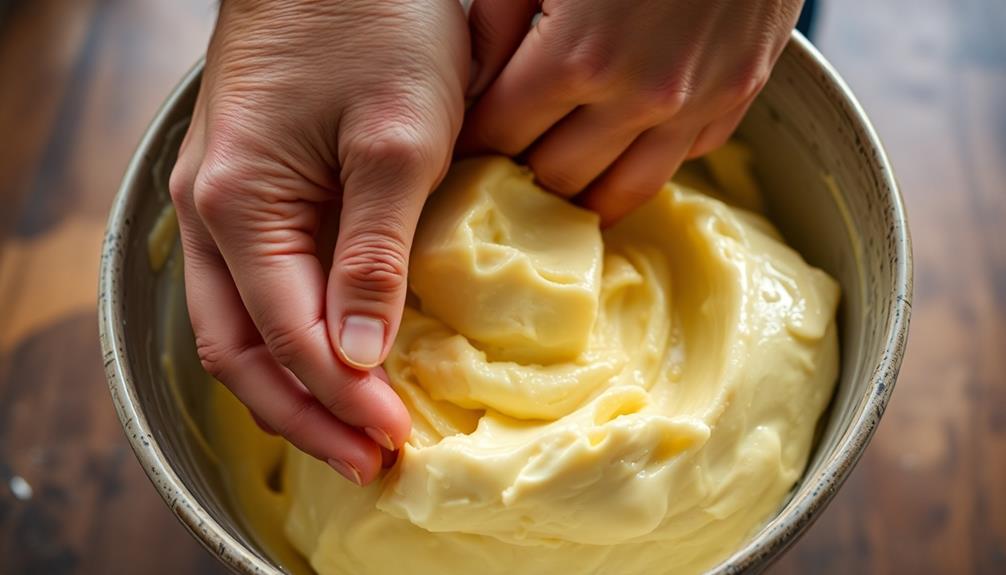
After draining the excess buttermilk, you'll need to rinse and knead the butter to ensure it's free of any remaining dairy. This step helps to create a smooth, creamy texture and extends the butter's shelf life.
First, place the butter in a bowl and cover it with cold water. Gently swish the butter around, working the water through the fat. This helps to remove any lingering buttermilk. Drain the water and repeat this process a few times until the water runs clear.
Next, it's time to knead the butter. Using clean hands, firmly press and fold the butter, working out any remaining liquid. This process also helps to combine the fat globules, creating a uniform texture. Knead for 2-3 minutes, or until the butter becomes smooth and pliable.
Once the butter is thoroughly rinsed and kneaded, it's ready for the final step – shaping and storage. Gather the butter into a cohesive mass and shape it into your desired form, whether a log, pat, or stick.
Wrap it in parchment paper or plastic wrap, and refrigerate until ready to use.
Step 5. Store in Refrigerator
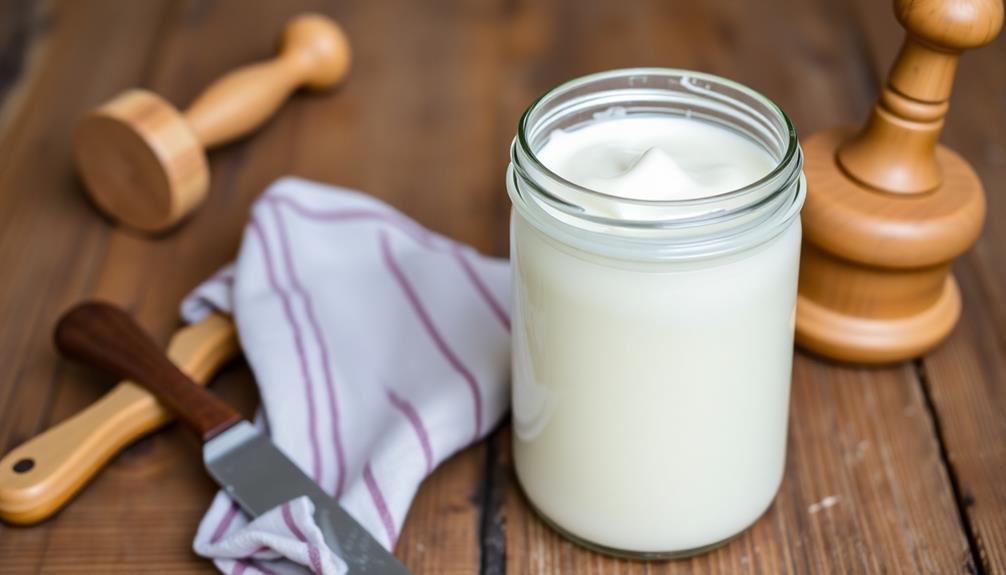
Once the butter is thoroughly rinsed and kneaded, it's ready to be stored in the refrigerator.
To properly store your homemade butter, first shape it into a cohesive block or roll. Wrap the butter tightly in parchment paper, wax paper, or plastic wrap, ensuring there are no air pockets. This will help prevent the butter from absorbing other fridge odors and maintain its fresh flavor.
Next, place the wrapped butter in an airtight container or resealable bag. If storing in a container, make sure the lid seals tightly. The airtight packaging is crucial for preserving the butter's quality and preventing it from drying out. When stored this way, your homemade butter can last in the refrigerator for up to 2 weeks.
For longer-term storage, you can also freeze the butter. Simply place the wrapped butter in a freezer-safe bag or container and freeze for up to 3 months. Remember to label the butter with the date before freezing.
Final Thoughts
Homemade butter is a rewarding and straightforward process that any home cook can master. Now that you've gone through the steps to transform fresh cream into a delightful spreadable treat, take a moment to reflect on your accomplishment. Not only have you created a high-quality product, but you've also gained a newfound appreciation for the time-honored tradition of butter-making, which has evolved from hand churning to modern automated techniques like continuous butter making.
As you enjoy your homemade butter, consider the versatility it offers. Spread it on freshly baked bread, use it in your favorite recipes, or simply savor it on its own. The rich, creamy texture and pure flavor will elevate any dish. Furthermore, you can experiment with different flavor variations, such as adding herbs or spices, to suit your personal preferences.
Beyond the culinary benefits, making your own butter is a satisfying and empowering experience. You've taken control of the ingredients, ensuring that your butter is free from any preservatives or additives.
Embrace the joy of creating something delicious and nourishing with your own two hands.
Frequently Asked Questions
Can I Use a Different Type of Cream?
You certainly can use a different type of cream. Heavy whipping cream, double cream, or clotted cream will all work well in making homemade butter. Just be sure to choose a high-fat content cream for best results.
How Long Does Homemade Butter Last?
Homemade butter can last for up to two weeks when stored properly in the refrigerator. It's important to keep it tightly covered and away from strong odors. Enjoy your fresh, homemade butter while it's at its peak!
Is It Safe to Consume Raw Butter?
Consuming raw butter isn't recommended, as it may contain harmful bacteria. While the flavor may be appealing, the potential risks outweigh the benefits. It's best to pasteurize butter before eating to ensure it's safe.
Can I Flavor the Butter?
Absolutely, you can flavor your homemade butter! Get creative by adding herbs, spices, or even fruit. Just be mindful of food safety and ensure any additions are properly washed and incorporated. The possibilities are endless for customizing your delicious butter.
Do I Need Special Equipment to Make Butter?
To make butter at home, you don't need any special equipment. A simple mixing bowl, a whisk or spoon, and some heavy cream are all you require to transform cream into delicious, homemade butter.