Graveyard Dirt Cake is a spooky and fun Halloween dessert you'll love making! It's a playful twist on classic dirt cake, originating in the 1990s. You'll create layers of crushed Oreo cookies, chocolate pudding, and whipped topping, mimicking dirt. Add gummy worms throughout for a creepy-crawly effect. Top it off with tombstone-shaped cookies or candies to complete the graveyard theme. It's easy to customize and perfect for Halloween parties or trick-or-treat nights. Kids will enjoy helping decorate this eerie treat. Get ready to dig into a deliciously ghoulish dessert that'll have everyone coming back for seconds. Unearth the secrets to making this graveyard delight!
Key Takeaways
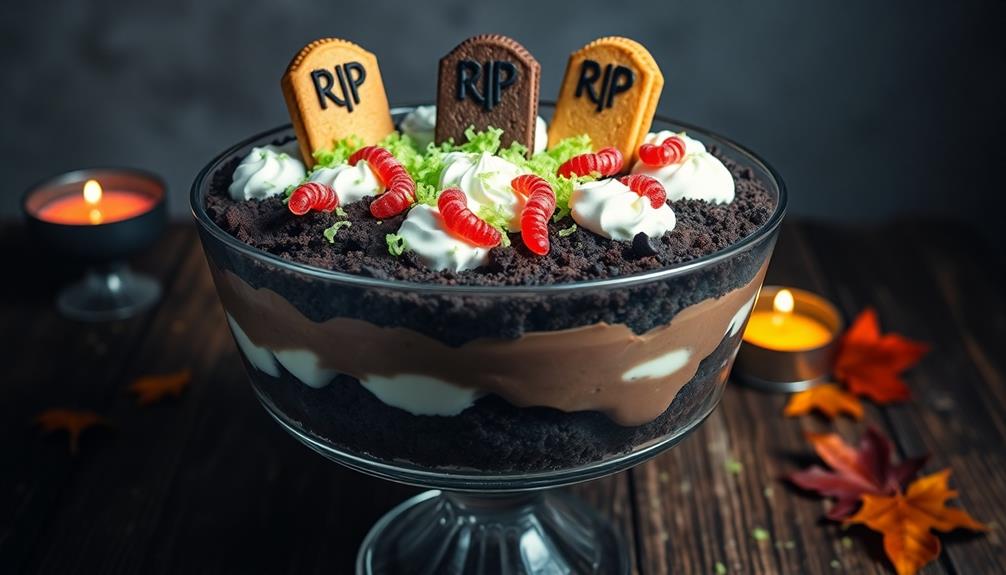
- Graveyard Dirt Cake is a Halloween-themed dessert featuring layers of chocolate pudding and crushed Oreo cookies.
- The dessert includes gummy worms and tombstone-shaped cookies to create a spooky graveyard appearance.
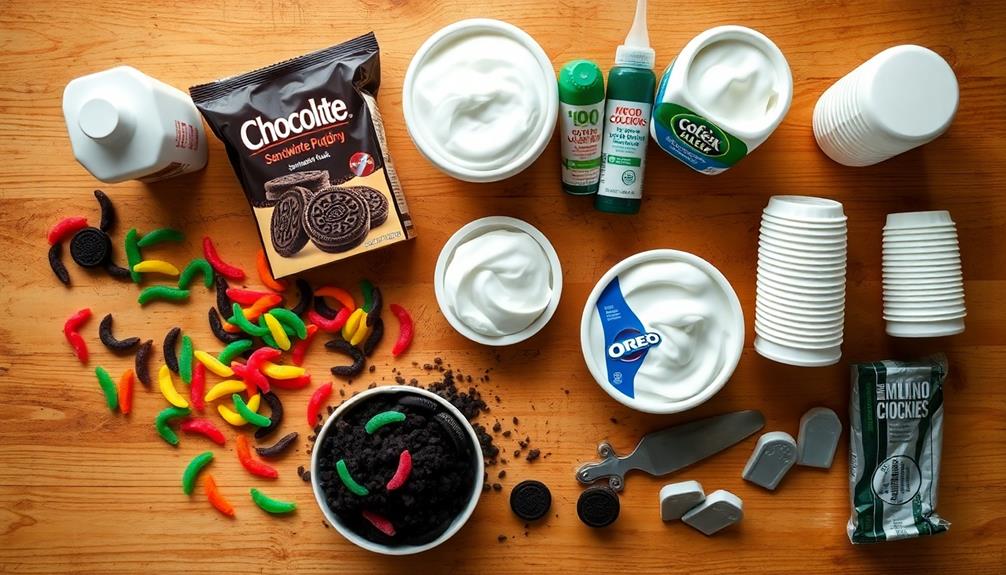
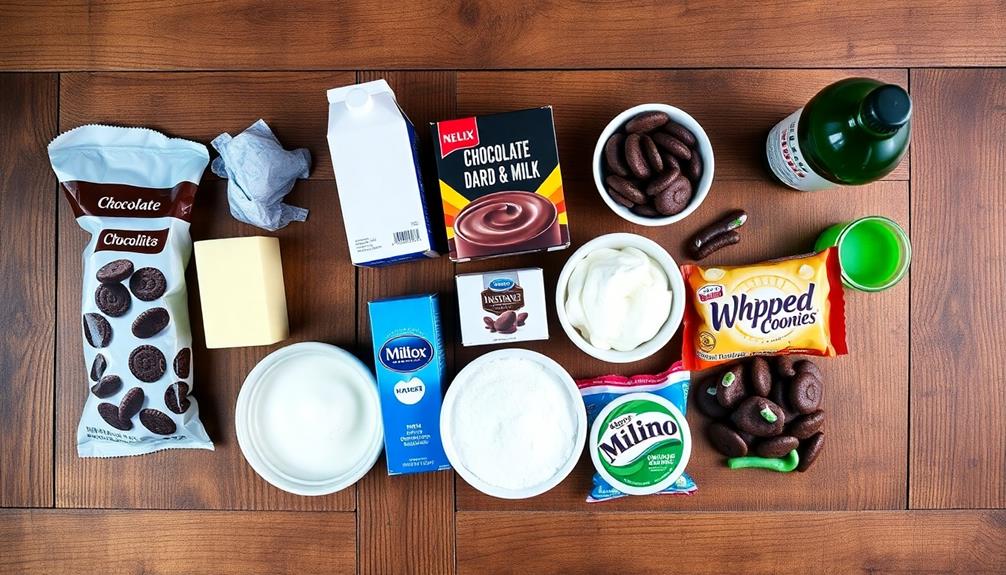
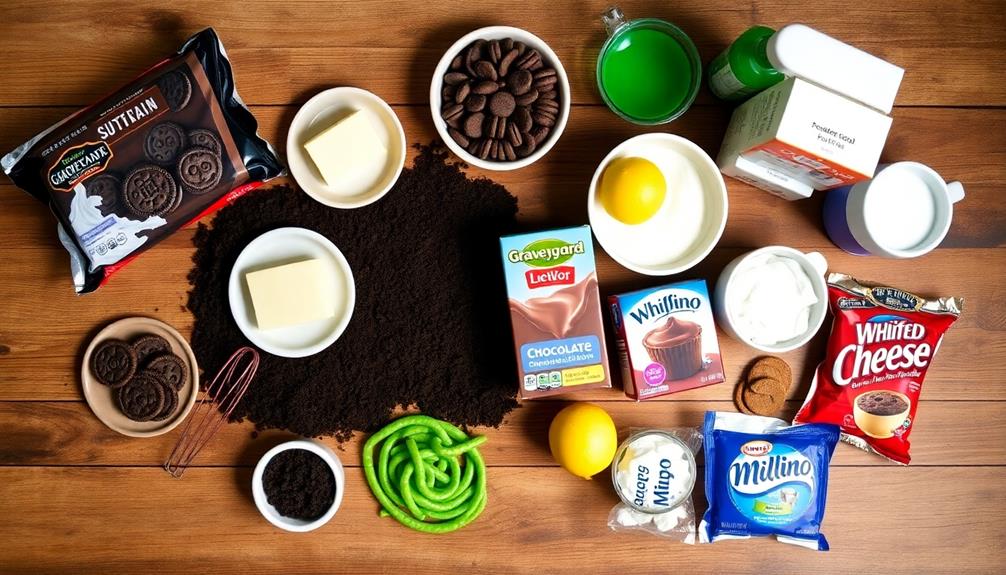
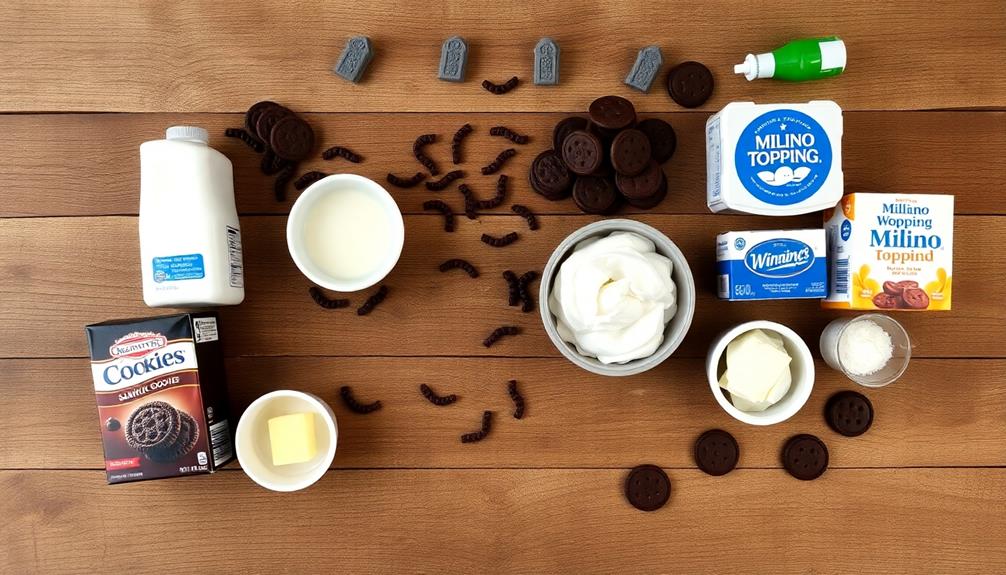
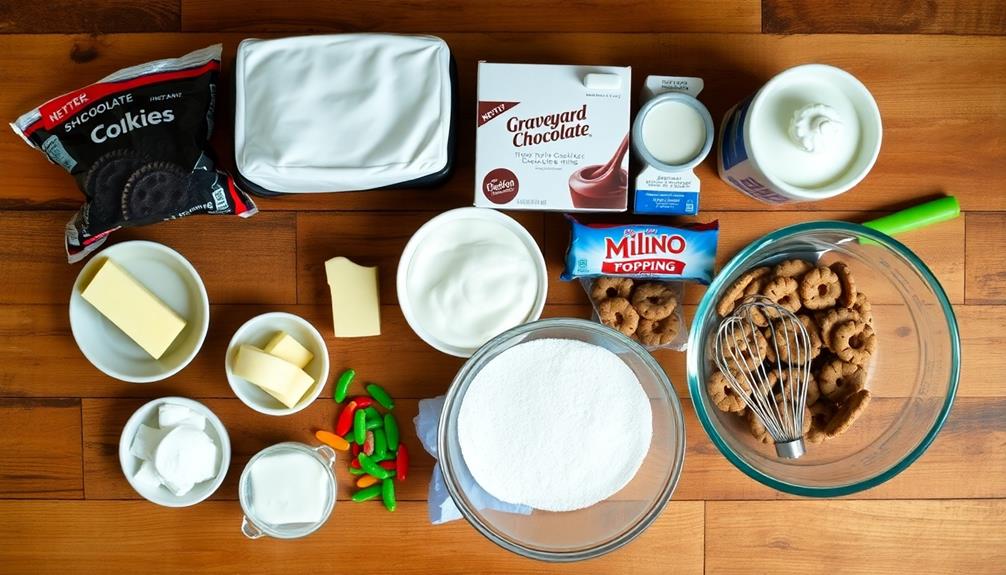
- Key ingredients are chocolate pudding mix, crushed Oreo cookies, whipped topping, and gummy worms.
- Assembly involves alternating layers of pudding and cookie crumbs, topped with decorative elements.
- It's a fun, customizable treat that originated in the 1990s and remains popular for Halloween parties.
Top picks for "graveyard dirt cake"
Open Amazon search results for this keyword.
As an affiliate, we earn on qualifying purchases.
History
Digging into the history of Graveyard Dirt Cake reveals a relatively recent culinary creation. You'll find that this spooky dessert first appeared in the 1990s, quickly becoming a Halloween favorite.
It's a fun twist on the classic dirt cake, which has been around since the 1970s. You might wonder where the idea came from. Well, clever bakers decided to give the ordinary dirt cake a creepy makeover. They added tombstone-shaped cookies and gummy worms to create a miniature graveyard scene.
The result? A deliciously eerie treat that's perfect for Halloween parties!
As you explore further, you'll discover that the Graveyard Dirt Cake's popularity grew rapidly. It spread through cookbooks, magazines, and later, online recipe sites. You'll see countless variations now, with different flavors and decorations. Some people even make them for other occasions, not just Halloween.
What's great about this dessert is how it combines tasty ingredients with playful presentation. It's a hit with both kids and adults, making it a go-to choice for fall gatherings and spooky celebrations.
Cooking Steps
To create this spooky dessert, you'll start by crushing the chocolate cookies into fine crumbs. Use a food processor or place them in a plastic bag and roll with a rolling pin.
Next, mix the pudding according to the package instructions and set it aside to thicken.
In a large bowl, cream together the softened cream cheese and butter. Add the powdered sugar and mix until smooth.
Fold in the prepared pudding and whipped topping, creating a creamy mixture. Now, it's time to assemble your graveyard!
In a clear glass dish or individual cups, alternate layers of cookie crumbs and the creamy mixture. Start with crumbs at the bottom, then add a layer of the cream mixture.
Repeat until you've used all your ingredients, ending with a layer of crumbs on top.
Decorate your "graveyard" with gummy worms, candy pumpkins, and cookie tombstones. For an extra spooky touch, add some plastic skeletons or ghosts. To complete the eerie scene, place some flickering candles and spider web decorations around the graveyard. For a delicious treat, serve some haunted graveyard brownies, topped with crushed Oreo “dirt” and gummy worms. To make the haunted graveyard brownies, simply follow our easy haunted graveyard brownies recipe for a fang-tastic dessert that will impress all of your guests.
Chill your dirt cake in the fridge for at least 2 hours before serving to let the flavors meld together.
Step 1. Crush Chocolate Sandwich Cookies
The first step in creating your graveyard dirt cake is crushing the chocolate sandwich cookies. You'll need about 30 cookies to make enough "dirt" for your spooky dessert.
Start by placing the cookies in a large plastic bag. Make sure to seal it tightly, squeezing out any extra air. Now comes the fun part!
Grab a rolling pin or a heavy wooden spoon. You're going to use this to smash the cookies into tiny pieces. Begin by gently pressing down on the bag, then increase your force as you go. Roll or tap the cookies until they're broken into small crumbs.
Don't worry if some pieces are a bit bigger – it'll add texture to your "dirt."
If you don't have a rolling pin, you can use a food processor instead. Just pulse the cookies a few times until they're crushed.
Step 2. Prepare Pudding Mixture
Now that you've prepared the "dirt" for your graveyard, it's time to whip up the creamy pudding mixture. This is where the magic happens! You'll need a large mixing bowl, an electric mixer, and your ingredients ready to go.
Start by pouring the milk into your bowl. It's best to use cold milk straight from the fridge. Next, add the instant pudding mix. You can use chocolate or vanilla, depending on your preference.
Turn on your mixer and blend these two ingredients together for about two minutes. You'll see the mixture start to thicken as you mix.
Once your pudding is smooth, it's time to add the secret ingredient that makes it extra creamy – softened cream cheese! Cut it into small chunks and add it to the bowl.
Mix again until everything is well combined and there are no lumps. Finally, fold in the whipped topping. This gives your pudding a light, airy texture that's perfect for your spooky graveyard scene.
Your pudding mixture is now ready to become the foundation of your deliciously creepy dirt cake!
Step 3. Layer Pudding and Cookies

Next, spoon a generous layer of pudding over the cookie crumbs. Make sure it's even and covers the entire surface.
Now, sprinkle another layer of cookie crumbs on top of the pudding. Keep alternating layers of pudding and cookie crumbs until you reach the top of your container. Make sure to end with a layer of cookie crumbs on top for that perfect dirt-like appearance.
As you layer, gently press down on each cookie crumb layer to ensure it sticks to the pudding. This will help create a more stable structure for your graveyard scene.
Don't worry if it's not perfect – the messier it looks, the more realistic your "dirt" will appear! Remember to leave some room at the top for decorations you'll add later.
Step 4. Add Gummy Worms
Along with the dirt-like layers, gummy worms are essential for creating a creepy, crawly effect in your graveyard dirt cake. Now it's time to add these slimy-looking treats to your dessert. First, grab a handful of gummy worms from your candy stash. You'll want to use different colors to make it look more realistic and fun.
As you're adding the final layer of crushed cookies, start placing the gummy worms strategically throughout the "dirt." Stick some of them halfway into the pudding, so they look like they're emerging from the ground.
You can also drape a few over the edges of your serving dish for an extra spooky touch. Don't be afraid to get creative! You might even want to cut some of the gummy worms in half to create the illusion of worms peeking out from different spots in the dirt. You could also add some other creepy-crawly elements to your dirt cups, such as chocolate sprinkles to look like dirt and gummy bugs for an extra creepy factor. If you really want to up the ante, serve the dirt cups alongside some crunchy spider leg snacks for a truly terrifying treat. The possibilities for decorating your dirt cups are endless, so have fun and let your imagination run wild!
Step 5. Add Spooky Tombstone Decorations

The graveyard's eerie atmosphere comes to life with the addition of spooky tombstone decorations. It's time to give your dirt cake that haunting touch! You'll need some cookie or candy tombstones to complete the look. If you can't find pre-made ones, don't worry – you can easily make your own.
Grab some rectangular cookies or graham crackers and use white icing to write "R.I.P." or funny epitaphs on them. Stick these tombstones into your dirt cake at different angles for a realistic, creepy effect. You can also use grey fondant to shape small tombstones if you're feeling extra creative.
To make your graveyard even spookier, add some skeleton hands or bones poking out of the dirt. You'll find these at most party stores during Halloween season. Place them near the tombstones as if they're reaching out from beyond the grave.
Don't forget to sprinkle some green-tinted coconut shavings around the tombstones to mimic moss or grass. This simple trick adds depth and realism to your eerie scene.
Your graveyard dirt cake is now ready to give your guests a delightfully scary treat!
Final Thoughts

In spite of its eerie name, Graveyard Dirt Cake is a delightful treat that's perfect for Halloween parties or spooky-themed gatherings.
You'll find that this dessert isn't only fun to make but also a crowd-pleaser. It's a great way to get kids involved in the kitchen, as they'll love helping to create the graveyard scene.
Remember, you can always customize your Graveyard Dirt Cake to suit your tastes or theme.
Try using different types of cookies for the "dirt" or add gummy worms for an extra creepy touch. Don't be afraid to get creative with your tombstone decorations or add other spooky elements like plastic spiders or skeleton parts.
When you're ready to serve, make sure you've got plenty of spoons on hand. Your guests will be eager to dig into this tasty graveyard!
It's a dessert that's sure to become a Halloween tradition in your home. So go ahead, embrace the spooky spirit, and enjoy your creepy-cute creation.
Your Graveyard Dirt Cake is bound to be the talk of the party!