To recaulk your tub or shower, start by removing the old caulk with a utility knife or caulk remover tool, then clean and dry the area thoroughly. Select a high-quality, mold-resistant silicone or silicone-latex caulk and apply it evenly along the joint with a caulk gun. Smooth the bead with a damp finger or tool, wipe away excess, and let it cure for 24 hours. Proper preparation guarantees a durable seal, and with these steps, you’ll be prepared for a professional finish.
Key Takeaways
- Remove old caulk carefully with a caulk remover tool or utility knife, then clean and dry the area thoroughly.
- Choose a high-quality, mold-resistant silicone or silicone-latex caulk suitable for bathrooms.
- Apply the new caulk evenly along the joints with a caulk gun, pressing it into the gap for proper adhesion.
- Smooth the freshly applied caulk with a damp finger or smoothing tool for a neat finish.
- Allow the caulk to cure fully, typically 24 hours, before exposing it to water or moisture.

Over time, old caulk around your tub or shower can crack, peel, or develop mold, compromising its seal and leading to water damage. If you notice water seeping behind tiles or mold growth in the joints, it’s time to replace the caulk. Before you begin, it’s essential to thoroughly clean the grout surrounding the area. Grout cleaning is indispensable because dirt, soap scum, and mold can prevent the new caulk from adhering properly. Use a grout brush and an appropriate cleaner to scrub away all debris and mold from the grout lines. Once the area is spotless and dry, you’re ready to select the right sealant.
Choosing the correct sealant is critical for a long-lasting repair. Look for a high-quality silicone or silicone-latex caulk specifically designed for bathrooms. These sealants resist mold, mildew, and water, ensuring your tub or shower stays sealed over time. Read the manufacturer’s instructions to confirm the product is suitable for wet environments. When selecting your sealant, consider the color—clear or white are common choices that blend seamlessly with most tiles. Investing in a good sealant now will save you time and effort in the future, preventing recurring issues.
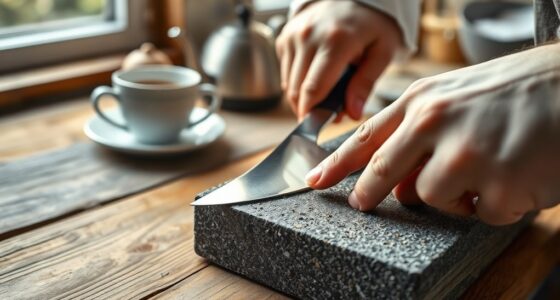
Before applying the new caulk, remove the old caulk carefully. Use a caulk remover tool or utility knife to cut and scrape away the old sealant. Be gentle to avoid damaging the tiles or grout. After removing the old caulk, clean the joint thoroughly with rubbing alcohol or a similar solvent to remove any residual debris, grease, or soap scum. Allow the area to dry completely—moisture will compromise the adhesion of the new sealant. Proper preparation makes all the difference in guaranteeing a smooth, durable seal. Additionally, understanding the importance of mammography guidelines can help detect breast issues early, similar to how proper preparation in caulking ensures a durable seal.
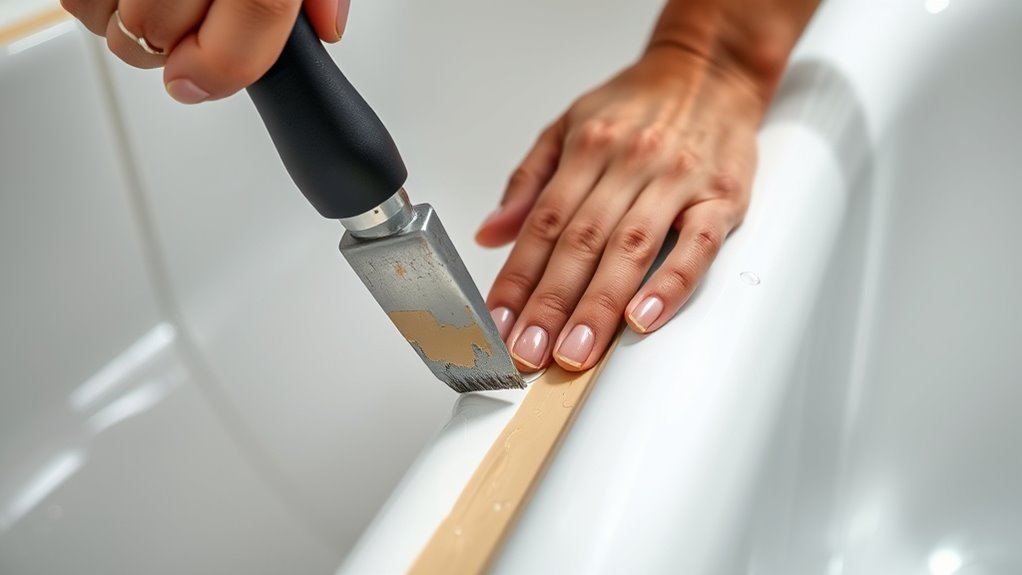
When applying the new caulk, load it into a caulk gun, and cut the tip at a 45-degree angle for better control. Apply steady, even pressure as you run a continuous bead of sealant along the joint. Make sure to fill the entire gap, pressing the sealant into the joint for maximum adhesion. Once you’ve applied the bead, use a caulk smoothing tool or your finger dipped in water to create a clean, professional finish. Wipe away excess sealant promptly to avoid messes and ensure a neat appearance. Allow the caulk to cure as per the manufacturer’s instructions—typically 24 hours—before exposing it to water. With these steps, you’ll restore your tub or shower’s seal, preventing leaks and maintaining a fresh, clean look.
Frequently Asked Questions
How Often Should I Recaulk My Bathtub or Shower?
You should recaulk your bathtub or shower every 1 to 2 years to maintain proper bathroom sealing and prevent water damage. Regular caulk maintenance helps keep mold and mildew away and guarantees a tight seal. Keep an eye on the caulk’s condition, looking for cracks, peeling, or gaps. Recaulking promptly when you notice these issues will protect your bathroom and extend the lifespan of your tub or shower.
What Type of Caulk Is Best for Bathrooms?
Did you know that silicone caulk is used in over 70% of bathroom sealing projects? When choosing the best caulk for bathrooms, opt for mold-resistant silicone, which provides superior waterproofing and flexibility. Silicone outperforms acrylic by resisting mold and mildew buildup, making it ideal for humid environments. While acrylic caulk is easier to apply and clean, silicone’s durability and mold resistance make it the top choice for your bathtub or shower.
Can I Remove Old Caulk Without Special Tools?
Yes, you can remove old caulk without special tools by using common DIY tools like a razor blade, utility knife, or a plastic scraper. Carefully cut along the caulk line and gently pry it away. Be cautious to avoid damaging your tub or tiles. With patience and the right household tools, you can effectively perform caulk removal and prepare the surface for new caulk, saving you time and money.
Is It Necessary to Waterproof the Area Before Recaulk?
Imagine you’re fixing a leaky shower, and you wonder if waterproofing the area is necessary before recaulk. Yes, waterproofing importance is vital; it guarantees a long-lasting seal. Proper surface preparation, including cleaning and drying, prevents mold and mold-causing moisture. Skipping waterproofing can lead to water damage and mold growth. Always ensure the area is dry and free of debris to maximize caulk adhesion and durability.
How Long Does New Caulk Take to Cure Completely?
New caulk typically takes about 24 hours to fully cure, depending on the caulking materials used. During this drying time, avoid using the shower or tub to guarantee proper adhesion and prevent damage. Be patient and allow the caulk to dry completely before exposing it to water. Following the manufacturer’s instructions for drying time helps ensure your recaulked area stays watertight and looks good for years.
Conclusion
Now that you’ve recaulked your tub or shower, imagine the fresh, smooth seal replacing the cracked, stained old caulk—like a clean white stripe on a worn canvas. Your bathroom, once tired and leaking, transforms into a bright, secure space. Just as a fresh coat of paint revives a room, proper sealing keeps water out and peace of mind in. With your new caulk in place, your bathroom looks better and stays protected, ready for years to come.

Giovanni is our Chief Tasting Evangelist and the charismatic face of Mad Tasting. He inspires a sense of culinary wonder in all who encounter our brand. With boundless enthusiasm for the art of tasting and a gift for captivating audiences, Giovanni leads our immersive tasting experiences and workshops. He empowers food enthusiasts to discover the true depth and complexity of the flavors we celebrate. Whether he’s guiding a private group through a blind tasting or hosting a masterclass on the art of pairing, Giovanni’s infectious passion for the culinary world is the driving force behind our mission to share the extraordinary.