
To get a professional paint finish, start by sanding the surface with fine-grit sandpaper to smooth imperfections and guarantee good adhesion. Wipe away dust with a damp cloth, then apply primer in thin, even coats to create a uniform base and hide previous colors or stains. Use painter’s tape to protect edges and create clean lines, pressing it firmly. If you want to master every step for perfect results, keep exploring these essential prep techniques.
Key Takeaways
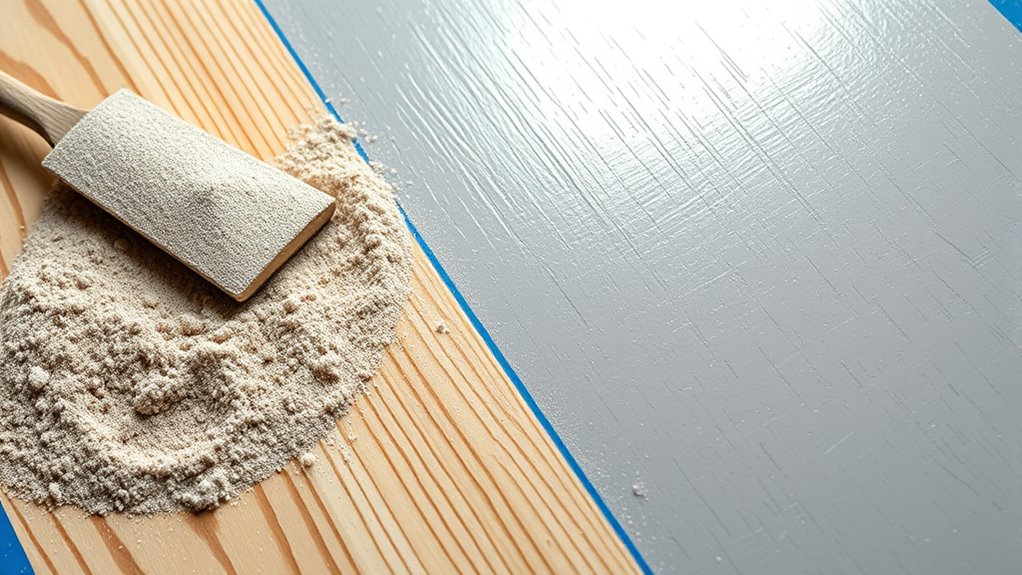
- Sand surfaces with fine-grit paper in circular motions to smooth imperfections and improve paint adhesion.
- Wipe away dust after sanding using a damp cloth or tack cloth for a clean surface.
- Apply thin, even coats of primer to create a uniform base and enhance paint sticking power.
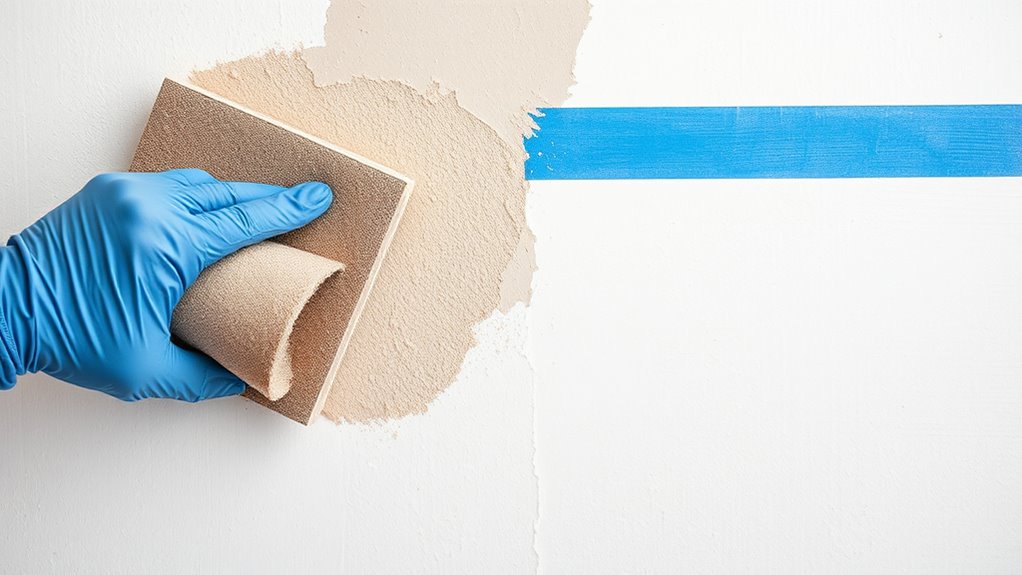
- Use painter’s tape to mask edges and protect areas, pressing firmly to prevent bleed-through.
- Remove tape while paint is slightly damp for clean, sharp lines and a professional finish.
Are you ready to achieve a flawless paint job? The key to professional-looking results starts with proper paint prep, and that means paying attention to the details like sanding, priming, and taping. When it comes to applying your paint, mastering brush techniques is essential. Your brush strokes influence the smoothness and overall finish, so take your time to work with controlled, even motions. Use high-quality brushes suited for your paint type, and keep them properly loaded with paint—neither too much nor too little—to avoid drips or uneven coverage. Consistent brush techniques help create uniform paint finishes, making your project look polished and professional.
Before you even think about applying paint, you need to prepare the surface thoroughly. Sanding is *indispensable* because it smooths out imperfections, removes old paint, and creates a better grip for the primer and paint to adhere. Use fine-grit sandpaper and gently sand in a circular motion, paying special attention to rough spots or chipped areas. After sanding, wipe down the surface with a damp cloth or tack cloth to remove dust and debris. Skipping or rushing through this step can lead to uneven paint finishes and a less durable coat.
Priming is the next step that shouldn’t be overlooked. A good primer creates a uniform base, enhances adhesion, and can even hide previous colors or stains. Apply the primer in thin, even coats—using your brush techniques to avoid thick, uneven layers—allowing each coat to dry completely before adding the next. Proper priming ensures that your final paint application looks smooth and consistent, giving you a flawless finish. It also reduces the number of paint coats needed, saving you time and effort.
Taping is often underestimated but is *imperative* for achieving sharp lines and protecting areas you don’t want painted. Use painter’s tape carefully—pressing it down firmly along edges and corners—to prevent bleed-through. When taping around trim, windows, or other fixtures, be precise, and remove the tape while the paint is slightly damp to avoid peeling or smudging your work. Proper taping helps you maintain clean, crisp lines and prevents paint from spreading into unwanted areas, contributing to a neat, professional look.
Frequently Asked Questions
What Type of Sandpaper Is Best for Different Surfaces?
You should choose sandpaper based on the abrasive grit and the surface you’re working on. For smooth finishes, use fine grit sandpaper like 220 or higher. For rougher surfaces or removing old paint, opt for coarse grit, such as 60 or 80. Different sandpaper types like aluminum oxide or garnet work best for wood, while finer grits are suitable for priming or finishing. Always match the grit to the task for the best results.
How Long Should Primer Dry Before Painting?
Perfect primer application promises a pristine paint job, so give it enough drying time. Generally, you should wait at least 2 hours for water-based primers and up to 24 hours for oil-based ones. Rushing the drying time risks ruining the primer’s adhesion, leading to peeling or uneven coverage. Patience pays off—allow your primer to fully dry, ensuring a smooth, stunning surface ready for painting perfection.
What Tape Is Most Effective on Delicate Surfaces?
You should use painter’s tape designed for delicate surfaces, as it has gentle adhesives that won’t damage or lift paint. Look for tapes labeled for delicate or fine surfaces to guarantee clean, easy removal. Applying it carefully and removing it slowly helps achieve gentle tape removal, preventing damage. This type of tape minimizes sticking issues and keeps your paint job looking smooth without tearing or leaving residues.
Can I Skip Sanding if the Surface Looks Smooth?
Imagine a smooth, glass-like surface shimmering under your light—can you skip sanding here? If it looks flawless, you might, but surface preparation is crucial for paint adhesion. Even a shiny finish can hide tiny imperfections, reducing paint’s grip. Lightly cleaning or wiping the surface ensures better adhesion. Skipping sanding risks uneven coverage or peeling later, so consider it a essential step for lasting, professional results.
How Do I Prevent Paint Bleed Under Tape?
To prevent paint bleed under tape, start by applying edge sealing along the tape’s edge with a small brush or the same paint you’ll use for the project. Make sure your tape is firmly pressed down during tape application, especially along the edges. This creates a barrier that minimizes paint seepage. Allow the edge sealant to dry before painting, ensuring crisp, clean lines and preventing bleed under the tape.
Conclusion
Remember, proper prep makes all the difference in your painting project. Sanding, priming, and taping might seem tedious, but they create a flawless finish that lasts. Interestingly, some experts believe that using a primer actually helps paint adhere better, reducing peeling over time. So, don’t skip these steps—they’re the secret to professional-looking results. Take your time, follow these tips, and you’ll be amazed at how a little prep transforms your space.