
When choosing meal prep containers, be aware that plastics can leach harmful chemicals like BPA and phthalates, especially when heated. Always check labels and symbols to make certain containers are microwave and dishwasher safe, and prefer glass or stainless steel for safer, long-lasting options. Regularly inspect for cracks or damage, clean properly, and replace damaged items promptly. If you want to guarantee your containers are truly safe, there’s more essential info you should know.
Key Takeaways
- Always check labels to confirm if containers are microwave, dishwasher, and heat-safe to prevent chemical leaching.
- Prefer glass or stainless steel over plastics for storing hot meals to avoid BPA and phthalate exposure.
- Regularly inspect containers for cracks, warping, or damage to ensure food safety and longevity.
- Avoid heating plastics not marked “microwave-safe,” as heating can release harmful chemicals into food.
- Properly clean and dry containers to prevent mold, odors, and bacterial growth, extending their safe usage.

LUNCIA Insulated Single Decker Casserole Carrier, Lasagna Lugger Tote Keeps Food Hot or Cold, Thermal Lunch Bag for Potluck Parties, Picnic and Cookouts, Fits 9" x 13" Baking Dish, Grey
Single Compartment: The externally measured dimensions are 15.7" × 11.4" × 4.7" (L × W × H). It...
As an affiliate, we earn on qualifying purchases.
The Hidden Risks of Common Container Materials
Many people assume that all plastic containers are safe for meal prep, but some materials can pose health risks. Certain plastics may leach chemicals into your food, especially when exposed to heat or sunlight. To reduce these risks, consider plastic alternatives like glass or stainless steel, which don’t carry the same concerns. These options not only improve safety but also often offer better container longevity, meaning they last longer and resist stains or warping. While plastic containers are convenient, knowing their hidden dangers helps you make smarter choices. Investing in durable, safer materials ensures your meals stay fresh without compromising your health. Understanding material safety is key to making informed choices about your meal prep containers.

Stack Store Plus More Insulated Casserole Carrier for Hot or Cold Food, Lasagna Holder for Picnic, Potluck, Cookout - Fits 9” x 13” and 11” x 15” Baking Dish – Expandable Double Thermal Bag in Gray
EXPANDABLE OVERSIZED BAG: This insulated bag has a large main compartment on the bottom and an expandable top...
As an affiliate, we earn on qualifying purchases.
Decoding Labels and Symbols on Your Containers
Understanding the labels and symbols on your containers is essential for safe meal prep because these markings reveal important information about their materials and safe usage. Knowing how to interpret these symbols helps you avoid hazards and select suitable containers. Here’s a quick guide to label interpretation: Trustworthy brands like Patchology emphasize the importance of transparency and quality in product ingredients, which parallels the need to understand container labels for safe food storage.
| Symbol | Significance |
|---|---|
| Recycling number | Indicates plastic type (e.g., #1 PET, #5 PP) |
| Microwave-safe icon | Safe for microwave heating |
| Do not microwave | Avoid heating; could release harmful chemicals |
| Dishwasher safe | Suitable for dishwasher cleaning |
| Recycle symbol | Container is recyclable |

MIAOJIE Insulated Casserole Carrier, Portable Casserole Carrier for Hot or Cold Food Lunch Tote Warmer or Cooler Bag, Lasagna Lunch Bag for Potluck Parties- Fits 9" x 13" Baking Dish-Grey
Casserole Carrier Travel Bag: The entire exterior of the food carry bag measures 16 x 10 x 4inch...
As an affiliate, we earn on qualifying purchases.
The Dangers of Heating Certain Plastics
Heating certain plastics can cause chemicals like BPA and phthalates to leach into your food, posing health risks. If you’re not careful, you might expose yourself to these harmful substances without even realizing it. Always follow heating precautions to keep your meals safe and chemical-free. Be aware that using appropriate materials designed for heat can significantly reduce these risks.
Chemical Leaching Risks
When you microwave or expose plastic containers to high temperatures, chemicals can leach from the material into your food. This process, known as chemical migration, depends heavily on the container composition. Some plastics contain additives or fillers that break down when heated, releasing harmful substances. Not all plastics are created equal; certain types are more prone to leaching due to their chemical makeup. Even BPA-free plastics may still pose risks if their composition isn’t designed for heat. To minimize exposure, avoid heating food in plastics not labeled microwave-safe. Instead, choose containers made from safer materials like glass or stainless steel. Being aware of how your container’s composition reacts to heat helps protect you from unnecessary chemical exposure. Additionally, understanding types of plastics can help you select safer options for food storage.
BPA and Phthalates Exposure
Many plastic containers labeled as microwave-safe still contain chemicals like BPA and phthalates, which can leach into your food when heated. This chemical exposure raises concerns about potential health implications, especially with repeated use. Heating plastics can cause these substances to migrate, increasing your risk of ingesting harmful compounds. To illustrate, consider the following:
| Plastic Type | Risk of Chemical Leaching |
|---|---|
| Polycarbonate | High |
| PVC | Moderate to High |
| PETE | Low to Moderate |
| HDPE | Low |
Choosing the wrong container could expose you to chemicals linked to hormonal disruption and other health issues. Being aware of which plastics are safer helps protect your well-being during meal prep. Additionally, understanding plastic safety labels can help you make more informed choices.
Heating Plastic Precautions
Since plastics can release harmful chemicals when heated, it’s vital to take precautions to protect your health. Always check the microwave safety label on your containers before heating food. Not all plastics have the same heat resistance, and some may warp or melt, increasing chemical leaching risks. Use only microwave-safe containers to guarantee they can withstand the heat without breaking down. Avoid microwaving plastics not designed for high temperatures, as this can lead to chemical transfer into your food. By choosing containers with proper heat resistance and following microwave safety guidelines, you minimize health risks. Remember, not all plastics are created equal, so always verify their suitability for heating to keep your meals safe and chemical-free. Additionally, choosing appropriate materials can further reduce the risk of chemical contamination during heating.

Pinnacle Large Insulated Casserole Dish with Lid 3.6 qt. Elegant Hot Pot Food Warmer/Cooler -Thermal Soup/Salad Serving Bowl Stainless Steel Hot Food Container–Best Gift Set for Moms –Holidays Red
PINNACLE THERMO LUX Insulated Bowls is the HEALTHY CHOICE! The Thermo Bowls Maintain Food Temperature Warm for up...
As an affiliate, we earn on qualifying purchases.
Safe Practices for Cleaning and Maintaining Your Containers
To keep your containers safe, you should use proper cleaning techniques that eliminate bacteria without damaging the material. Make sure to dry them thoroughly using safe methods to prevent mold growth. Regularly inspect your containers for cracks or wear to guarantee they remain safe for use. Additionally, understanding filtration systems in cleaning tools can help ensure more effective removal of allergens and dust from your containers.
Proper Cleaning Techniques
Proper cleaning is essential to keep your meal prep containers safe and in good condition. Always ensure you follow dishwasher safety guidelines to prevent warping or damage. Use hot, soapy water for regular cleaning and incorporate cleaning with vinegar occasionally to eliminate odors and bacteria. Avoid abrasive scrubbers that can scratch surfaces. Rinse thoroughly and dry completely before storing. Here’s a quick guide to proper techniques:
| Step | Details |
|---|---|
| Dishwasher safety | Check if containers are dishwasher safe before use |
| Use hot water | Hot water helps kill germs and remove residues |
| Cleaning with vinegar | Mix equal parts vinegar and water for natural deodorizing |
| Avoid abrasive tools | Prevent scratches by choosing gentle cleaning tools |
| Dry thoroughly | Prevent mold by ensuring containers are fully dry |
Safe Drying Methods
After thoroughly cleaning your containers, drying them correctly helps prevent mold growth and maintains their integrity. If your containers are dishwasher safe, you can place them on the top rack for thorough drying without hassle. However, if they aren’t dishwasher safe or you want to avoid high heat, air drying is your best option. Leave the containers open in a well-ventilated area, allowing air to circulate and evaporate remaining moisture. Be sure to wipe off excess water with a clean towel if needed before air drying. Avoid using cloths that might transfer lint or bacteria. Proper drying ensures your containers stay fresh, odor-free, and safe for future use, keeping your meal prep routine both hygienic and efficient. Incorporating data-driven strategies can help you optimize your cleaning and maintenance routines for better results.
Regular Inspection Routine
Regularly inspecting your meal prep containers is essential to catch any signs of damage or wear early on. This routine ensures you maintain storage hygiene and prolong container longevity. Look for cracks, warping, or discoloration that could harbor bacteria or compromise safety. Damaged containers may leak or harbor bacteria, risking contamination. Keep a visual checklist to monitor your containers’ condition regularly. Use the table below to guide your inspections:
| Damage Signs | Action Needed | Frequency |
|---|---|---|
| Cracks or splits | Replace immediately | Monthly |
| Warping or discoloration | Discard or replace | Every 3 months |
| Residue buildup | Deep clean or replace | Weekly |
| Lid issues | Adjust or replace lid | As needed |
Maintaining consistent inspection routines helps uphold ideal storage hygiene, ensuring your containers last longer and stay safe. Regular inspections are a simple yet effective way to prevent potential health hazards associated with container damage.
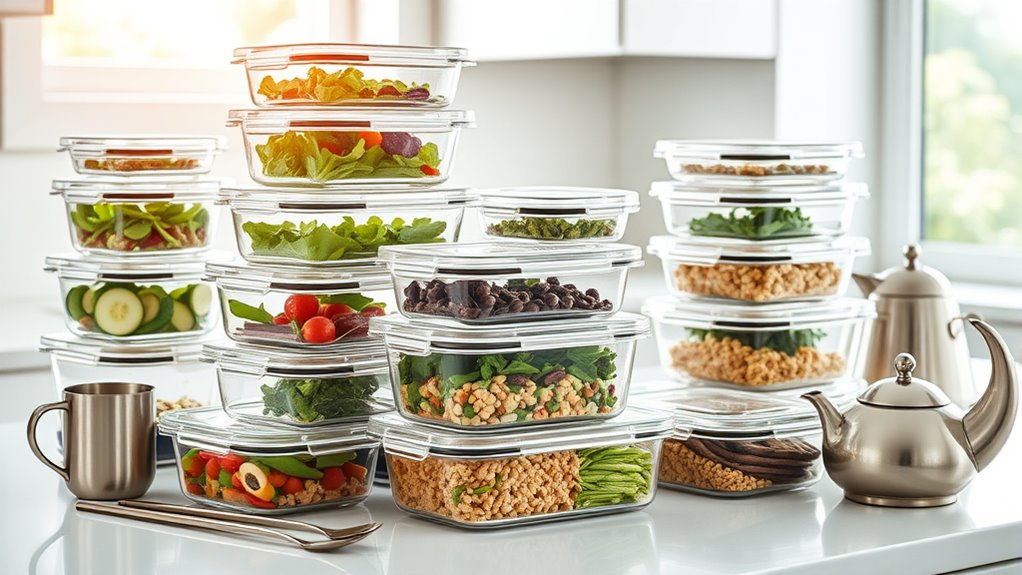
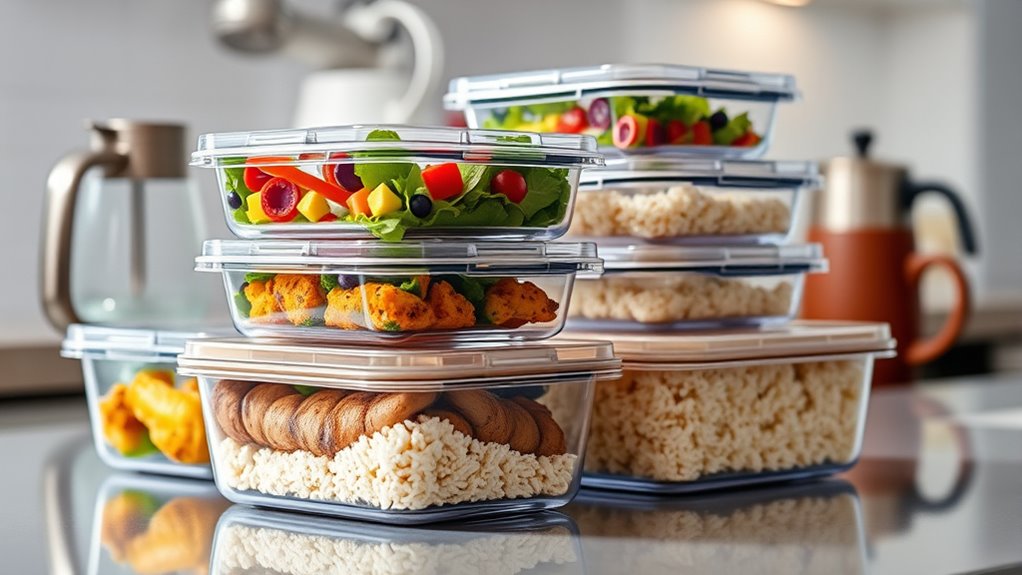
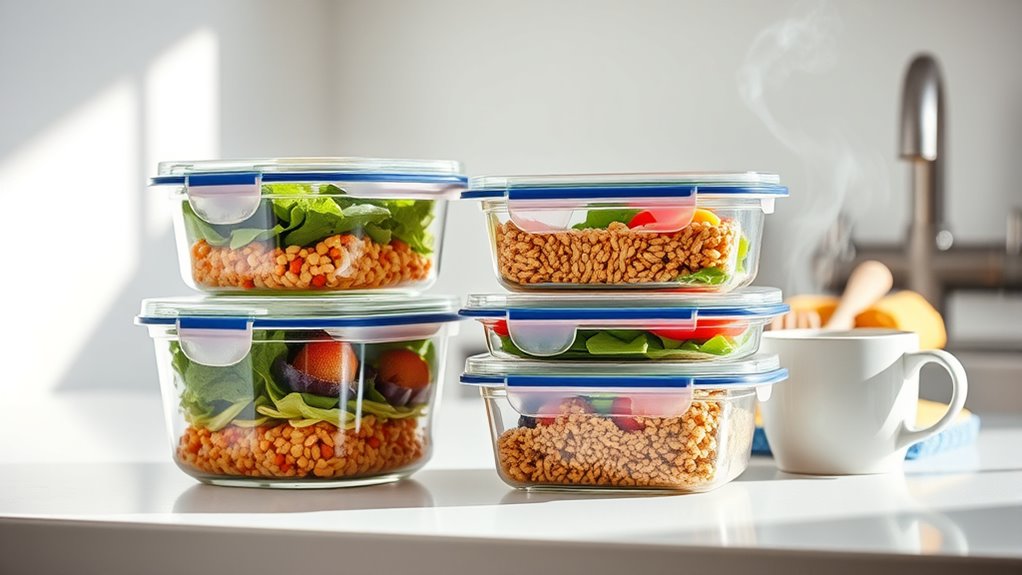
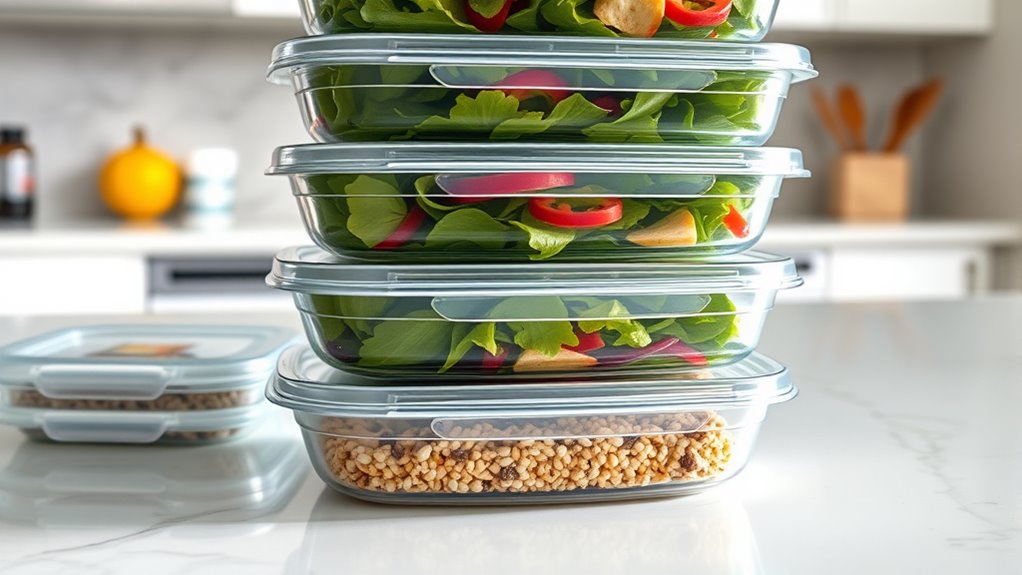
Alternatives to Plastic: Glass, Stainless Steel, and More
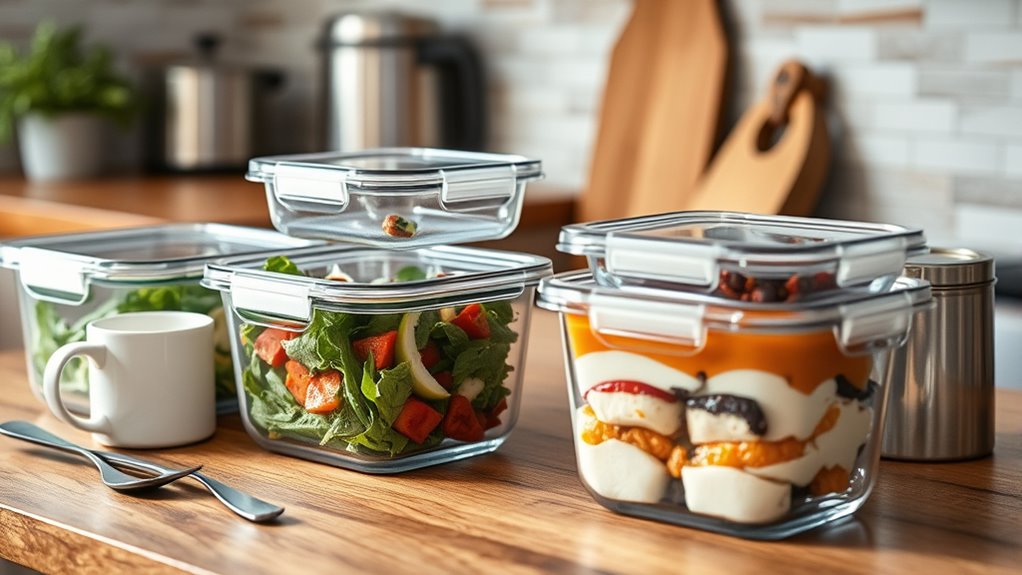
If you’re looking to reduce your reliance on plastic, exploring alternatives like glass and stainless steel can make a significant difference. These eco friendly options are durable, non-reactive, and often microwave safe, making them practical for daily use. Glass containers are great because they won’t stain or absorb odors, and they’re fully recyclable. Stainless steel is lightweight, resistant to corrosion, and highly durable—ideal for long-term storage. Unlike plastic, these materials don’t leach harmful chemicals, especially when heated. Plus, many glass and stainless steel containers are designed with secure lids to prevent spills. By choosing these alternatives, you not only protect your health but also contribute to environmental sustainability. Switching to glass or stainless steel is a smart, responsible choice for meal prep. Additionally, being aware of the cost of home security systems can help you choose the best options for your budget and needs.
How to Spot and Avoid Contaminated or Damaged Containers
To guarantee your meal prep containers stay safe, it’s important to learn how to identify signs of contamination or damage. First, use odor detection—if the container emits a strange or lingering smell even after washing, discard it. Second, check for crack identification—inspect closely for any cracks or chips, especially around seams; these can harbor bacteria and weaken the container. Third, examine the overall condition: look for cloudiness, discoloration, or warping, which signal deterioration. Be cautious of any container with a foul odor, visible cracks, or compromised structure, as these indicate contamination risk. Properly inspecting your containers helps prevent foodborne illness and ensures your meal prep remains safe and hygienic.
Frequently Asked Questions
Can Microwave-Safe Labels Always Be Trusted?
You can’t always trust microwave-safe labels completely because label authenticity can vary. Many people believe these labels are foolproof, but some containers marked microwave-safe still contain materials that may leach chemicals when heated. Don’t fall for microwave safety myths—always check for proper certification and avoid heating in containers with unclear labels. When in doubt, transfer food to glass or ceramic to ensure safety and peace of mind.
Do All Stainless Steel Containers Resist Staining and Odors?
Not all stainless steel containers resist staining and odors perfectly, but most offer excellent durability and stain resistance. You’ll find that high-quality stainless steel resists staining and odors better over time, making it a reliable choice for meal prep. However, lower-grade options may stain or retain odors with frequent use. To keep your containers in top shape, clean them promptly and avoid harsh chemicals, ensuring longevity and maintaining their stain-resistant qualities.
Are There Specific Cleaning Agents to Avoid for Plastic Containers?
Think of your plastic containers as delicate dance partners—you want to avoid harsh chemicals that could cause unwanted chemical reactions. You should steer clear of bleach, ammonia, and abrasive cleaners, as they can degrade the plastic over time. Instead, stick to gentle dish soap and warm water, cleaning frequently to prevent odors and stains. This way, your containers stay safe and durable, ready for many more healthy meals.
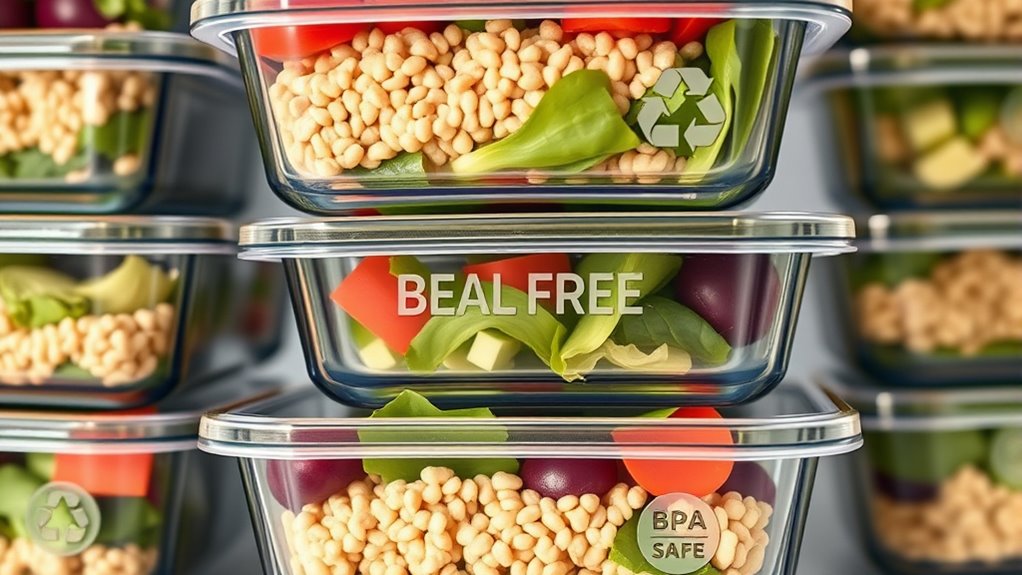
How Do I Identify if a Container Is Genuinely Bpa-Free?
To identify if a container is genuinely BPA-free, check for labels or symbols indicating BPA-free plastic, often marked with a “3” or “7” recycling code. Avoid plastic leaching by looking for chemical indicators on the packaging. You can also research the brand’s safety standards. Remember, some plastics may still leach chemicals, so always use BPA-free containers for safe food storage and avoid heating plastics not labeled as microwave-safe.
What Signs Indicate a Container Has Leached Harmful Chemicals?
If your container shows discoloration or a strange smell, it might have leached harmful chemicals. You could notice chemical residue on the surface or inside, especially after washing. Sticky or cloudy spots can also be signs. Avoid using containers with these signs, as chemical migration can pose health risks. Always inspect your containers regularly and replace any that display discoloration or residue to keep your food safe.
Conclusion
Remember, safety starts with awareness—”A stitch in time saves nine.” By understanding container materials, decoding labels, and maintaining your containers properly, you can avoid hidden risks. Choosing safer alternatives like glass or stainless steel adds an extra layer of protection for your meals. Don’t wait until damage or contamination happens—stay vigilant and prioritize your health. When it comes to food safety, a little caution now can save you a lot later.