
You can make homemade ice cream in as little as 15 to 30 minutes if you use quick techniques like an ice salt mixture, metal pans, or a food processor. Traditional methods take hours, but with rapid freezing tools, stirring often, and pre-chilled containers, you’ll be enjoying a creamy treat in no time. Want to discover even faster tricks? Keep going—there’s plenty to learn that can shock you!
Key Takeaways
- Using a no-churn method with cold ingredients and a freezer-safe container, you can have ice cream in as little as 4-6 hours.
- Rapid freezing with salt and ice or metal pans can produce soft-serve texture in approximately 20-30 minutes.
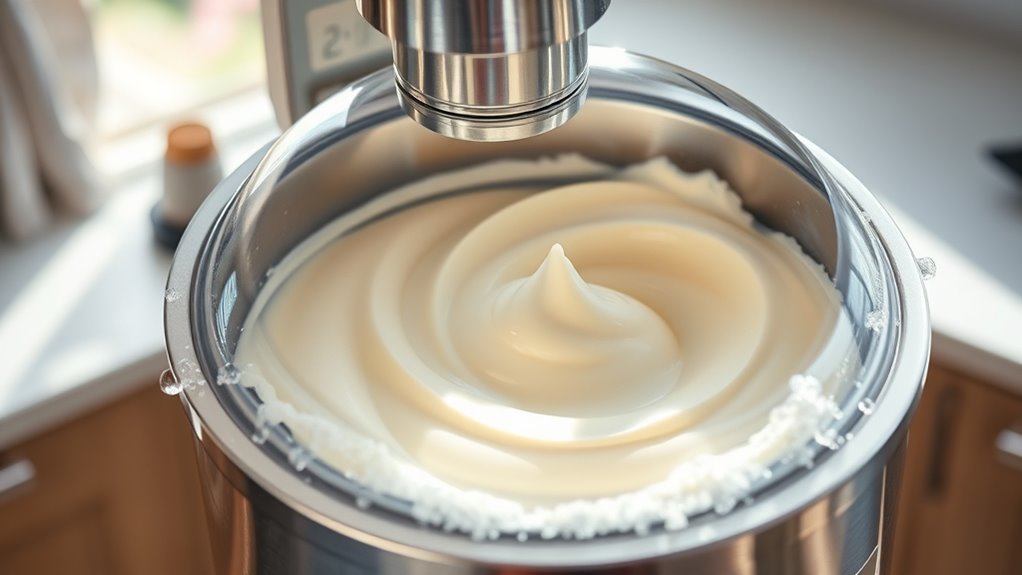
- An ice cream maker significantly reduces freezing time, delivering ready-to-eat ice cream in under an hour.
- Blending ingredients in a food processor and freezing in an insulated container can yield ice cream in about 2-3 hours.
- Stirring or shaking the mixture every 15-20 minutes speeds up freezing, allowing soft ice cream in roughly 1-2 hours.

Nostalgia Electric Ice Cream Maker – Old Fashioned Soft Serve Ice Cream Machine Makes Frozen Yogurt or Gelato in Minutes – Fun Kitchen Appliance – Blue – 4 Quart
HOMEMADE ICE CREAM: Enjoy a fun ice cream experience with modern convenience with our ice cream machines. Make…
As an affiliate, we earn on qualifying purchases.
As an affiliate, we earn on qualifying purchases.
The Traditional Method and Its Time Commitment

The traditional method of making ice cream involves mixing ingredients, freezing the mixture, and then churning it to achieve a creamy texture. You’ll need storage containers to hold the ice cream during freezing, which helps maintain its flavor and prevents freezer burn. This process requires patience, as it can take several hours or even overnight for the ice cream to fully freeze and reach the desired consistency. One advantage is the wide variety of flavor options you can create, from classic vanilla to inventive combinations. Proper storage containers ensure your ice cream stays fresh and delicious, making the wait worthwhile for homemade flavor options tailored to your tastes. Additionally, some stores like Costco Optometry Hours may offer tips on maintaining ice cream quality through proper storage. The freezing time can vary depending on the recipe and freezer settings, but understanding the science behind freezing can help improve your results. For faster results, using an ice cream maker can significantly reduce the time needed to achieve the perfect texture.

2 Pcs Stainless Steel Ice Cream Containers for Homemade, Reusable Ice Cream Tub Containers with Lids, 24oz Metal Stackable Storage Containers for Homemade Gelato Sorbet, Reusable Freezer Food Bin
Prevents Freezer Burn & Locks Freshness: Unlike plastic tubs, our stainless steel ice cream container conducts cold rapidly,…
As an affiliate, we earn on qualifying purchases.
As an affiliate, we earn on qualifying purchases.
Quick Freezing Techniques to Save Hours
You can speed up freezing by using rapid freezing methods like a blast freezer or a metal pan chilled in the freezer. Another effective trick is chilling your ice cream mixture with a salt and ice mixture to lower the temperature quickly. These techniques help you cut down the waiting time considerably. Additionally, using frozen metal pans can accelerate the freezing process even further. Incorporating proper storage techniques ensures your ice cream remains fresh and maintains the ideal texture during freezing. To further improve freezing efficiency, consider AI-powered monitoring systems that optimize freezer conditions for faster and more consistent results. Understanding how arcade machines operate can inspire innovative methods for controlling temperature and environment during freezing processes.
Rapid Freezing Methods
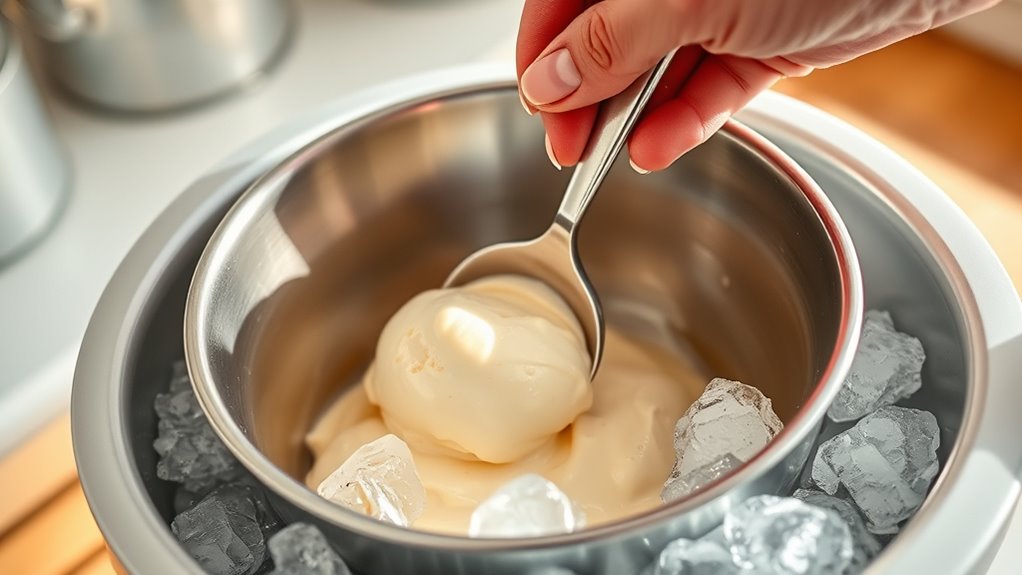
When time is of the essence, quick freezing methods can drastically cut down the hours it takes to make ice cream at home. Using a metal baking sheet or shallow storage containers allows the mixture to freeze faster by increasing surface area exposure to cold. Stirring the mixture every 15-20 minutes during the initial freezing stage helps prevent ice crystals from forming large, icy chunks, resulting in smoother texture. For flavor variations, consider adding mix-ins or swirlings after the initial freezing, which won’t interfere with rapid freezing. These techniques are perfect if you’re short on time but still want creamy, homemade ice cream. Just remember, the key is spreading the mixture out thinly and keeping it cold, so your ice cream freezes quickly and evenly. Additionally, understanding freezing techniques can help you optimize your process for even better results. To further improve the texture, using quick-chill methods such as placing the container in a pre-cooled environment can accelerate the process. Incorporating cooling methods like placing the mixture in a mixture of ice and salt can also significantly speed up freezing time. Moreover, utilizing home freezer settings effectively can help achieve faster freezing without compromising quality.
Chilling With Ice Salt
Chilling ice cream with an ice salt mixture accelerates the freezing process considerably. The salt lowers the melting point of ice, creating a super-cold environment that freezes your mixture faster. To optimize results, consider these tips:
- Adjust sugar ratios: less sugar freezes faster, but keep enough for smooth texture and flavor.
- Use flavor infusions: chill ingredients beforehand or add during freezing for intense flavor.
- Use a sturdy container: ensure even contact with the ice salt mixture for uniform freezing.
- Mix frequently: stir the mixture every 5-10 minutes to prevent ice crystals and promote creaminess.
- Remember that water circulation in the mixture helps distribute cold evenly and speeds up freezing, so stir regularly for best results. Additionally, incorporating refrigeration cycle principles can enhance your understanding of how rapid cooling methods work to achieve faster freezing times. Maintaining proper temperature control during the process is also crucial for optimal results. Understanding thermal conductivity of your containers can further improve heat transfer efficiency and speed up the freezing process. Recognizing the importance of heat transfer mechanisms can help you select the best tools for quick freezing.

ZICOTO Set of 2 Reusable Ice Cream Tub Containers 2 Quart Each – Perfect for Homemade Sorbet, Frozen Yogurt Or Gelato – Stackable Storage Containers, Stickers And Lids Stores Easily In Freezer
Perfect For Homemade Ice Cream & More: The ice cream tub set of 2 is a great way…
As an affiliate, we earn on qualifying purchases.
As an affiliate, we earn on qualifying purchases.
Using a Food Processor or Blender for Rapid Results

Using a food processor or blender can considerably speed up the ice cream-making process, making it possible to enjoy homemade treats in just a short time. To maximize efficiency, try food processor hacks like pulsing the mixture gently to avoid overprocessing, which can turn your ice cream into a slush. Blender techniques involve blending in short bursts, ensuring a smooth, creamy texture without melting the ingredients. Keep your ingredients cold before blending to help freeze faster. For best results, add mix-ins last and pulse lightly to distribute evenly. Both tools save time by reducing the need for lengthy churning or multiple chilling steps. Additionally, understanding the freezing process can help optimize your approach for quicker results. Using the right equipment and techniques can also prevent overprocessing, which may negatively affect the texture of your ice cream. Being mindful of temperature control during blending and freezing can further enhance the quality and speed of your homemade ice cream. Incorporating proper ingredient preparation can also make a significant difference in achieving a smooth, consistent texture. With these quick tricks, you can have rich, homemade ice cream in under 15 minutes.

(50 Lbs) – Premiere Ice and Snow Melter, Fast Acting Salt-Based Ice Melter with CMA, Effective to Below Zero -8°F, Blue, Safer for Concrete, Plants, Shoes and Metal
Fast-Acting Formula: Quickly melts ice and snow on contact.
As an affiliate, we earn on qualifying purchases.
As an affiliate, we earn on qualifying purchases.
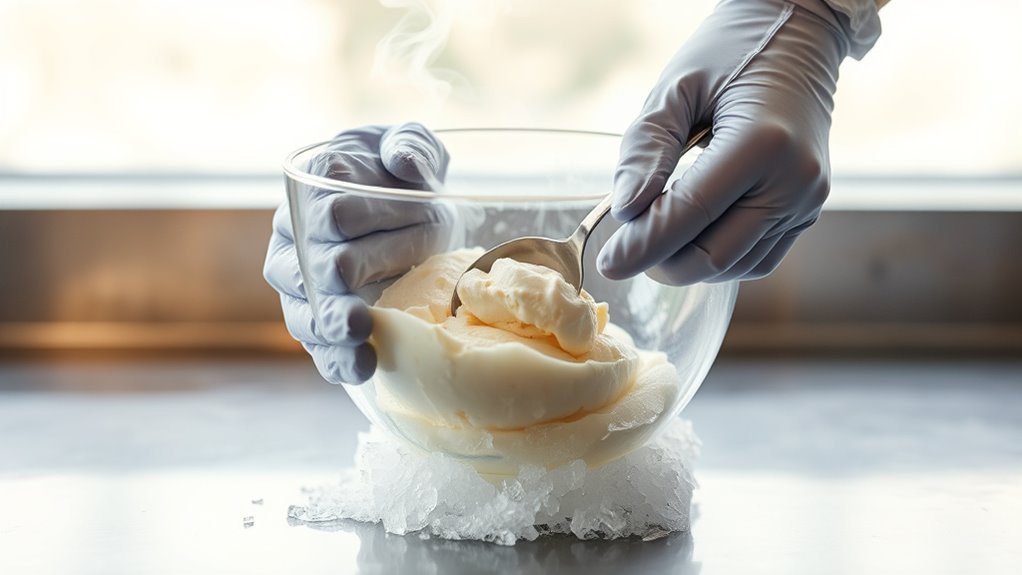
The Ice Salt and Ice Bag Technique Explained

The ice salt and ice bag method is a simple way to freeze your ice cream quickly. You’ll need a sturdy bag, ice, salt, and a container for mixing. Follow the steps carefully to understand how it works and get your homemade ice cream ready in no time. Using salt lowers the freezing point of ice, enhancing the cooling process and speeding up the freezing time. The addition of salt creates an endothermic reaction, which absorbs heat from the surrounding environment and accelerates the freezing process, making your ice cream ready in a fraction of the time it normally takes.
How It Works
When making ice cream at home, the key to rapidly freezing your mixture lies in a simple science trick: combining ice with salt. Salt lowers the freezing point of water, causing the ice to melt faster and absorb heat from your ice cream mixture more efficiently. This quick heat transfer speeds up the freezing process. To maximize results, consider flavor combinations that freeze well and plan your storage solutions for leftovers. Here’s how it works:
- Salt is added to ice, creating a super-chilled environment.
- The mixture’s temperature drops quickly due to enhanced heat exchange.
- Faster freezing preserves flavor and texture.
- Proper storage solutions prevent ice melt and maintain quality.
Necessary Materials
To effectively freeze your ice cream mixture quickly, you’ll need a few basic materials: a sturdy zip-top bag, a larger sealable bag or container, ice, and salt. The salt lowers the freezing point of the ice, speeding up the process. You can also explore ingredient substitutions, like using rock salt or kosher salt if regular table salt isn’t available. Make sure the bags are secure to avoid leaks during shaking. Once your ice and salt are in the larger bag, place your ice cream mixture inside the smaller bag, seal it tightly, and then surround it with the ice salt mixture. For storage tips, transfer your finished ice cream into an airtight container and keep it in the freezer to maintain its texture.
Step-by-Step Process
Creating ice cream at home with the salt and ice bag method involves a simple but effective process. First, combine your prepared ice cream mixture with desired flavor combinations inside a small resealable bag. Seal it tightly. Next, place this bag inside a larger bag filled with ice and rock salt, then seal the outer bag.
Follow these steps:
- Shake the bag vigorously for 10-15 minutes until the mixture thickens.
- Check for desired consistency; add more salt and ice if needed.
- Remove the inner bag, wipe off excess salt, and transfer to storage containers.
- Store in the freezer for a few hours to firm up before serving, using storage tips like airtight containers to preserve flavors.
Enjoy your homemade ice cream with perfect flavor combos!
No-Churn Ice Cream Recipes That Are Fast and Easy
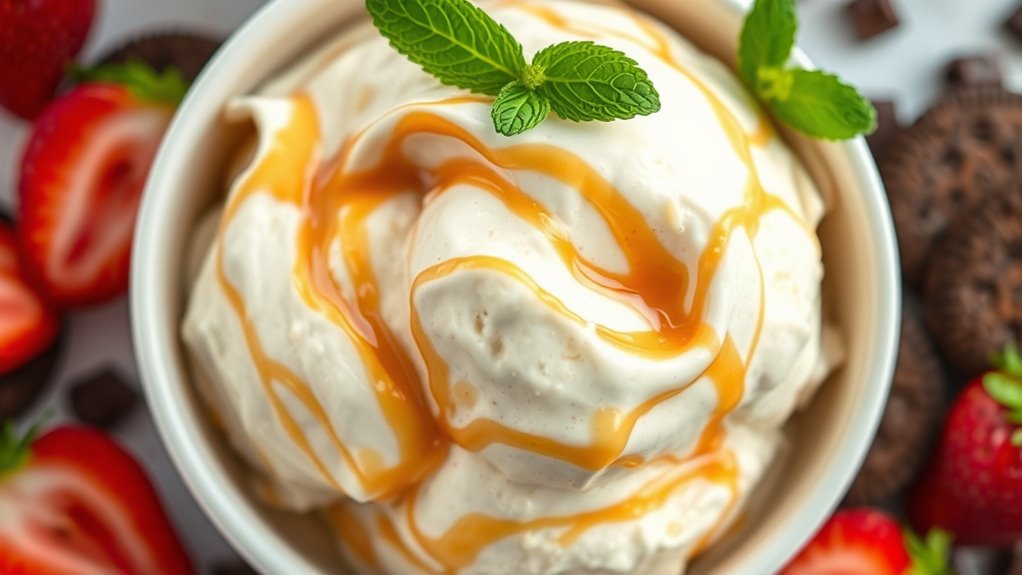
No-churn ice cream recipes offer a quick and simple way to satisfy your sweet tooth without special equipment. You can experiment with flavor combinations like chocolate and peanut butter, strawberries and cream, or coffee and caramel to create delicious varieties. The best part is, these recipes require just a few ingredients and minimal effort. Once you’ve blended your mixture, pour it into a freezer-safe container. For ideal results, use storage tips like covering the surface with plastic wrap before sealing to prevent ice crystals. No-churn recipes typically freeze in about 4-6 hours, making them perfect for spontaneous dessert cravings. With a little creativity and proper storage, you’ll have homemade ice cream ready to enjoy in no time.
How to Speed up Freezing With Insulated Containers
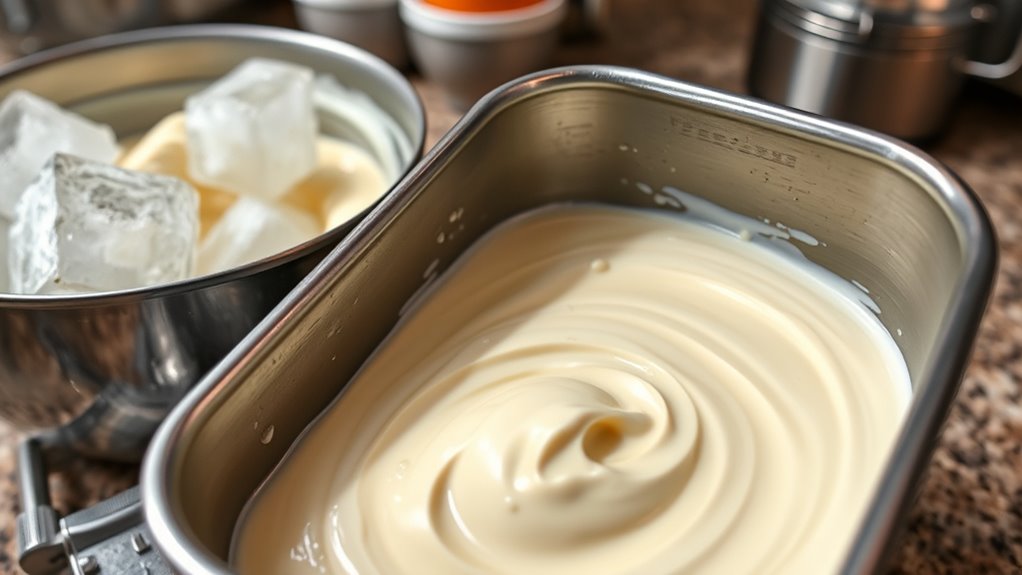
Using insulated containers can markedly cut down the time it takes for your ice cream to freeze. These storage containers trap cold air, speeding up the process and helping you enjoy homemade ice cream faster. To maximize their effectiveness, consider these tips:
Insulated containers speed up freezing for faster homemade ice cream enjoyment.
- Choose a high-quality, double-walled insulated container for better thermal retention.
- Pre-chill the container in the freezer before adding your mixture to keep everything cold.
- Use a narrow, deep container instead of a wide one to promote even freezing.
- For flavor infusion, add ingredients after initial freezing begins, ensuring they don’t slow down the process.
Tips for Making Ice Cream in Just Minutes
If you want to make ice cream in just minutes, quick-freezing techniques and strategic methods are essential. Use a high-quality blender or food processor to mix your ingredients smoothly, then pour the mixture into a shallow, chilled dish. Stir frequently to prevent ice crystals from forming, which speeds up freezing. Experiment with flavor combinations like chocolate-mint or strawberry-basil to customize your treat. Once frozen, consider storage options like airtight containers or resealable bags to maintain freshness. For quick access later, label and date your ice cream. Keep in mind that using a pre-chilled container or ice bath accelerates freezing even further. Here’s a quick guide:
| Tip | Benefit |
|---|---|
| Use shallow containers | Faster freezing |
| Stir often | Smoother texture |
| Flavor combos | Delicious variety |
| Airtight storage | Keeps ice cream fresh |
| Pre-chill containers | Speeds up freezing process |
Frequently Asked Questions
Can I Make Ice Cream in Under 10 Minutes?
You can make ice cream in under 10 minutes with the right freezing techniques and understanding ice cream science. Using a mixture of ice and salt helps lower the freezing point rapidly, speeding up the process. By vigorously stirring your ingredients in a well-chilled container, you create a quick freeze. While traditional methods take longer, these tricks show that speedy homemade ice cream is totally possible with some clever techniques.
What’S the Fastest Method Without Special Equipment?
Ever wondered how quickly you can make ice cream without fancy equipment? You can try a simple method using household items and chemical accelerants like salt and ice, which dramatically lower freezing points. While commercial appliances are faster, this DIY trick can produce soft-serve-like ice cream in about 10-15 minutes. It’s a fun, quick way to satisfy your sweet tooth without investing in specialized gadgets!
Does Rapid Freezing Affect Ice Cream Texture?
Rapid freezing can cause texture alteration in your ice cream because quick cold temperatures lead to smaller crystal formation. While it might seem beneficial for smoothness, it can sometimes result in uneven crystal growth, making the ice cream feel icy or grainy. So, if you freeze too fast, you risk compromising the ideal creamy texture, highlighting the importance of controlled freezing to guarantee ideal crystal formation and a deliciously smooth result.
Can I Use Household Items to Freeze Faster?
You might think only fancy equipment can speed up freezing, but DIY tricks and household hacks can surprise you. Using items like salt, ice, and a sealed bag, you can freeze ice cream faster. Just place your mixture in a bag, surround it with a salt-ice mixture, and shake. These simple household items help you achieve quick freezing, making your homemade ice cream ready in less time than you’d expect.
Is There a Safe Way to Chill Ice Cream Instantly?
You wonder if there’s a safe way for instant freezing of ice cream. While quick methods like using alcohol or dry ice can seem tempting, they pose food safety risks or safety hazards. The best approach is to use a well-chilled freezer or ice bath, ensuring food safety while speeding up the process. Remember, instant freezing isn’t truly instant, but proper techniques keep it safe and effective.
Conclusion
Did you know you can make delicious ice cream in as little as 10 minutes using quick methods like no-churn recipes or insulated containers? While traditional freezing takes hours, these shortcuts save you time and effort. With the right techniques, you can enjoy homemade ice cream faster than ever—perfect for spontaneous cravings or last-minute gatherings. So go ahead, try these methods, and impress everyone with your speedy frozen treats!