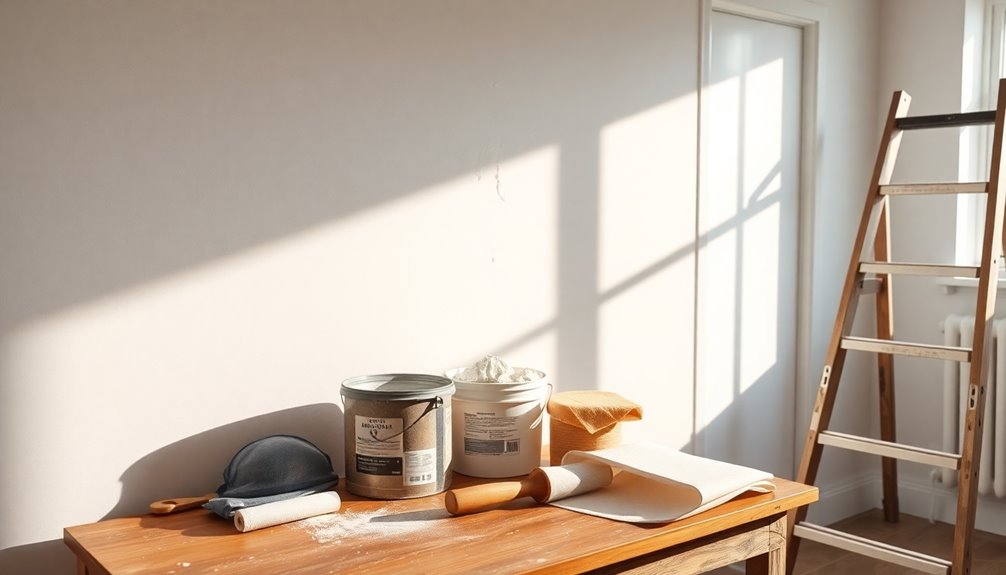

To tackle DIY plaster wall repairs, start by preparing your workspace—lay down a drop cloth and wear protective gear. Remove any loose plaster and assess the lath for damage. Repair any issues with the lath and apply the scratch coat followed by the brown coat, ensuring each layer dries completely. Once you’ve achieved a smooth finish, prime and paint the patched area for a seamless look. Follow along to uncover more details about each step!
Key Takeaways
- Start by preparing the work area with a drop cloth and protective gear to ensure safety and cleanliness during the repair process.
- Remove loose plaster and assess the lath condition, replacing any damaged sections as necessary for a stable base.
- Apply a scratch coat followed by a brown coat, allowing each layer to dry for at least 24 hours to ensure proper adhesion.
- Finish with three thin coats of finish plaster, sanding gently between layers to achieve a smooth texture and clean surface.
- Finally, prime the repaired area with a quality primer before applying at least two coats of paint for a seamless finish.

OneBlis 5-Tier Book Shelf, Floor Standing Open Bookcase, Wooden Display Storage Shelves with Anti-Tipping Device, Tall Bookshelf for Bedroom, Living Room and Home Office, White
Sturdy & Durable Construction: Crafted from premium particle board with a water-resistant and scratch-proof coating, this 5-tier book...
As an affiliate, we earn on qualifying purchases.
Preparing to Patch Interior Plaster Walls
Before you start patching those interior plaster walls, it’s important to set up your workspace properly.
Begin by laying down a drop cloth to catch any dust and debris, securing it with painter’s tape. This protects your surroundings while you prepare for the repair.
Laying down a drop cloth and securing it with painter’s tape protects your space while preparing for plaster repairs.
Don your goggles and mask to shield yourself from harmful particles. Inspect the damaged areas carefully, and clean away any loose plaster to guarantee a solid base for your work.
Gather the necessary tools and materials, as plaster repairs require more time to cure than standard drywall.
Remember, plaster is more prone to cracking, so meticulous attention to detail is key. Incorporating high-quality content ensures that your repair efforts are not only effective but also enhance the overall integrity of your living space.
With everything prepared, you’re ready to tackle those repairs effectively.

IRONCK Industrial Bookshelves and Bookcases with Doors Floor Standing 6 Shelf Display Storage Shelves 70 in Tall Bookcase for Home Office, Living Room
Durable and Solid Shelf: Built with durable MDF particleboard, each shelf can hold 22 lb to keep your...
As an affiliate, we earn on qualifying purchases.
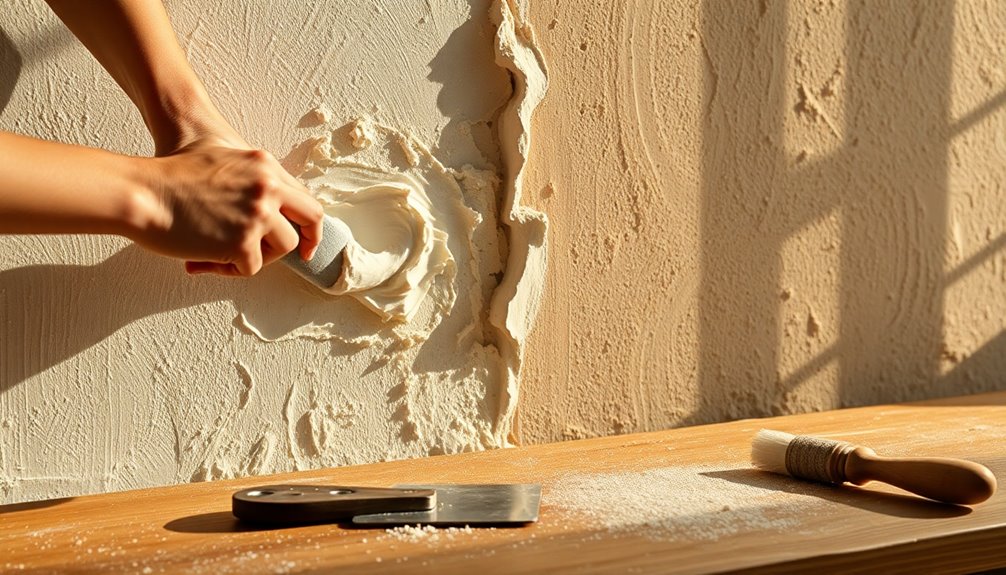
Removing Loose Pieces of Plaster
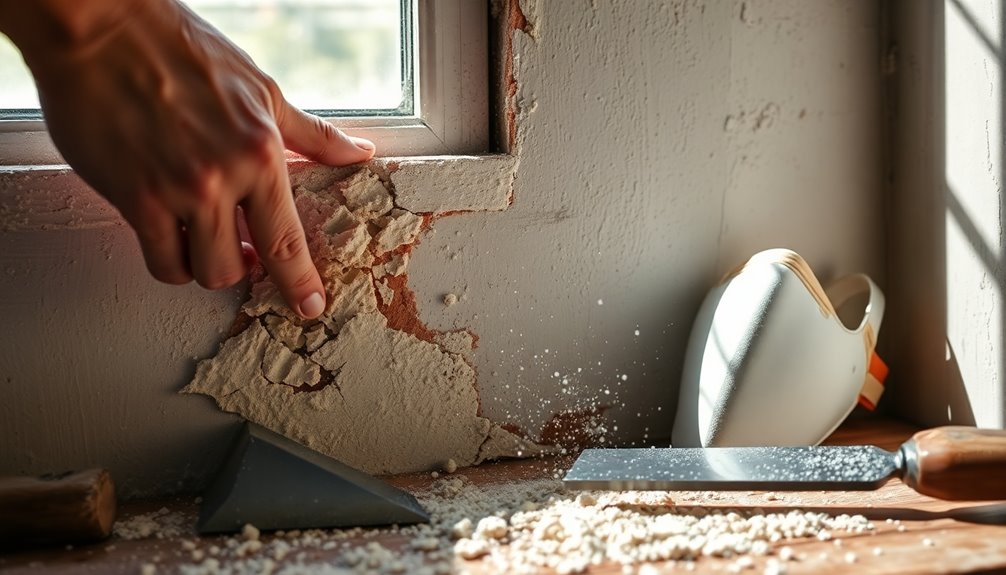
As you tackle the task of removing loose pieces of plaster, it’s important to approach the area with care to avoid further damage.
Begin by evaluating the damaged plaster, noting where it’s loose. Using your tools and materials, grab a box cutter or hammer to gently remove the larger sections. Be cautious not to disrupt the surrounding areas.
For any uneven surfaces left behind, a chisel will help create a uniform base for repairing plaster. Once you’ve removed the loose plaster, verify that all shards and debris are thoroughly cleaned away. This step is vital for a seamless repair project, preventing inconsistencies during the next phase. Don’t forget to wear protective goggles and a mask throughout the process! Additionally, maintaining a clean environment during repairs can promote better sleep quality and overall well-being in your living space.

5-Tier Double Wide Bookshelf 67" , Industrial Tree BookShelves, Vintage Storage Rack with 14 Open Shelves, Large Bookcase, Wooden and Metal Bookshelves, Wide Display Rack for Home Office Decorative
Multi-Purpose Collectibles Display Shelves: Double wide shelf with Tree-Shaped Design – One side is tall tree bookshelf, the...
As an affiliate, we earn on qualifying purchases.
Repairing or Replacing Damaged Lath
Before you start any repairs, evaluate the condition of your lath for moisture damage or deterioration.
If you find any issues, you’ll need to replace the damaged sections with new wood or metal lath, ensuring it’s properly fastened.
We’ll cover the best techniques for both evaluating and replacing lath to keep your plaster walls sturdy. Additionally, be aware that proper cleaning agents can help maintain a healthy environment during your repair process.
Assessing Lath Condition
When evaluating the condition of your lath, start by tapping the plaster to listen for hollow sounds that indicate detachment or damage. If you find a damaged area, it’s essential to assess whether the lath is water-damaged or rotting. Carefully remove any loose plaster and the damaged lath using a crowbar or hammer, making sure you don’t harm the existing plaster. For repairs, replace any damaged wooden lath with new lath from a home improvement store, securing it to the support beams. For metal lath, use the same type to maintain structural integrity. Reinforce the plaster around the exposed lath with plaster adhesive. Additionally, using energy-efficient appliances in your kitchen can help reduce overall home maintenance costs.
| Condition | Action Required |
|---|---|
| Hollow Sound | Inspect for damage |
| Water-Damaged | Remove and replace |
| Rotting Lath | Remove and replace |
| Loose Plaster | Repair plaster |
| Structural Issues | Guarantee proper support |
Replacement Techniques
To effectively replace damaged lath, start by removing any compromised sections carefully. Check for holes, cracks, or water damage and use a crowbar or hammer to extract the damaged lath.
If you find any, head to your local home improvement store and get similar wood, or metal lath if that’s what you’re replacing. Make sure to nail or screw it into the support beams with proper spacing for stability.
Next, drill holes in the existing plaster every three inches around the exposed lath to create a reinforced bonding surface. Apply a plaster adhesive to the drilled holes and around the new lath.
This bonding agent will secure it in place and help prevent further issues during your plaster repair project, especially in large areas. Additionally, ensure that the area is clear and accessible, similar to installation preparation for a wood stove, to facilitate efficient repairs.
Proper Fastening Methods
After you’ve successfully replaced any damaged lath, fastening it properly is key to guaranteeing a solid foundation for your plaster repairs.
Start by evaluating the lath’s integrity; check for any holes or signs of water damage. When installing new wood lath, cut it to size and secure it to the support beams using nails or screws, spaced about 16 inches apart for stability.
If you’re using metal lath, verify it matches the existing type for proper bonding with the plaster. To enhance adhesion and prevent future detachment, drill holes every three inches around the exposed lath and apply plaster conditioner. Additionally, ensuring compliance with safety standards during repairs is crucial for avoiding accidents and ensuring a successful outcome.
These proper fastening methods will lead to a durable repair and a smooth plaster finish.

Mavivegue Book Shelf, 18 Cube Storage Organizer, DIY Bookcase, Metal Cube Bookshelf, Cubbies Closet Storage Organizer Shelves for Bedroom,Living Room,Home,Office
【Large Storage Space】: Each cube size is 15.74" x 11.8" x 11.8" (40 x 30 x 30cm), which...
As an affiliate, we earn on qualifying purchases.
Applying the Scratch Coat and Brown Coat
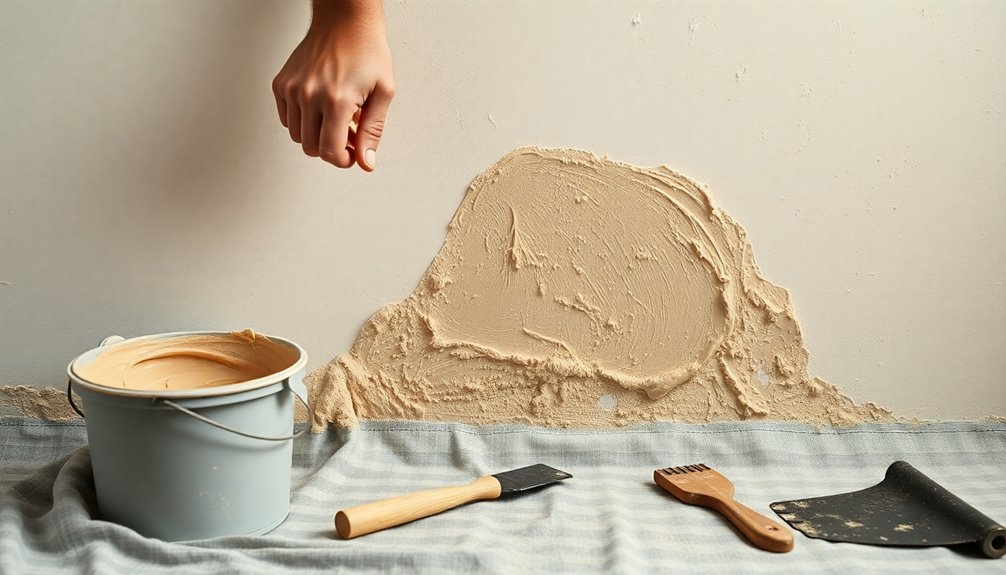
Now that you’ve repaired or replaced the damaged lath, it’s time to apply the scratch coat.
Mix your sand, water, and cement, then create lines on the surface to guarantee good adhesion.
Once that’s set, you can move on to the brown coat for a smooth, even finish. Additionally, using a well-installed and maintained heat pump can help regulate the indoor temperature during the drying process for optimal results.
Scratch Coat Preparation Steps
Three essential steps guide you through applying the scratch coat and brown coat for your plaster wall repairs. First, mix your scratch coat using sand, water, and cement, then apply it over the lath. Score it with lines to enhance bonding. Next, lightly mist the surface with water to improve adhesion before letting it dry for at least 24 hours. Finally, prepare to apply the brown coat, ensuring it reaches a thickness of about 3/8 inch, which contributes to the overall durability of your plaster. Allow this layer to dry for another 24 hours. Remember, the success of your repair lies in the layers! Additionally, regular maintenance of your tools, similar to energy-efficient appliances, can help ensure optimal performance during your repair project.
| Step | Action | Duration |
|---|---|---|
| Apply Scratch Coat | Mix and score | 24 hours |
| Mist Surface | Enhance bonding | Immediate |
| Apply Brown Coat | Achieve thickness | 24 hours |
Brown Coat Application Techniques
Once the scratch coat has dried completely, you can confidently move on to applying the brown coat, which is essential for achieving a smooth and durable finish.
Here’s how to apply it effectively:
- Mix the Materials: Combine sand, water, and cement to create a workable mixture for your brown coat.
- Apply Evenly: Spread the brown coat to achieve a uniform surface, aiming for a thickness of about 3/8 of an inch.
- Smooth the Surface: Use a trowel to guarantee the new layer is flat and ready for the final finish coat.
Remember to allow adequate time to dry before proceeding. Additionally, ensure that your application environment is protected from extreme weather conditions to maintain optimal drying and adhesion.
A well-applied brown coat sets the stage for a seamless shift with your existing wall!
Achieving Desired Surface Finish
To achieve the desired surface finish when applying the scratch and brown coats, you must focus on proper technique and attention to detail.
Start with the scratch coat, a mixture of sand, water, and cement. Apply it to secure the lath in place, using a handheld tool to create grooves that help plaster adhere. Lightly spray this coat with water to enhance bonding with the brown coat.
For the brown coat, use the same mixture, applying a uniform thickness of about 3/8 inch. This base coat should be flat to help create a smooth finish later. Ensure that both coats have good color accuracy to provide a consistent and aesthetically pleasing surface for any paint or finish applied afterward.
Confirm both coats dry thoroughly before moving on, especially if you’re patching up holes or working on larger areas. Patience is key!
Applying the Finish Coat and Sanding
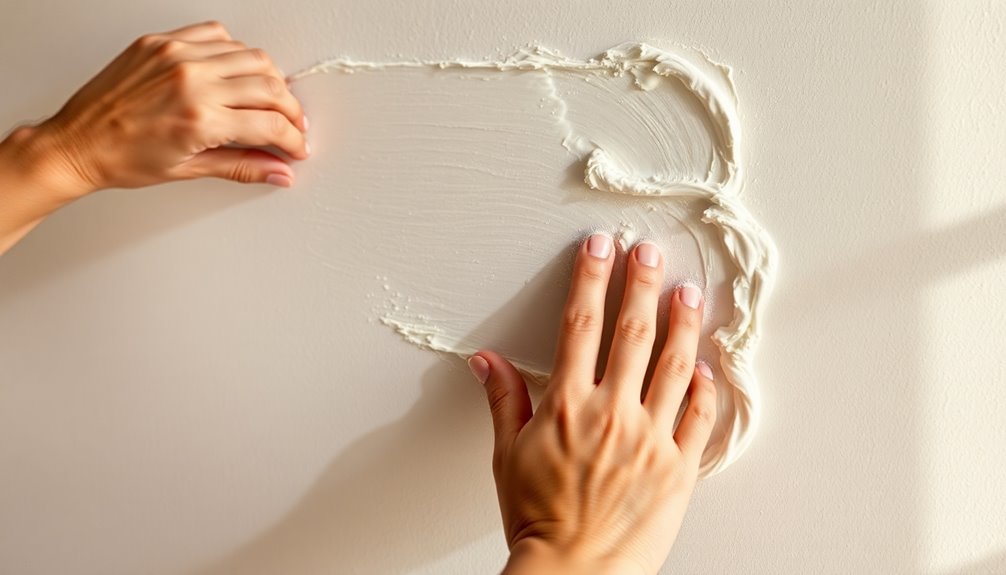
Applying the finish coat is a crucial step in achieving a flawless plaster wall. To guarantee a smooth and durable surface, follow these steps:
- Apply the finish coat in thin layers over the brown coat with a trowel, covering the entire surface evenly.
- Allow each layer to dry completely, typically for at least 24 hours, before applying the next. Aim for a total of three coats, with each one thinner than the last.
- Sand the dried finish coat gently using fine-grit sandpaper. This refines the texture while keeping a light touch to avoid removing too much material.
Once sanding is complete, clean the area thoroughly to eliminate dust, ensuring good adhesion for the upcoming priming and painting.
Priming and Painting the Patched Area
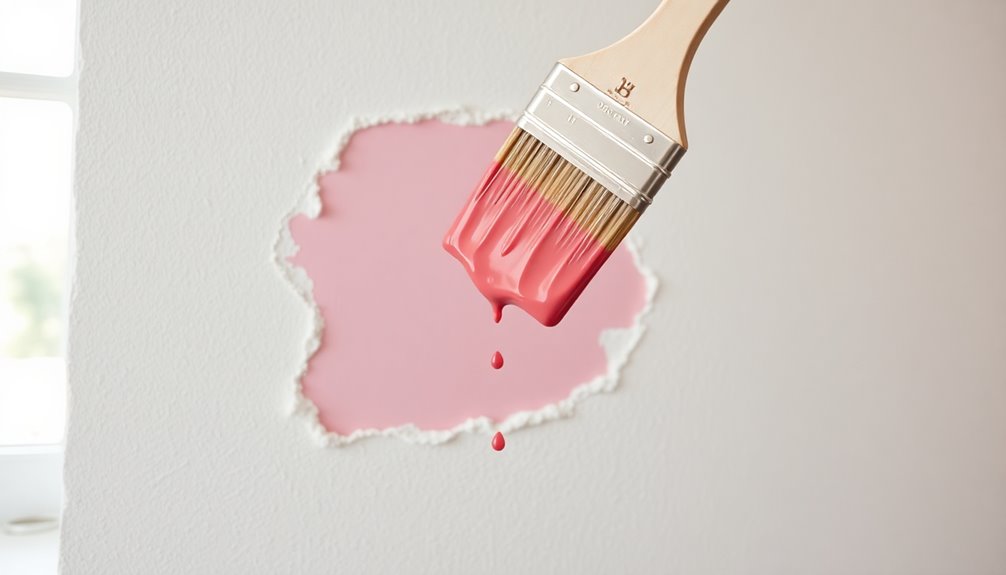
After you’ve confirmed the patched area is completely dry and smoothly sanded, it’s time to prime and paint for a seamless finish.
Start by applying a quality primer designed for plaster surfaces. This step is essential as it enhances paint adhesion and prevents moisture issues. Use a paintbrush or roller to apply the primer evenly, and let it dry completely, usually taking about 1-2 hours.
Applying a quality primer for plaster surfaces is crucial for paint adhesion and moisture prevention. Let it dry completely for best results.
Once the primer is dry, choose a high-quality paint that matches your existing wall color.
Apply at least two coats for even coverage and durability, allowing each coat to dry thoroughly before adding the next—generally around 2-4 hours. This guarantees a perfect, seamless shift between the patched area and the rest of your wall.
Frequently Asked Questions
What Is the Best Way to Repair Plaster Walls?
The best way to repair plaster walls is to first expose and clean any cracks or holes. This guarantees that your repair materials adhere properly.
You’ll want to apply a bonding agent before adding plaster for extra strength. Use lightweight gypsum plaster for small to medium cracks, embedding fiberglass mesh tape in larger areas.
Remember to apply multiple thin layers for a smoother finish, and sand and paint afterward to restore your wall’s appeal.
What Is the Best Compound for Patching Plaster Walls?
When it comes to patching plaster walls, choosing the right compound makes all the difference.
Lightweight gypsum plaster, like Structo-Lite, offers excellent adhesion and easy application for small fixes.
For minor imperfections, you can’t go wrong with joint compound or spackle—they dry quickly and sand smoothly.
For larger holes, bonding plaster provides a strong base.
Don’t forget to embed fiberglass mesh tape for added strength, ensuring your repairs last.
How Do You Plaster a Wall for Dummies?
To plaster a wall, start by cleaning the surface and preparing any cracks or holes.
Mix plaster with water until it’s smooth, but don’t overmix.
Apply a base coat, filling above the surface, and use fiberglass mesh tape for larger areas.
After that, add a final coat, feathering the edges to match the wall.
Once it’s dry, sand the area and paint for a seamless finish that blends perfectly with your wall.
How to Patch Small Holes in Plaster Walls?
Imagine your wall’s like a canvas with a few tiny tears.
To patch small holes in plaster walls, start by cleaning the area to create a smooth surface.
Apply a bonding agent with a putty knife, then mix plaster of Paris thickly, filling the hole slightly above the surface.
For strength, embed fiberglass mesh tape, then apply a final coat.
Once it’s dry, sand it smooth and paint to match.
Your wall will look brand new!
Conclusion
Now that you’ve tackled your plaster wall repairs, remember that “a stitch in time saves nine.” Taking the time to do it right will not only enhance your home’s appearance but also prevent bigger issues down the road. With your newly patched walls primed and painted, you can enjoy a refreshed space. So, roll up your sleeves, step back, and admire your handiwork—you’ve turned a potential eyesore into a beautiful, lasting improvement!