Yes, making ice cream without a machine definitely works! You can create creamy, delicious treats using simple methods like the freezer bag technique, blending frozen ingredients, or no-churn recipes with whipped cream and condensed milk. While these methods may require more patience and careful stirring, they produce great results that rival traditional ice cream makers. Keep exploring, and you’ll discover easy tips and flavor ideas to craft perfect homemade ice cream without any special equipment.
Key Takeaways
- Yes, homemade ice cream without a machine is possible using methods like freezer bags, salt and ice, or blending frozen ingredients.
- Proper technique—such as frequent stirring or shaking—controls ice crystal size and achieves a smooth, creamy texture.
- No-machine methods may produce denser or icier ice cream compared to traditional churning but can still be delicious.
- Using stabilizers, controlling freezing rate, and incorporating air through agitation improve texture and consistency.
- Creative flavor add-ins and toppings enhance the homemade experience, making no-machine ice cream both effective and customizable.
Understanding the Basics of No-Machine Ice Cream Making
Making ice cream without a machine is simpler than you might think. It all begins with understanding ice cream science—how ingredients interact during freezing. When you mix your base, the goal is to create a smooth, creamy texture by controlling ice crystal formation. Controlling ice crystal size is vital for achieving that perfect consistency. Freezing techniques are key here; rapid freezing produces smaller ice crystals, resulting in better texture. As you chill the mixture, keep in mind that frequent agitation can prevent large ice crystals from forming, which is vital for a creamy consistency. Additionally, incorporating proper freezing methods can greatly improve the final product by ensuring a consistent texture. Understanding the role of fat and sugar in the mixture helps in achieving optimal creaminess and preventing the formation of large ice crystals. Using temperature control during freezing is crucial to maintain the right environment for smooth ice cream formation. Mastering techniques like quick freezing and consistent stirring can make a significant difference in your homemade ice cream. By mastering these freezing techniques, you can make delicious ice cream at home without specialized equipment. Focus on the science behind each step, and you’ll discover the secrets to perfect no-machine ice cream every time.
The Freezer Bag Method: Simple and Effective?

The freezer bag method offers a straightforward way to make no-machine ice cream with minimal equipment. You’ll need two sealable plastic bags—one smaller for the ingredients, and a larger one for ice and salt. Combine your ingredients, such as milk, sugar, and flavorings, in the smaller bag. Seal it tightly, then place it inside the larger bag filled with ice and salt. Shake vigorously for about 10-15 minutes until the mixture hardens. You can customize flavors or try ingredient substitutions like coconut milk or honey. If you prefer, transfer the finished ice cream to a storage container for easier serving or freezing. This method is simple, effective, and perfect for quick homemade treats without special tools. Additionally, adding a pinch of cocoa powder can enhance the flavor and give your ice cream a richer taste. Incorporating proper technique can also help achieve a smoother and creamier texture in your homemade ice cream. Using the right freezing process is key to getting the best consistency and flavor. Understanding ethical hacking principles can remind us to continually improve safety measures in automated systems, just as precision in your freezing technique leads to better ice cream.
Using a Blender or Food Processor to Create Creamy Textures
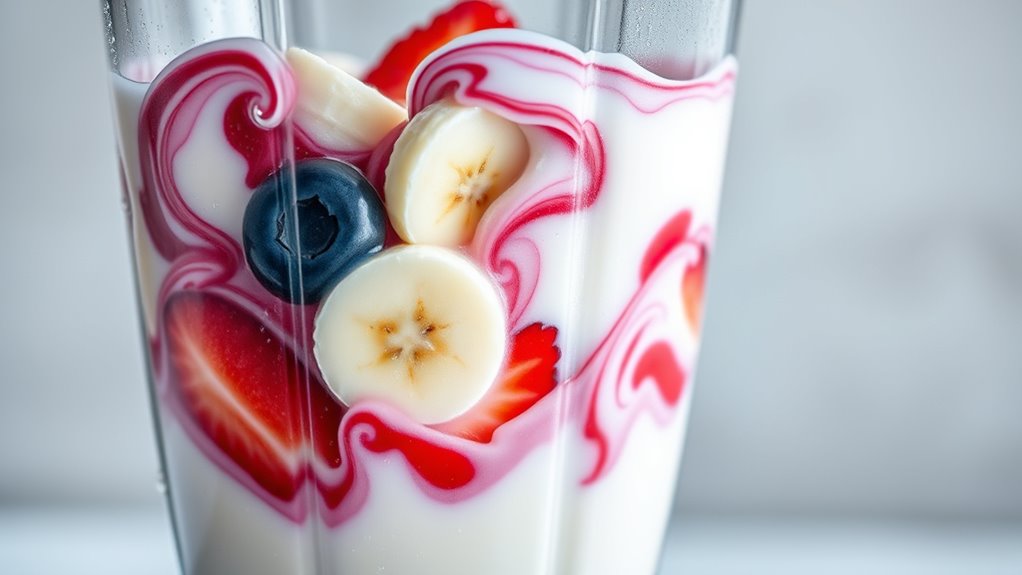
Using a blender or food processor allows you to achieve a smooth, creamy ice cream texture quickly and easily. With the right blender techniques, you can blend frozen ingredients until silky and uniform. A food processor can also break down ice crystals for a velvety finish. Imagine this process as a dance:
| Blender Techniques | Food Processor Tasks |
|---|---|
| Pulsing to prevent overmixing | Chopping frozen fruit evenly |
| Scraping down sides regularly | Achieving uniform texture |
| Adjusting speed for smoothness | Incorporating mix-ins smoothly |
Visualize the ingredients transforming into a luscious, ice-cream-like consistency, ready to enjoy without an ice cream maker. Both tools, when used properly, can produce surprisingly creamy results with minimal effort. Additionally, understanding contrast ratio can help you gauge the visual quality of your homemade ice cream, ensuring it looks as appealing as store-bought varieties. Proper freezing techniques also play a vital role in achieving the best texture and consistency. Incorporating techniques for even freezing can further improve the final product, ensuring consistent quality throughout. Using the correct blender speed settings can make the difference between a chunky mix and a smooth, creamy dessert. Moreover, selecting the appropriate storage containers helps maintain freshness and texture after freezing.
The Salt and Ice Technique: Classic but Challenging?

Although the salt and ice method is a time-honored approach to homemade ice cream, it can be surprisingly tricky to master. The salt technique lowers the freezing point of ice, creating a super-cold environment that freezes your ice cream mixture faster. However, managing ice challenges is key; too much salt or uneven distribution can prevent proper freezing. You need a good balance—adding enough salt to lower the temperature without overdoing it. Constantly monitoring and stirring the mixture helps ensure even freezing and prevents ice crystals from forming. Additionally, understanding how temperature control involves precise adjustments can be a fun analogy—both processes require careful attention to detail and patience. Proper temperature management is essential for consistent results when using this method. This method requires patience and attention to detail, which can make it more challenging than other DIY options. Still, with practice, you’ll appreciate how this classic technique can produce delicious homemade ice cream without a machine.
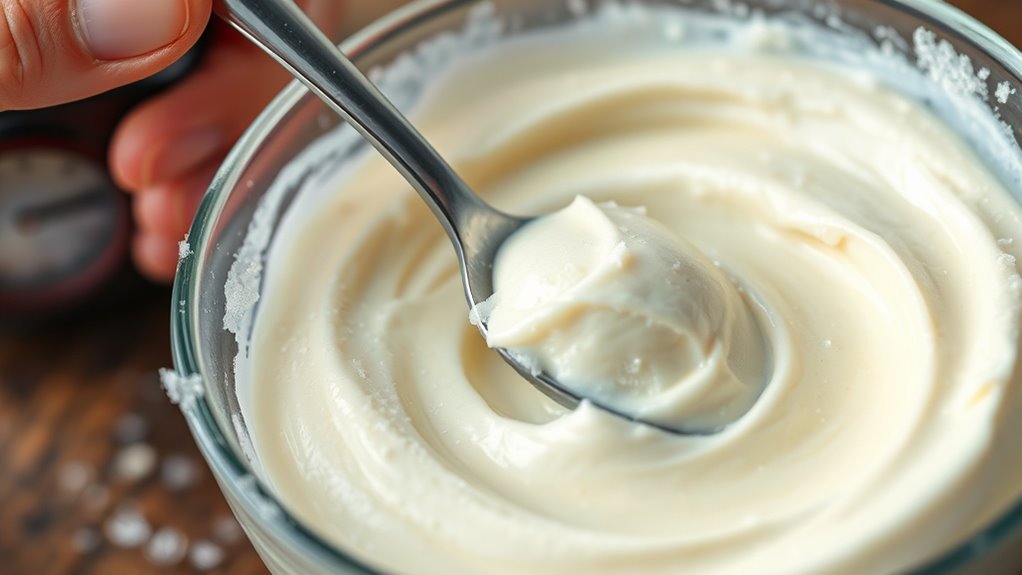
No-Churn Ice Cream: The Popular Cream and Condensed Milk Approach

No-churn ice cream has become a favorite for its simplicity and quick results, especially since you don’t need an ice cream maker. Using cream and condensed milk, you can create rich, creamy ice cream with minimal effort. To guarantee quality, store your ice cream properly and be mindful of its shelf life; typically, it lasts about 2-3 weeks in the freezer. For best results, use an airtight container and cover the surface with plastic wrap to prevent ice crystals. Here’s a quick visual guide:
| Ingredient | Key Tip | Shelf Life & Storage Tips |
|---|---|---|
| Heavy Cream | Whip until soft peaks | Use within 2-3 weeks; keep airtight |
| Sweetened Condensed Milk | Mix gently to combine | Freeze immediately after mixing |
| Add-ins (fruits, nuts) | Fold in carefully | Consume within recommended time |
Choosing the right storage containers can help maintain the ice cream’s texture and flavor over time. Additionally, ensuring your freezer temperature is properly set can prevent ice crystallization and help preserve quality.
The Role of Agitation and Freezing Time in Texture Development
Agitation during freezing helps incorporate air and creates a smoother, lighter texture. The freezing rate also influences ice crystal size, affecting creaminess. By understanding how churning and freezing time work together, you can achieve the perfect balance of texture and flavor. Proper paint application techniques can be compared to this process, where timing and method are crucial for a flawless finish. Additionally, the celebrity transformations in lifestyle and appearance can serve as an analogy for how small adjustments in technique lead to significant improvements in the final product. Recognizing the importance of local legal resources can also be likened to choosing the right tools and timing in DIY projects to ensure success. Incorporating data-driven strategies helps optimize the process for consistent results.
Churning and Incorporation
The process of churning and incorporation plays a crucial role in developing the perfect ice cream texture. Your choice of churning techniques directly impacts how well ingredients mix and how air is incorporated, creating a smooth, creamy consistency. Manual methods, like stirring by hand or shaking in a bag, require consistent agitation to prevent ice crystals from forming too large. Incorporation methods, such as whisking or using a fork to break up frozen mixture, help evenly distribute the cold, fats, and sugars. Adequate churning also introduces air, giving ice cream its lightness. The key is maintaining steady agitation during freezing, which ensures a uniform texture and prevents it from becoming too icy or grainy. Proper churning and incorporation are essential for transforming basic ingredients into luscious homemade ice cream.
Freezing Rate Impact
Once you’ve mixed your ingredients and started freezing, the rate at which your ice cream cools and is stirred plays a significant role in shaping its final texture. A faster freezing rate limits ice crystal growth, resulting in creamier ice cream, while a slower rate allows larger crystals to form, leading to a coarser texture. Proper agitation during freezing helps break up forming ice crystals and promotes even distribution. To optimize texture, consider these factors:
- Maintaining a consistent, cold temperature to encourage rapid freezing.
- Stirring frequently to disrupt ice crystal formation.
- Using a shallow container to increase surface area and speed up freezing.
- Avoiding temperature fluctuations that slow freezing and promote larger ice crystals.
Texture and Air Incorporation
How you stir your ice cream during freezing directly influences its texture and creaminess. Proper agitation promotes air incorporation, which creates a lighter, fluffier texture and enhances overall quality. Stirring frequently prevents large ice crystal formation, resulting in smoother ice cream. The freezing time also plays a role: too short, and the texture remains icy; too long, and it becomes hard. To visualize, consider this table:
| Stirring Frequency | Freezing Duration | Resulting Texture |
|---|---|---|
| Frequent | Short | Creamy, airy, soft |
| Occasional | Moderate | Slightly dense, smoother |
| Infrequent | Long | Icy, less air incorporation |
Adjust your stirring and freezing time to optimize air incorporation and texture enhancement.
Common Mistakes That Can Affect Your Homemade Ice Cream
Avoiding common mistakes is essential to achieving smooth, creamy homemade ice cream without a machine. One mistake is not properly preparing frozen fruit; blending it thoroughly helps prevent icy textures. Second, neglecting the use of dairy alternatives with the right fat content can result in a less creamy consistency—choose options like coconut milk or cashew cream. Third, rushing the freezing process or not stirring at regular intervals leads to large ice crystals forming. Finally, adding too much liquid or sweetener can affect texture; measure ingredients carefully. Be mindful of these pitfalls to enhance your ice cream’s smoothness. By avoiding these mistakes, you’ll create a velvety treat even without traditional equipment, making your homemade ice cream enjoyable and restaurant-quality.
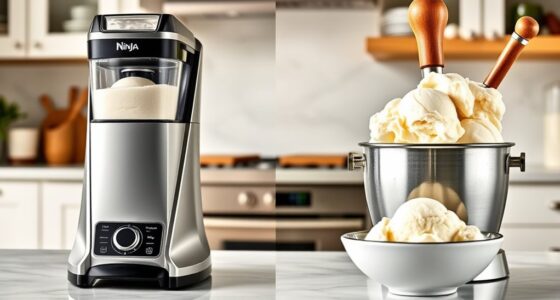
Comparing No-Machine Methods to Traditional Ice Cream Maker Results
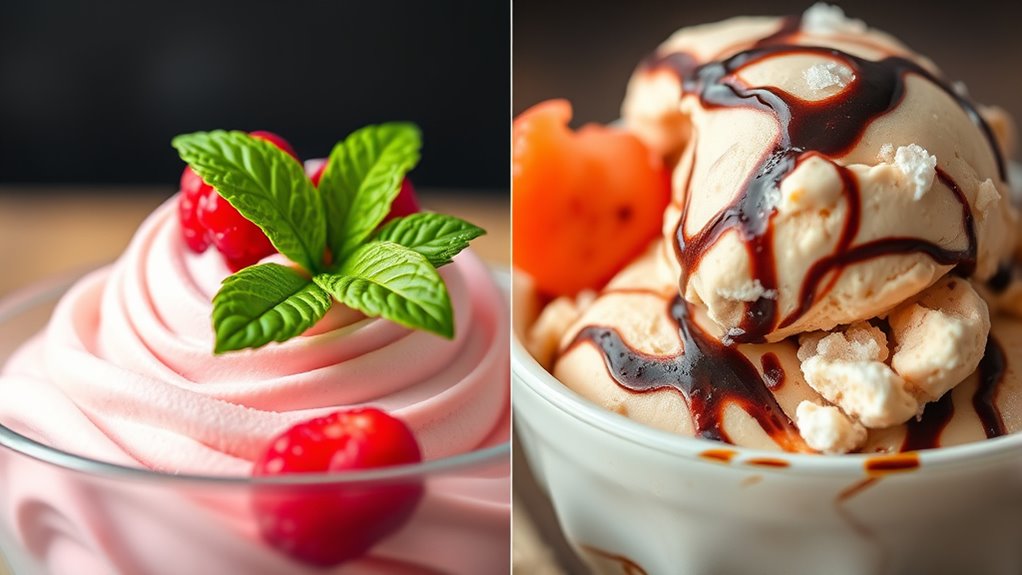
No-machine methods often produce a different texture compared to traditional ice cream makers, sometimes resulting in a denser or icier feel. You might notice variations in flavor distribution, since stirring techniques can affect how evenly ingredients blend. While no-machine options save time, they may require more effort to achieve similar results, making convenience a key factor.
Texture Differences Clearly
While both no-machine methods and traditional ice cream makers aim to produce creamy treats, their textures often differ noticeably. The texture contrasts impact how you experience each dessert, especially in mouthfeel differences. No-machine methods tend to produce ice cream that’s denser and icier due to less controlled churning. In contrast, traditional machines incorporate constant agitation, resulting in smoother, airier textures. Specifically, you may notice:
- Chunkier or grainier consistency in no-machine versions
- Less uniformity, leading to icy pockets
- Reduced creaminess and richness
- A more brittle, less elastic mouthfeel
These differences are mainly due to the absence of continuous mixing, which affects the final texture. While no-machine ice creams can be delicious, their mouthfeel differences from traditionally churned varieties are often quite apparent.
Flavor Incorporation Variations
Flavor incorporation methods differ markedly between no-machine techniques and traditional ice cream makers. With no-machine methods, you often mix ingredients like sugar alternatives or dairy-free bases directly into the base before freezing, which can lead to uneven distribution. Stirring during freezing helps, but some flavors may not blend as seamlessly as in machine-churned ice cream. Traditional ice cream makers churn the mixture continuously, resulting in a more uniform flavor throughout. If you’re using dairy-free options or sugar alternatives, no-machine methods might require multiple stirrings to prevent separation or ice crystal formation, potentially affecting flavor consistency. Overall, while no-machine techniques can produce tasty ice cream, achieving perfectly integrated flavors—especially with dairy-free or sugar-free ingredients—may take extra effort compared to the smooth, evenly flavored results from a traditional ice cream maker.
Convenience and Time
Making ice cream without a machine generally takes more time and effort compared to using a traditional ice cream maker. You’ll need to plan ahead and use different storage methods, like metal pans or resealable bags, to freeze your mixture effectively. The process involves manual stirring or shaking, which adds steps and extends preparation time. Additionally, ingredient substitutions—like substituting cream with milk or yogurt—can affect freezing time and texture, requiring adjustments. Here’s what to contemplate:
- Manual stirring every 30-60 minutes prolongs the process.
- Using shallow containers speeds up freezing but requires more frequent mixing.
- Repeatedly scraping or shaking your mixture saves time on churning.
- Proper storage methods prevent ice crystals and improve consistency.
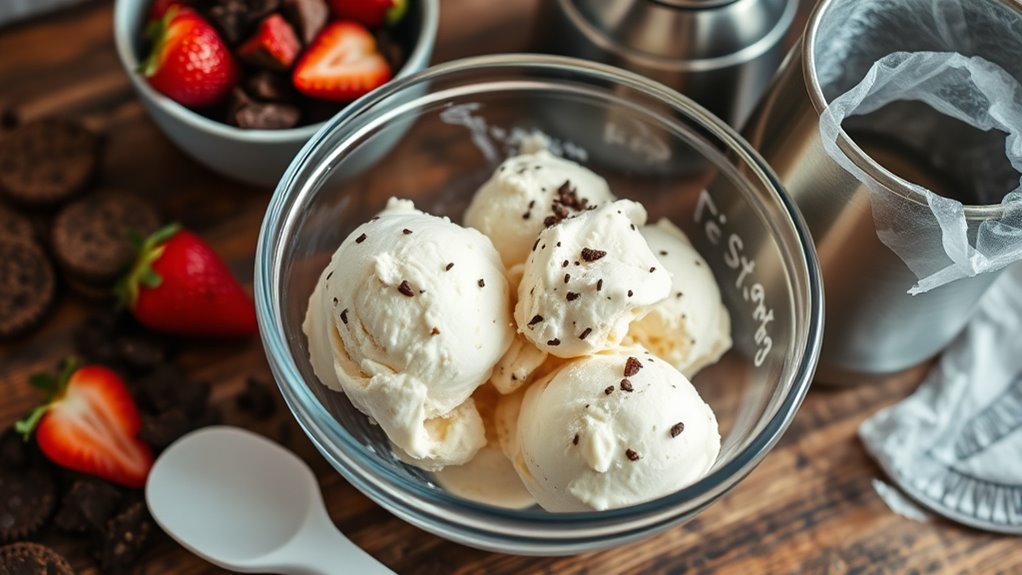
Tips for Achieving Smooth and Creamy Homemade Ice Cream
Achieving a smooth and creamy texture in homemade ice cream without a machine requires attention to technique and ingredients. Start by mixing your base thoroughly to ensure even distribution of fats and sugars, which contribute to creaminess. Use ingredients like heavy cream or whole milk for richness, and consider adding a stabilizer such as a small amount of gelatin or cornstarch to prevent ice crystals. When freezing, stir the mixture every 30-60 minutes to break up ice crystals, resulting in a smoother texture. Proper storage tips are essential; keep your ice cream airtight to prevent freezer burn and limit its shelf life to about 2-4 weeks for peak freshness. Following these tips will help you create a luscious, creamy homemade ice cream every time.
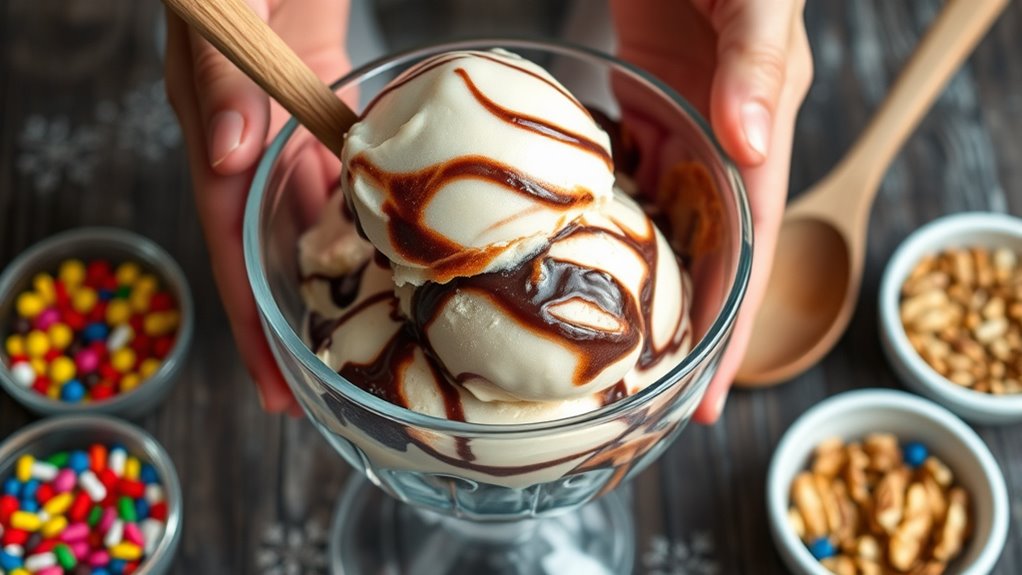
Creative Flavors and Add-ins for DIY Ice Cream Masterpieces
Get creative with your homemade ice cream by trying exciting flavor combinations like honey lavender or chili mango. Adding unique toppings and mix-ins, such as crushed cookies, fruit swirls, or toasted nuts, can turn your treat into a masterpiece. Experimenting with these ideas lets you craft personalized flavors that wow everyone.
Flavor Combinations to Try
Exploring creative flavor combinations can turn your homemade ice cream into a delicious masterpiece. Think beyond basic vanilla and chocolate by experimenting with seasonal ingredients like fresh berries or pumpkin. To elevate your flavors, consider these options:
- Combining ripe strawberries with basil for a invigorating twist
- Mixing roasted peaches with honey and a dash of cinnamon
- Infusing coconut ice cream with toasted almonds and dark chocolate chunks
- Using seasonal citrus zest with a splash of vanilla for a bright, tangy flavor
When packaging your creations, opt for sustainable packaging to reduce waste. These flavor combos not only enhance taste but also celebrate seasonal ingredients, making your DIY ice cream both delicious and eco-friendly.
Unique Toppings and Mix-ins
Adding unique toppings and mix-ins can transform your homemade ice cream into a flavor-packed masterpiece. Topping options like crushed cookies, fresh fruit, or a drizzle of honey add texture and burst of flavor. Mix-in ideas include chocolate chips, nuts, or swirls of caramel or fruit preserves to create diverse textures and tastes. Experimenting with these ingredients makes your ice cream more exciting and personalized. Here’s a quick guide to some popular choices:
| Topping Options | Mix In Ideas | Flavor Enhancers |
|---|---|---|
| Crushed cookies | Chocolate chips | Swirls of caramel |
| Fresh berries | Chopped nuts | Mint extract |
| Sprinkles | Fruit chunks | Cinnamon or vanilla |
Feel free to combine these for a truly custom treat!
Frequently Asked Questions
Can I Make Dairy-Free or Vegan Ice Cream Without a Machine?
Yes, you can make dairy-free or vegan ice cream without a machine. Using vegan alternatives like coconut milk, almond milk, or cashew cream, along with dairy substitutions, allows you to create creamy textures. Simply blend your ingredients, freeze, and stir periodically to prevent ice crystals. This method works well and lets you customize flavors with fruits, cocoa, or sweeteners, giving you delicious vegan ice cream at home without special equipment.
How Long Can Homemade No-Machine Ice Cream Be Stored?
Think of your homemade no-machine ice cream as a delicate flower that needs care. You can store it in the freezer for about 2 to 4 weeks, but for best texture, consume it sooner. Use proper freezer tips like airtight containers to prevent freezer burn. After that, it might become icy or grainy. So, aim to enjoy your creation within this window for the sweetest experience.
Are There Health Risks With Using Salt and Ice for Freezing?
When using salt and ice to freeze your ice cream, you should consider salt safety and ice toxicity. While small amounts of salt are generally safe, excessive salt can cause irritation if ingested or if it contacts your skin. Ice toxicity is unlikely with typical use, but avoid swallowing melted ice or ingesting large quantities of salt. Always handle salt and ice carefully to prevent any health risks.
Does the Ice Cream Texture Improve With Repeated Freezing and Thawing?
Imagine your ice cream swirling in the freezer, each freezing cycle adding a layer of smoothness. Repeated freezing and thawing can improve the texture, making it creamier and less icy. As you cycle through freezing, the ice crystals become smaller, enhancing the overall quality. So, yes, multiple freezing cycles can lead to better texture improvement, giving you a richer, more indulgent homemade treat with each round.
Can No-Machine Methods Produce the Same Quality as Commercial Ice Cream?
You can definitely produce high-quality ice cream without a machine, but the texture comparison often shows a slightly denser or icier result compared to commercial versions. However, with proper techniques, you can still achieve excellent flavor enhancement and smoothness. Your homemade ice cream benefits from fresh ingredients and your personal touch, making it a rewarding experience even if the texture isn’t perfectly identical to store-bought varieties.
Conclusion
With a little patience and creativity, you can turn simple ingredients into a velvety, flavorful ice cream right in your own kitchen. Imagine the satisfying swirl of creamy textures melting on your tongue, all without a fancy machine. Whether you use a bag, blender, or no-churn method, you’re in control of every scoop. So grab your favorite flavors, embrace the DIY spirit, and enjoy your homemade frozen treat anytime you please.