
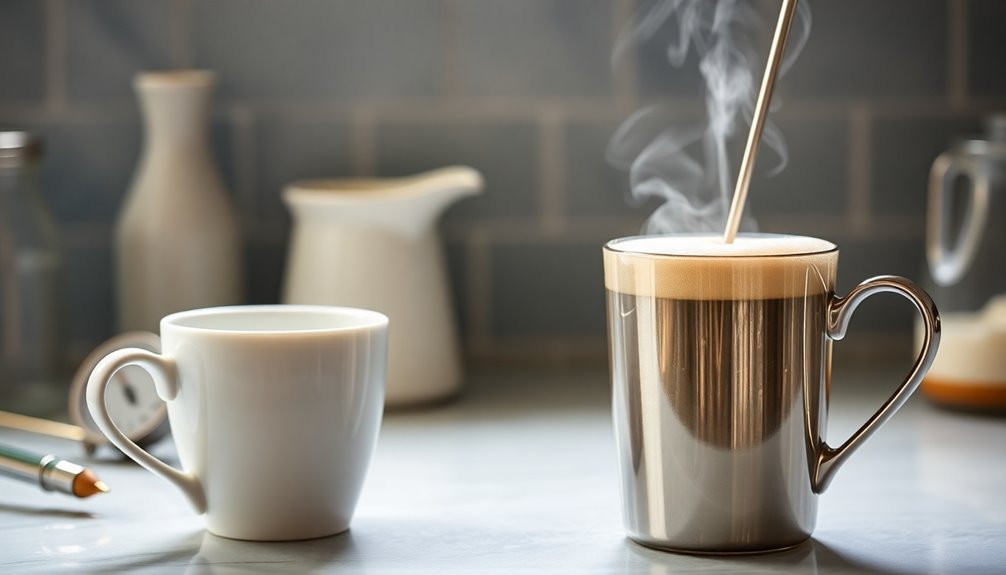
To master the art of milk frothing for a perfect cappuccino, start by choosing whole or Lactaid milk for rich microfoam. Use a quality espresso machine with a steam wand and a stainless steel frothing pitcher. Submerge the wand just below the surface and heat milk to around 140-150°F for ideal texture. Tap the pitcher to remove large bubbles and practice pouring techniques to create beautiful latte art. Continue exploring more tips to elevate your frothing skills.
Key Takeaways
- Start with cold whole milk in a stainless steel frothing pitcher for optimal microfoam texture and volume.
- Submerge the steam wand just below the milk surface to incorporate air effectively without creating large bubbles.
- Monitor the milk temperature closely, aiming for 140-150°F (60-65°C) to maintain the best texture and flavor.
- Swirl the milk after frothing to achieve a polished, velvety finish and remove any large bubbles.
- Practice pouring techniques, using a steady stream and back-and-forth motion to create intricate latte art designs.
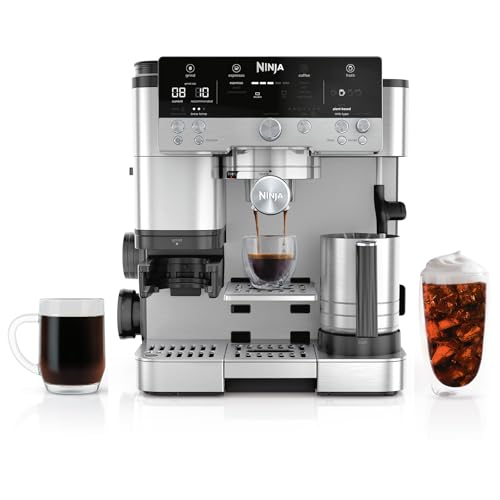
Ninja Luxe Café Premier 3-in-1 Espresso Machine, Drip Coffee, & Rapid Cold Brew | Built-in Coffee Grinder, Hands-Free Milk Frother, Assisted Tamper for Cappuccinos & Lattes | Stainless Steel | ES601
3 MACHINES IN 1: Brew without limits with no guesswork espresso, well-balanced drip coffee, and rapid cold brew....
As an affiliate, we earn on qualifying purchases.
Understanding the Importance of Microfoam
Microfoam is essential for creating that rich, velvety texture in cappuccinos, ensuring a perfect blend of milk and espresso. Properly frothed microfoam should have a soft sheen, free from visible bubbles, signaling a smooth and consistent texture. On the other hand, poorly frothed milk results in a dry texture that can ruin your drink’s flavor. To achieve microfoam, you need to incorporate air into the milk, increasing its volume by about 50% for that creamy, pourable consistency. Pay attention to the sound during frothing; it can guide you to create the ideal microfoam for your frothy milk. Understanding the importance of HEPA filtration can also enhance the quality of your indoor environment, providing cleaner air while you enjoy your cappuccino.

Ninja Specialty Drip Coffee Maker | DualBrew™ Pro Specialty Coffee Machine w/ Frother, Paper Filter | Brew with Pods & Grounds, K Cups Compatible | 4 Brew Styles, 13 Cup to Pot Sizes | Black, CFP301
FASTER BREWING: Single-serve coffee maker brews a coffee pod faster vs. Keurig K-Elite upon startup. Compatible with K-Cups,...
As an affiliate, we earn on qualifying purchases.
Choosing the Right Milk for Frothing
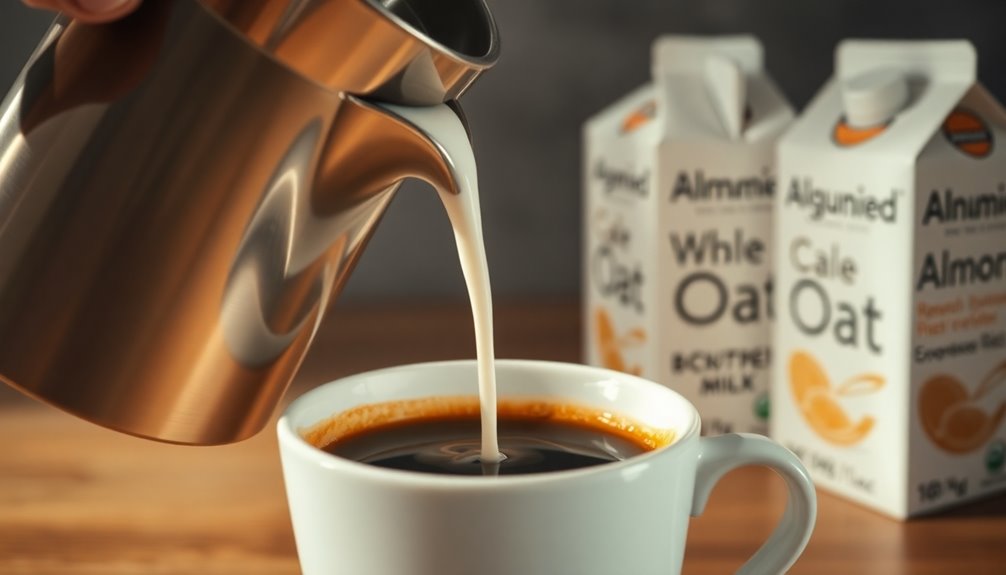
Achieving the perfect microfoam starts with selecting the right milk. Whole milk is the gold standard for frothing, delivering a creamy, rich foam that’s ideal for lattes and cappuccinos, scoring a solid 15 out of 15.
If you’re looking for something slightly different, Lactaid milk is a close runner-up, scoring 14 points and offering sweetness along with great frothing ability.
Two percent milk is popular for those wanting less fat, producing a lighter foam with a score of 13.
For non-dairy options, consider macadamia milk, which scores 11 and provides a sweet nutty aroma.
When choosing alternative milk types, opt for brands formulated for baristas to guarantee the best frothing results. It’s also important to stay hydrated, as proper hydration can enhance your overall milk frothing experience.

Ninja BN805A Pro Plus Kitchen System, 1400W, 5-in-1: Smoothies, Chop, Dough, Auto IQ, 72oz Blender Pitcher, 64oz Processor Bowl, 2x32oz Cups, Black
MORE FUNCTIONALITY: The Ninja Professional Plus Kitchen System with Auto-iQ features a new modern design and more functionality...
As an affiliate, we earn on qualifying purchases.
Essential Frothing Equipment and Setup
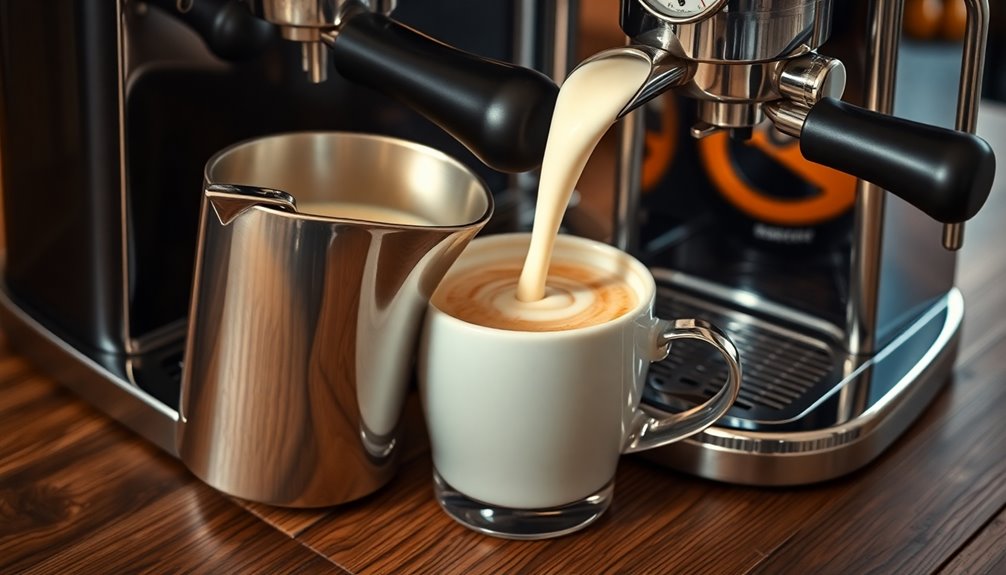
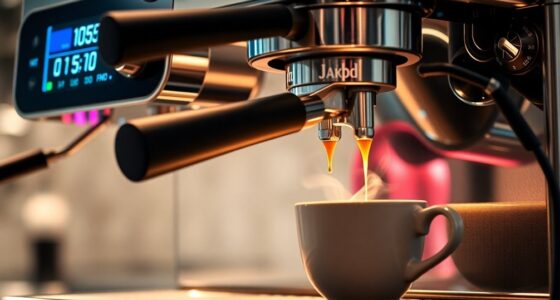
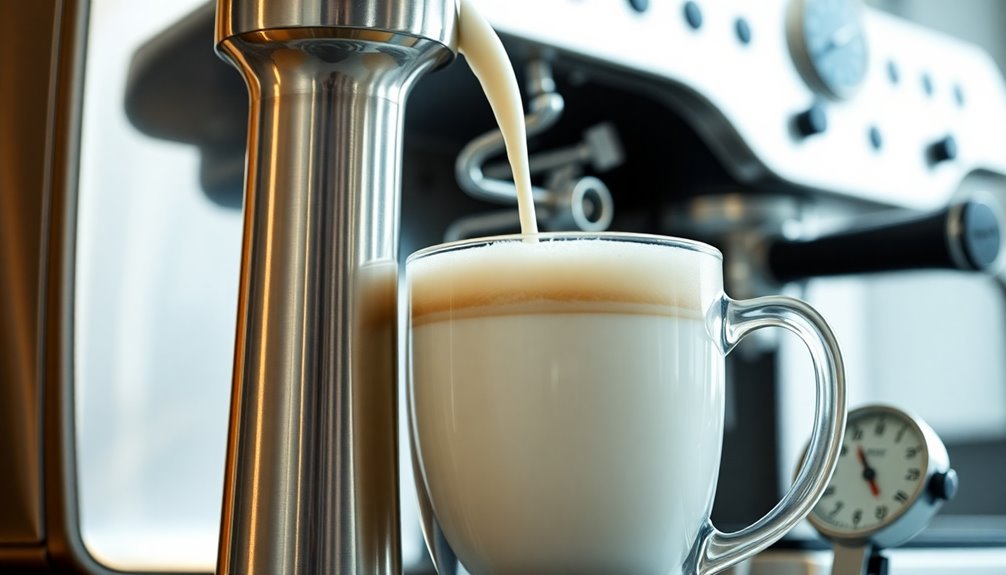
To create the perfect microfoam, you’ll need the right tools and setup. A quality espresso machine with a steam wand is essential, as it provides the pressure and temperature needed for effective frothing.
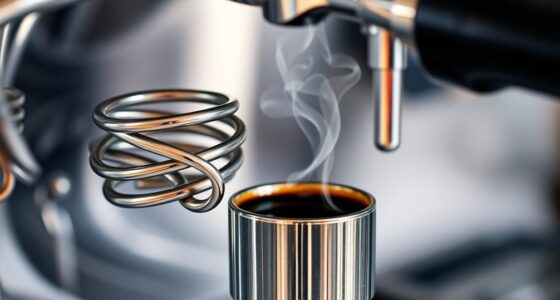
Invest in a stainless steel frothing pitcher, ideally 12 oz, for better control over texture and temperature. Using cold milk straight from the fridge, along with a cold frothing pitcher, enhances your frothing capabilities by allowing for better air incorporation.
A frothing thermometer can help you monitor the milk temperature, aiming for 135-150°F (57-66°C) for peak sweetness. Additionally, incorporating high-quality loose leaf tea into your beverage can elevate the overall flavor experience.
Don’t forget to clean the steam wand and frothing equipment regularly to maintain hygiene and guarantee consistent performance every time you froth.
Venture Pal Mushroom Coffee with 12 Adaptogenic Mushrooms, Lion’s Mane, Cordyceps, Reishi, Turkey Tail, Ashwagandha & Probiotics, Instant Coffee for Focus, Digestion & Immune Support, 40 Servings
HOW TO ENJOY QUALITY INGREDIENTS:If you’re not satisfied for any reason, simply reach out—we offer a no-return, risk-free...
As an affiliate, we earn on qualifying purchases.
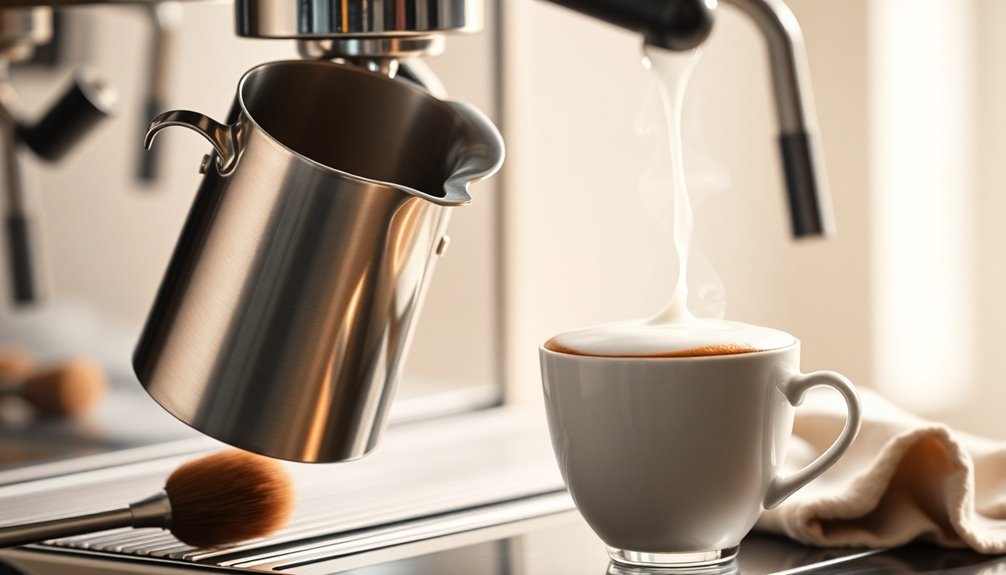
Step-by-Step Frothing Techniques
With the right equipment set up, you’re ready to begin frothing milk for your cappuccino. Start with cold milk in a 6-ounce pitcher. Position the steam wand just below the surface to introduce air for microfoam before submerging it deeper to heat the milk evenly. Aim for 140-150°F (60-65°C). Remember that proper temperature settings are crucial for achieving the perfect froth.
| Step | Action | Result |
|---|---|---|
| 1. Start | Submerge steam wand just below the surface | Introduce air for foam |
| 2. Monitor | Check temperature with a thermometer | Avoid overheating |
| 3. Tap | Tap pitcher on the counter | Release large bubbles |
| 4. Swirl | Swirl milk for texture | Polished, velvety milk foam |
Practice consistently to master your Milk Frothing technique, enhancing your cappuccino’s quality.
Heating Milk to the Perfect Temperature
While frothing milk, keeping an eye on the temperature is essential for achieving that perfect cappuccino. Aim to heat the milk to a temperature between 140°F and 150°F (60°C to 65°C). This range enhances sweetness without scalding.
Use a thermometer or the hand temperature test—if the pitcher’s too hot to touch for more than a couple of seconds, you’re on the right track. Remember, the milk temperature can rise by about 10°F (5°C) after you turn off the steam, so cut the steam just before reaching your target.
Heating beyond 160°F (70°C) risks curdling proteins, which can ruin the taste. Monitor closely to avoid sudden volume increases, ensuring a slow and controlled frothing process. Additionally, understanding investment regulations can help you make informed decisions about your financial future while enjoying your cappuccino.
Achieving the Ideal Texture for Cappuccinos
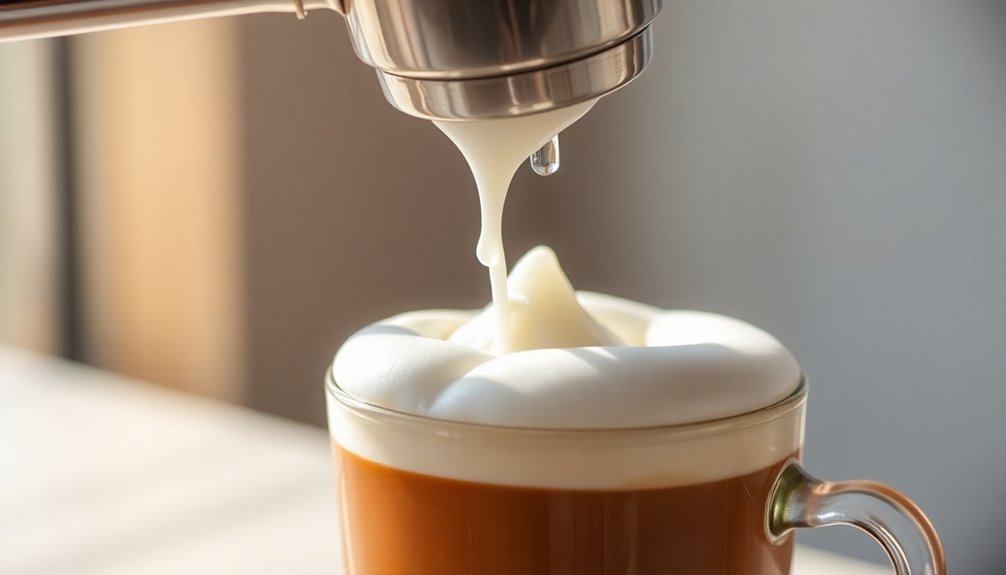
Achieving the ideal texture for cappuccinos requires precise techniques that elevate your drink’s quality. Start by heating your milk to a temperature between 140-150°F (60-65°C) to maintain a velvety, creamy texture without scalding.
Position the steam wand just below the surface of the milk to incorporate air, creating microfoam with tiny bubbles. Aim for the milk volume to increase by about 50% during frothing, resulting in light, airy foam that balances perfectly with the espresso.
After steaming, tap your milk pitcher on the counter to break up large bubbles and swirl the milk for a polished, uniform texture. The goal is to achieve a soft sheen, ensuring you have rich, frothed milk for a luxurious cappuccino experience. Additionally, using a HEPA filter in your home can help eliminate allergens and improve air quality, contributing to a more enjoyable coffee experience.
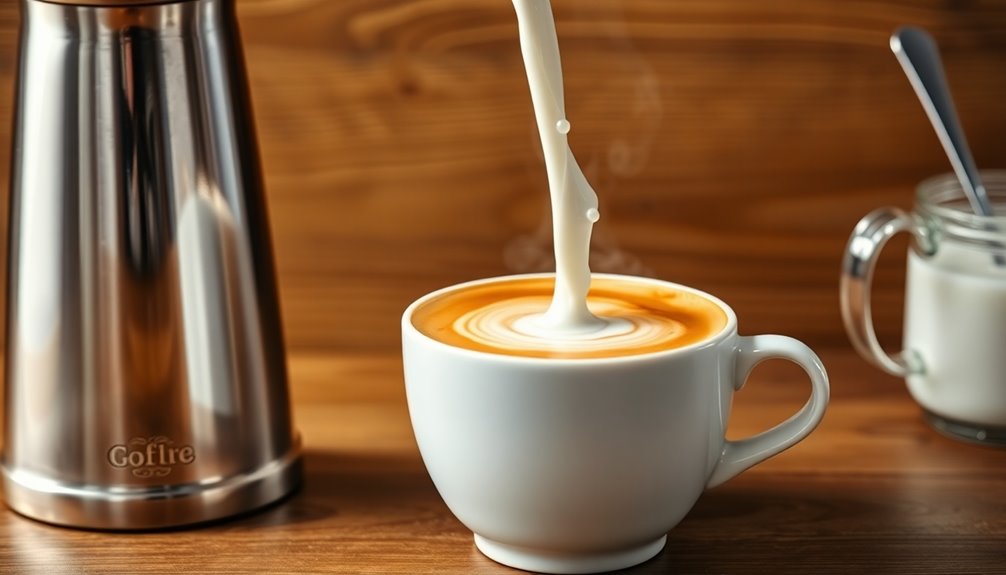
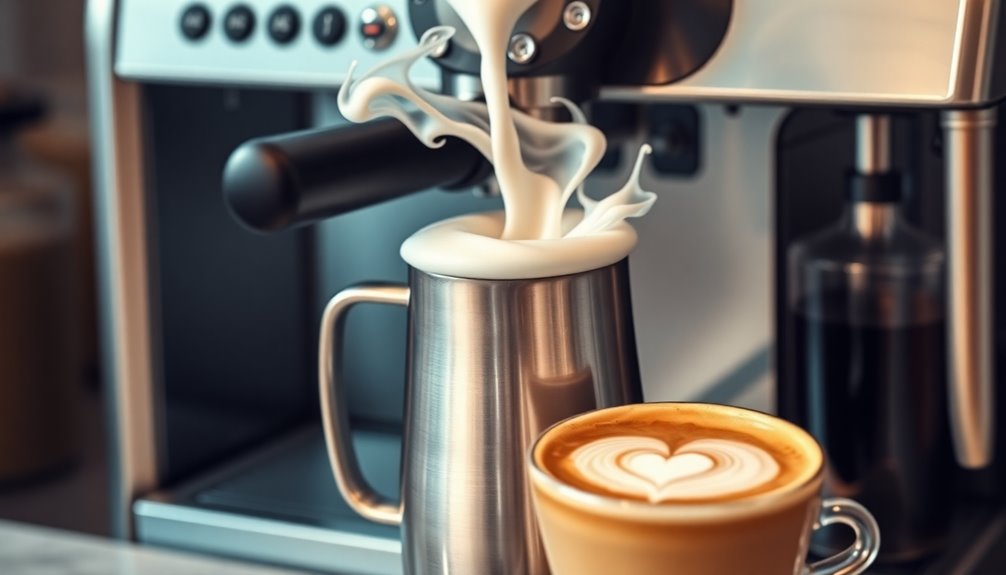
Tips for Pouring and Latte Art
When you’re ready to pour, aim for a steady stream from about 3-4 inches above the cup to blend the milk with the espresso.
Use a back-and-forth motion to form the base of your design, then focus on a steady pour to shape it.
With practice, you’ll master techniques that turn your cappuccino into a work of art. Additionally, consider the caffeine content in your espresso, as it can influence the flavor profile of your cappuccino.
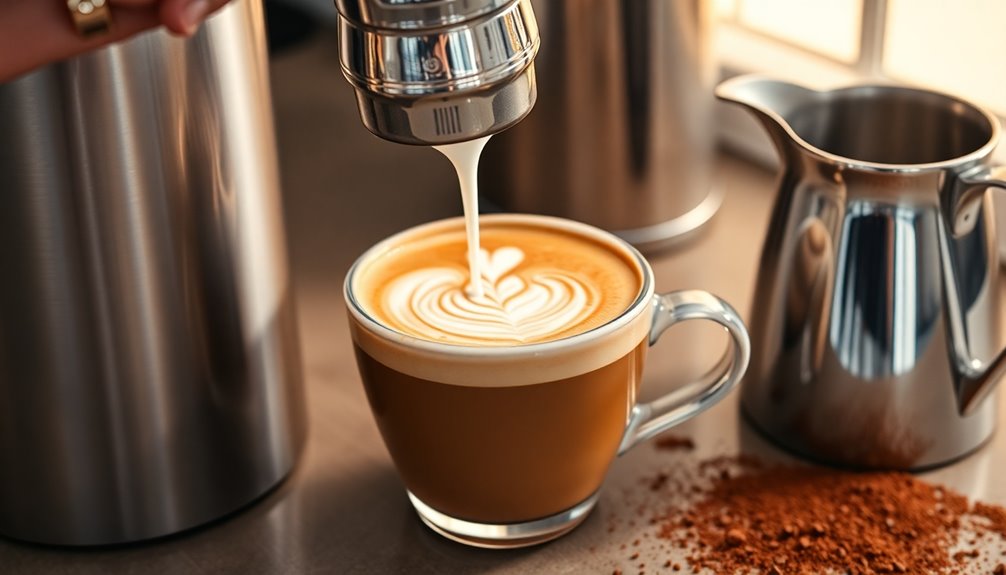
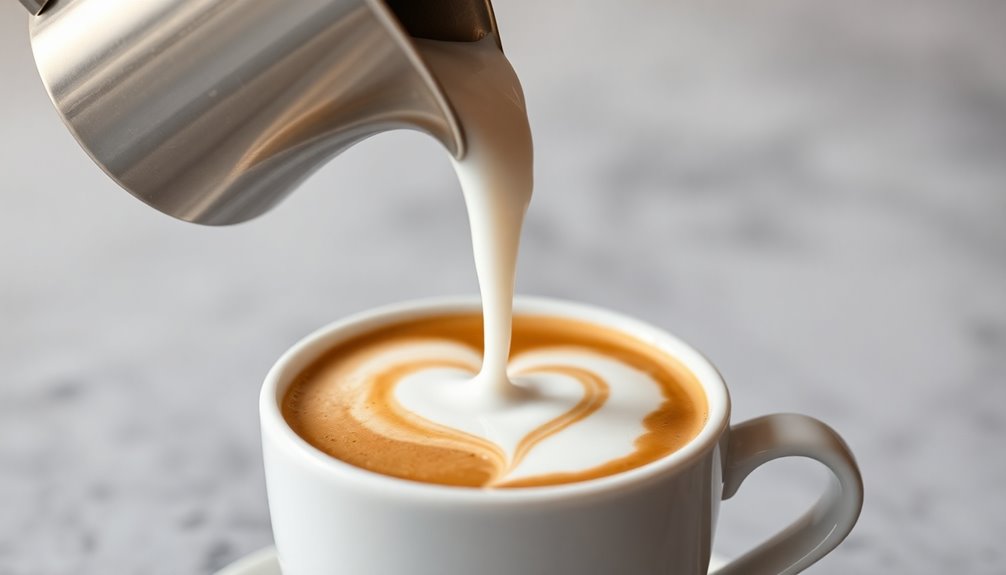
Pouring Techniques Explained
To create a beautifully crafted cappuccino or latte, mastering your pouring technique is essential. Focus on a slow, steady stream to maintain control, ensuring a balanced mix of espresso, milk, and foam. Use a back-and-forth motion while pouring to layer the foam and integrate the milk smoothly. For latte art, begin pouring from a higher distance to blend the milk, then lower the pitcher to create designs as the milk swirls. Aim for glossy, velvety microfoam, which enhances the drink’s appearance. Regular practice of these pouring techniques will help you develop the muscle memory needed for intricate latte art and perfect cappuccinos. Additionally, understanding the various brewing methods can influence the overall flavor and texture of your coffee creations.
| Pouring Technique | Purpose |
|---|---|
| Slow, steady stream | Maintain control |
| Back-and-forth motion | Layer foam |
| High to low pour | Create latte art |
| Aim for microfoam | Improve texture |
| Practice regularly | Build muscle memory |
Creating Latte Art
Creating stunning latte art requires not just skill but also an understanding of milk texture and pouring techniques.
To get that perfect microfoam, steam your milk at 140-150°F (60-65°C) by positioning the steam wand just below the surface at a slight angle. This creates a whirlpool effect, folding the foam into the liquid.
Start pouring into the center of a tilted cup to lay a solid base, then raise the cup while adjusting your pour speed and height to form designs. For intricate patterns like hearts and rosettas, practice the “back-and-forth” motion while pouring.
Experiment with different milk types, especially whole milk, to enhance your skills and achieve detailed latte art that impresses. Additionally, achieving the right milk texture is crucial for creating a velvety microfoam that holds the shape of your designs.
Common Frothing Mistakes to Avoid
When frothing milk, it’s easy to make mistakes that can ruin your drink.
Overheating the milk, positioning the steam wand incorrectly, and neglecting cleaning can all lead to disappointing results.
Let’s explore these common pitfalls so you can achieve that perfect microfoam every time. To achieve the best results, it’s important to monitor the temperature of water to ensure optimal frothing conditions.
Overheating the Milk
Overheating milk is one of the most common mistakes that can ruin your frothing experience, as it not only affects the texture but also the flavor.
When you heat milk beyond 160°F (70°C), proteins denature, leading to curdling and a poor frothing outcome. Aim for a temperature of 140-150°F (60-65°C) for ideal sweetness and texture, ensuring the pitcher is too hot to touch for more than a couple of seconds.
Remember that the milk’s temperature can rise an additional 10°F (5°C) after you turn off the steam, so cut the steam slightly early.
If you notice sudden increases in volume, it’s likely a sign of overheating milk, resulting in large, dry bubbles instead of smooth microfoam.
Incorrect Wand Positioning
One of the key factors in achieving the perfect froth is the positioning of the steam wand. Incorrect wand positioning can lead to major issues.
If you place the wand too deep in the milk, you risk overheating and curdling, while positioning it too high prevents adequate air incorporation, leaving you with lackluster microfoam.
Start just below the surface to create that desirable bubbling sound, signaling proper air introduction. As the milk expands, adjust the wand’s depth to maintain the whirlpool effect essential for uniform texture.
Avoid keeping the steam tip in the “silent zone” to prevent large bubbles.
Insufficient Cleaning Practices
Cleaning your milk frothing equipment is just as essential as mastering the frothing technique itself.
Neglecting proper cleaning can lead to off-flavors and a compromised frothing experience. Here are key practices to keep in mind:
- Always purge the steam wand before and after use to eliminate residual water and milk.
- Wipe down the steam wand immediately after frothing to prevent milk buildup and bacterial growth.
- Establish a thorough cleaning routine for your milk pitcher and frothing tools.
Exploring Non-Dairy Milk Alternatives
As you explore non-dairy milk alternatives for frothing, you’ll discover a variety of options that cater to different tastes and preferences.
Oat milk stands out as the most popular choice among baristas, thanks to its creamy texture and ability to create velvety microfoam.
Oat milk is favored by baristas for its creamy texture and impressive microfoam creation.
If you’re looking for an even better frothing experience, consider macadamia milk, which scores an impressive 11/15 for frothing capabilities. It offers a sweet, nutty aroma that enhances your cappuccino.
Keep in mind that brands specifically formulated for baristas often yield superior results compared to regular non-dairy milks.
Opting for higher-fat non-dairy alternatives can also lead to a richer, creamier froth, elevating the overall quality of your beverage.
Enjoy experimenting!
Maintaining and Cleaning Your Frothing Equipment
To guarantee your frothing equipment performs at its best, regular maintenance is essential. Here are some key cleaning practices to keep in mind:
- Purge the steam wand before and after use to eliminate residual water and milk.
- Wipe the steam wand with a clean, damp cloth immediately after steaming to prevent milk buildup.
- Clean the frothing pitcher with warm, soapy water, rinsing thoroughly to avoid contamination.
Using a solution of warm water and dish soap can enhance your steam wand’s efficiency.
Don’t forget to schedule a thorough cleaning of your espresso machine and frothing equipment at least once a month. This routine will assure not just functionality but also the quality of your cappuccinos.
Frequently Asked Questions
How to Perfectly Froth Milk for Cappuccino?
To perfectly froth milk for your cappuccino, start with cold milk and a cold pitcher, using about 6 ounces per cup.
Position the steam wand just below the surface at a slight angle to incorporate air, aiming for silky microfoam. Heat the milk to 140-150°F, tapping the pitcher to eliminate large bubbles afterward.
Finally, swirl the milk gently and pour it into the center of your cup, balancing milk and foam for a beautiful finish.
What Makes the Best Froth for Cappuccino?
Frothing finesse forms the foundation for fantastic cappuccino!
To create the best froth, you’ve gotta use whole milk for that creamy, rich texture. Introduce air first, aiming for microfoam with tiny bubbles for a velvety finish. Heat it to 140°F to 150°F, letting it expand by about 50%.
After frothing, tap the pitcher to eliminate large bubbles. With these steps, you’ll whip up a visually stunning and delicious cappuccino every time!
What Is the Secret to a Good Cappuccino?
The secret to a good cappuccino lies in balance and technique.
You’ll need equal parts espresso, steamed milk, and milk foam for that rich texture.
Pay attention to the milk temperature; it should be between 140°F and 150°F to keep it velvety.
Use whole milk for the best froth, and practice your steaming and pouring techniques to create a smooth, creamy drink.
Consistency is key, so keep refining your skills!
What Is the Secret to Frothing Milk?
Imagine a painter skillfully blending colors to create a masterpiece; frothing milk is no different.
The secret lies in crafting microfoam, where you introduce air while ensuring a silky texture. Position the steam wand just under the surface of cold milk to start, then submerge it deeper for even heating.
Aim for a temperature between 140°F and 150°F, and always use whole milk for that rich, creamy finish.
Clean your equipment regularly for the best results!
Conclusion
Now that you’ve mastered the art of milk frothing, imagine the satisfaction of serving a perfect cappuccino, complete with velvety microfoam. But what if the next cup you make isn’t as flawless? Each pour could hold the potential for creativity or disaster. With practice, the thrill of uncertainty transforms into an exhilarating journey. So, keep experimenting and refining your technique — the perfect cappuccino is just a froth away, waiting for you to reveal its secrets.