You can master simple mehndi designs today and turn your hands into stunning canvases. Start by practicing basic strokes like lines, curves, and dots with a pen for precision. Gradually shift to a henna cone as you gain confidence. Experiment with easy patterns like flowers, leaves, and vines. Try following online tutorials to guide your creativity and technique. Regular practice will enhance your control and fluidity. You can even explore culturally significant themes, like mandalas and peacock feathers, to enrich your designs. Keep going, and you'll discover even more techniques and tips to elevate your mehndi skills.
Key Takeaways
- Start with basic strokes like lines, curves, and dots to build fundamental skills for simple Mehndi designs.
- Practice pen techniques for precision before transitioning to henna cones to refine control.
- Follow online tutorials for step-by-step guidance on simple patterns such as flowers and leafy vines.
- Set aside regular practice time to enhance your fluidity and confidence in applying Mehndi designs.
- Incorporate fun elements and personal touches to make your practice enjoyable and unique.
Basic Henna Stroke Techniques
When starting your journey into mehndi art, mastering basic henna stroke techniques is essential. Incorporating practices such as yoga for back pain can enhance your focus and relaxation, making it easier to concentrate on your art.
Begin by using a pen for precision before shifting to a henna cone. Focus on practicing fundamental strokes like lines, curves, dots, hearts, and leaf-like patterns. Aim for continuous strokes in one direction to create fluid designs.
Once you feel comfortable, experiment by drawing alphabets and random leaf structures. This practice will help you build a strong foundation in various shapes and angles. The more you practice, the more control you'll develop, allowing your creativity to flourish.
Beginner-Friendly Mehndi Designs
For those just diving into the world of mehndi art, beginner-friendly designs can make the learning process enjoyable and accessible. Start with simple patterns like dots, lines, and hearts to build your confidence.
Incorporating fun elements, such as silly tantrums during family photoshoots, can add a lighthearted touch to your practice sessions. Try creating flower shapes or leafy vines; these are easy to master and can be combined for more complex designs.
You can also explore step-by-step tutorials online, which guide you through each design. Remember to practice regularly with a henna cone, as this builds control and fluidity in your strokes. Each small success will motivate you to tackle more intricate patterns later. As you progress, don’t hesitate to experiment with different styles and patterns to discover your unique artistic flair. Alongside honing your skills, taking breaks to refresh your creativity can be equally important. For instance, reading something completely unrelated, like an MSI Katana A15 review, could offer a mental reset and spark inspiration in unexpected ways.
As you grow more comfortable, you'll discover your unique style and creativity within mehndi art!
Practicing at Home Effectively
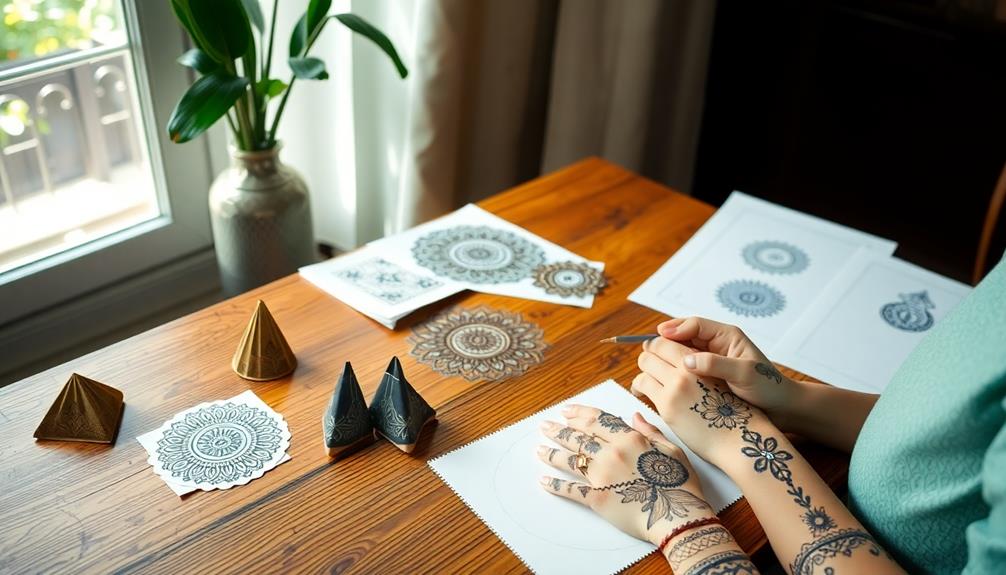
How can you make the most of your mehndi practice at home? Start by using a pen to practice basic strokes like lines, curves, and dots. This builds control before you switch to a henna cone. Engaging in this practice can enhance your problem-solving abilities as you explore different designs, ultimately boosting your mental health and fostering a positive mindset the benefits of curiosity.
Focus on continuous strokes in one direction to create fluid designs. Begin with simple patterns, like flowers and leaves, to boost your confidence. Consider following online tutorials that guide you step-by-step through beginner designs.
Experiment with different henna cones to find the one that feels best in your hands. Consistency is key, so set aside regular practice time. As you improve, don't hesitate to explore your creativity and develop your unique style!
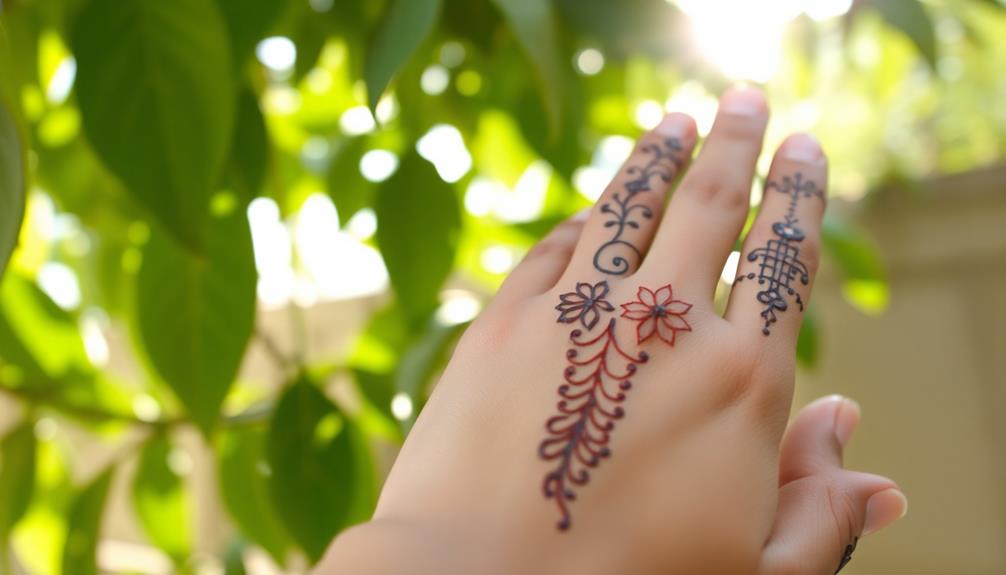
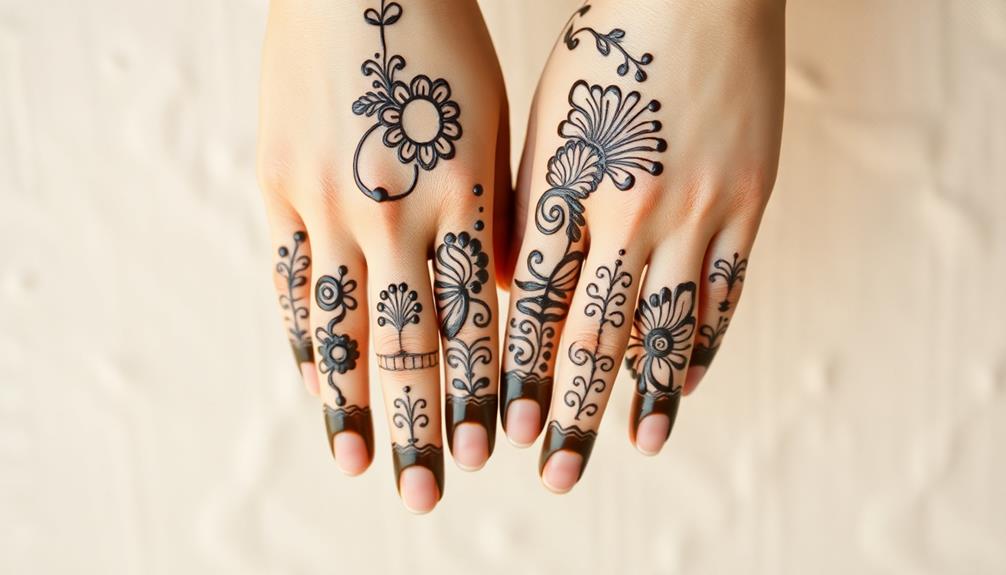
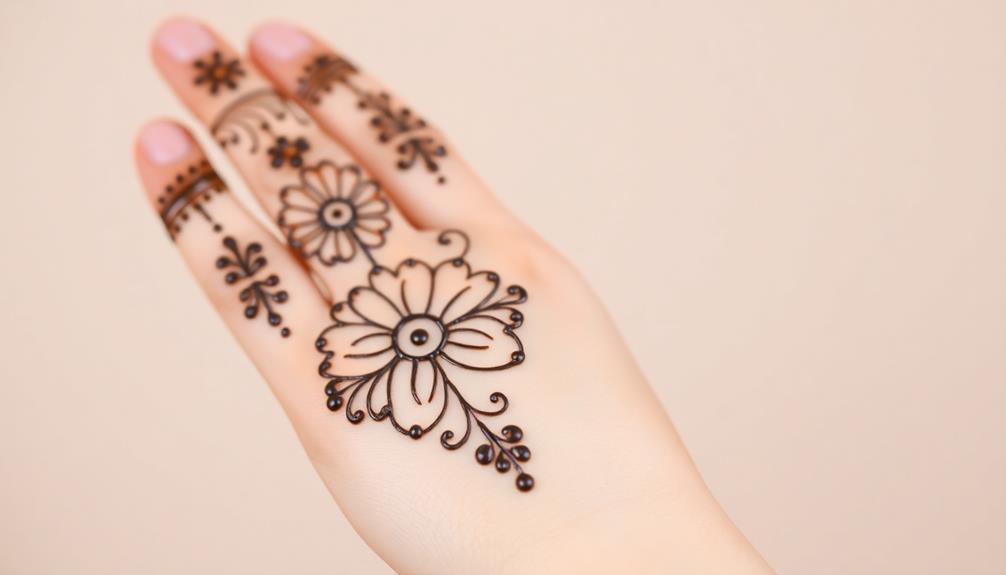
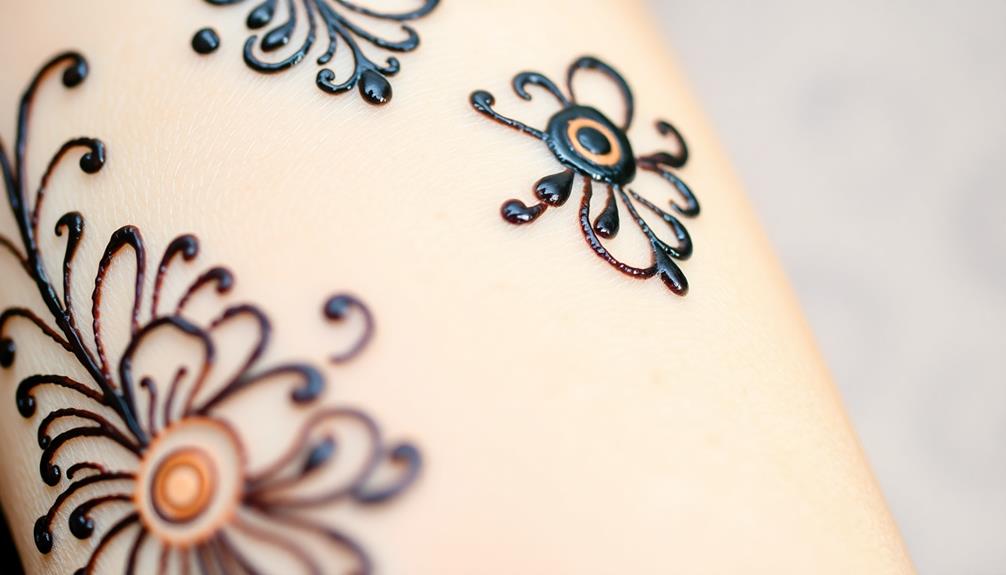
Simple Flower Patterns
Simple flower patterns are a great way to kickstart your mehndi journey. These designs aren't only beautiful but also easy to learn.
Start by sketching basic flower shapes, focusing on petal arrangements and sizes. Use rounded or pointed petals to create variety and balance. Incorporate small details like dots or lines within the flowers to enhance their beauty.
Practice layering your flowers, placing larger blooms in the center and smaller ones around them for a balanced look. Experiment with different placements on your hands, ensuring the design flows naturally with your hand's shape.
With consistent practice, you'll develop your unique style while mastering these simple yet stunning flower patterns. Enjoy the process and let your creativity bloom!
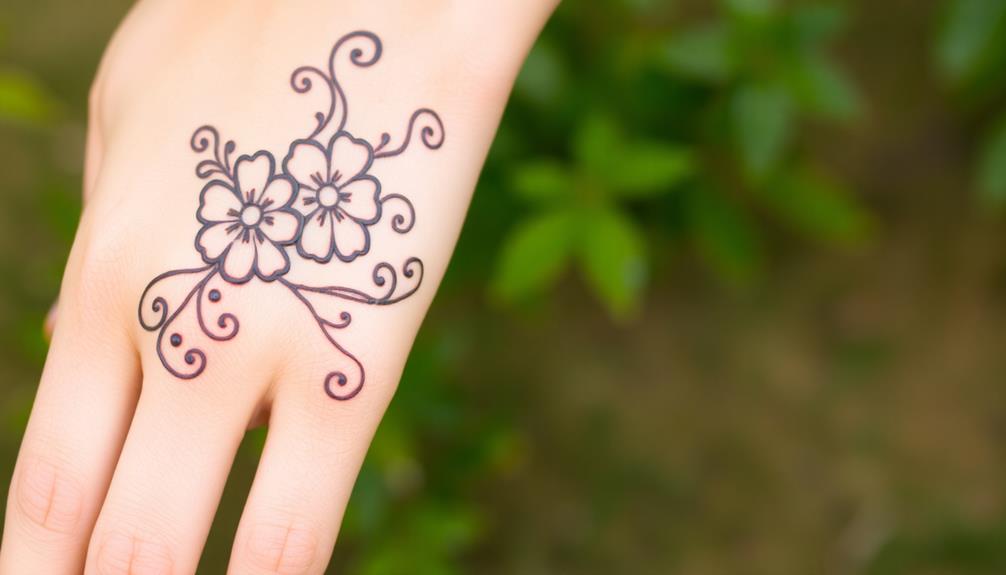
Easy Leafy Vine Designs
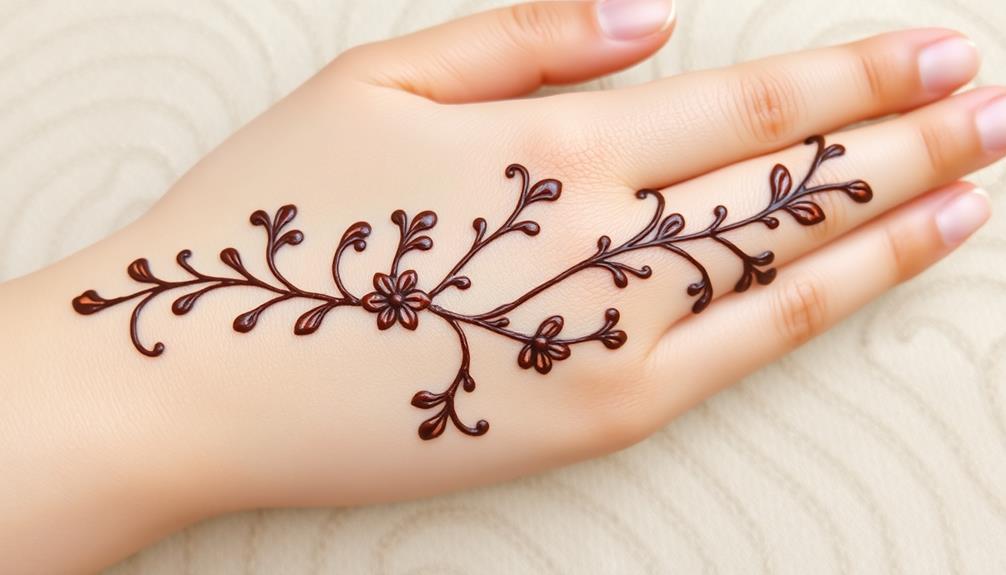
Leafy vine designs offer a beautiful way to add elegance to your mehndi patterns, seamlessly intertwining with other motifs. To create these designs, start with simple leaf shapes like teardrops or ovals.
Practice connecting them with wavy lines to form a vine-like structure. You can add small flowers or buds along the vine for added charm.
When applying leafy vines, consider the shape of your hand; they can wrap around fingers or flow along the wrist. Experiment with different sizes and orientations to find what suits you best.
These designs are versatile, making them perfect fillers or borders. With a bit of practice, you'll master these easy leafy vine designs and elevate your mehndi artistry!
Creating Peacock Feather Motifs
Creating stunning peacock feather motifs can elevate your mehndi designs to a new level of elegance.
Start by drawing a central line that acts as the feather's spine. From there, add delicate, curved lines extending outward to mimic the feather's graceful shape. Incorporate eye shapes, dots, and swirls to enhance the intricacy of your design.
Experiment with various sizes and styles to create unique variations; a larger feather can serve as a focal point, while smaller ones can add subtlety.
Remember to balance the design with surrounding elements, ensuring it flows harmoniously across the skin.
With practice, you'll master the art of peacock feather motifs, making your mehndi truly enchanting and memorable.
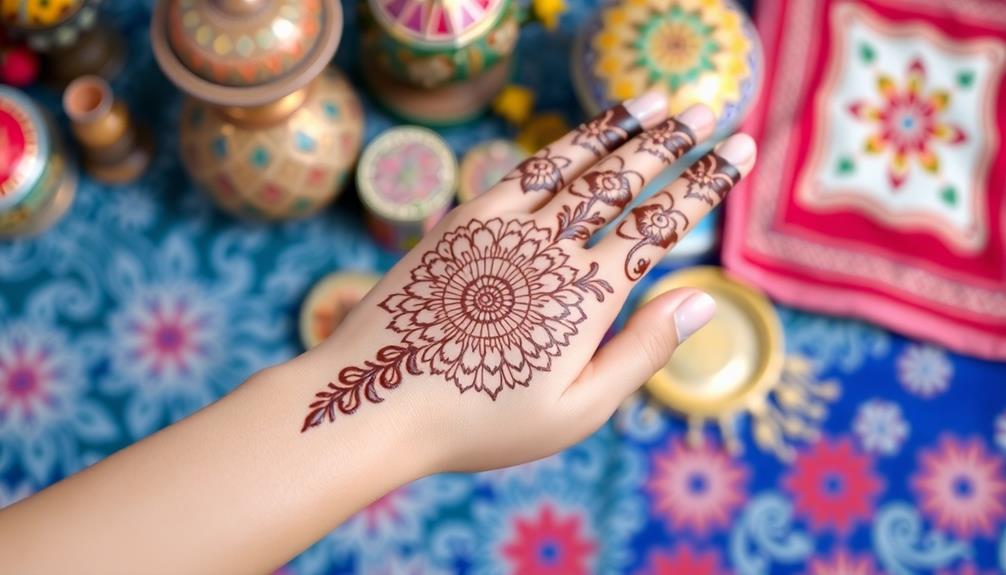
Exploring Mandala Patterns

When exploring mandala patterns, you'll discover a fascinating blend of symmetry and intricate details that can transform your mehndi designs.
These designs often feature geometric shapes and floral motifs, creating a harmonious look that captivates the eye.
Start by practicing simple elements like dots and circles to build your confidence. As you master the basics, you can progress to more complex designs that showcase your creativity.
Mandalas are versatile, allowing you to adapt them to both traditional and modern styles. Consider how you can incorporate personal touches, making each piece uniquely yours.
With practice, you'll find that mandala patterns can elevate your mehndi artistry, resulting in stunning and meaningful designs.
Cultural Significance of Mehndi
The cultural significance of mehndi goes beyond mere decoration; it embodies tradition, celebration, and personal expression. In many cultures, you'll find mehndi used during weddings, festivals, and other significant life events, symbolizing joy and good fortune.
The intricate designs often reflect a person's cultural heritage and familial ties, making each pattern unique. When you apply mehndi, you're not just beautifying your skin; you're participating in a rich tradition that connects generations.
Additionally, mehndi serves as a form of artistic expression, allowing you to convey your personality and emotions through patterns. Whether it's simple or elaborate, each design tells a story, making mehndi a beautiful fusion of artistry and cultural significance in your life.
Frequently Asked Questions
What Materials Are Best for Beginners to Practice Mehndi?
To practice mehndi, you'll need quality henna cones, a fine-tipped pen for precision, and paper or your skin for application. Gather these materials, and you're ready to start your henna journey confidently!
How Long Does Henna Last on the Skin?
Henna typically lasts on your skin for one to three weeks, depending on skin type and aftercare. To extend its longevity, avoid water and oils for the first 24 hours after applying the henna.
Can I Use Store-Bought Henna Kits for Designs?
You can use store-bought henna kits for your designs. They're convenient and often come with easy instructions. Just remember to check the ingredients to guarantee a safe, vibrant experience for your artistry.
How Do I Remove Henna From My Skin Safely?
To safely remove henna from your skin, you can use olive oil or coconut oil. Gently rub the area, or soak it in warm water, then exfoliate with a scrub to speed up the process.
Are There Any Skin Allergies Related to Henna?
Yes, some people can experience skin allergies to henna, especially if it contains additives or chemicals. It's important to do a patch test before applying to check for any adverse reactions on your skin.
Conclusion
As you wrap up your journey into the world of mehndi, imagine the compliments you'll receive as your friends admire your stunning designs. Picture yourself confidently applying those intricate patterns, each stroke telling a story of creativity and tradition. With every design, you're not just practicing a skill; you're connecting with a rich cultural heritage. So, are you ready to pick up that henna cone and transform your visions into reality? The beauty of mehndi awaits you—dare to create!