
To make vegan ice cream at home that everyone will love, start by blending plant-based milks like coconut or almond with creamy ingredients such as cashews or coconut cream. Add natural sweeteners, flavor extracts, and fresh fruit for a tasty base. Chill, then blend until smooth before freezing. Stir occasionally to prevent ice crystals and get a soft, scoopable texture. For tips on perfecting your homemade vegan ice cream, keep exploring the steps below.
Key Takeaways
- Use creamy plant-based milks and natural sweeteners like maple syrup for rich, flavorful bases that appeal to all tastes.
- Properly chill your mixture and blend until smooth to ensure a velvety, scoopable texture.
- Freeze in shallow containers, stirring every 30-45 minutes to prevent ice crystals and maintain creaminess.
- Customize with popular mix-ins like fresh fruit, nuts, or chocolate chips to enhance flavor and visual appeal.
- Serve at room temperature after a brief thaw for the perfect, non-dairy treat everyone will love.
Gathering the Essential Ingredients for Vegan Ice Cream
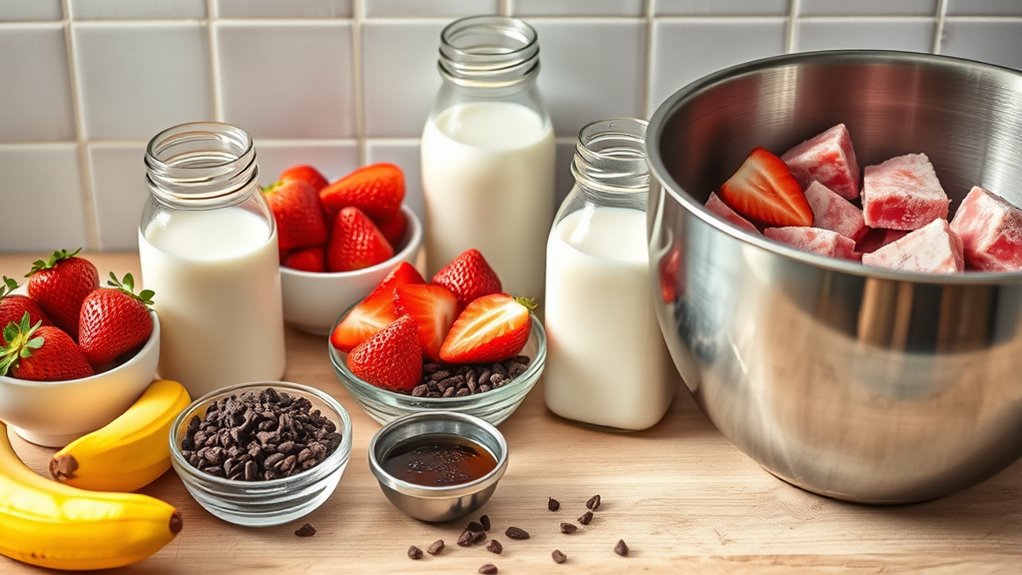
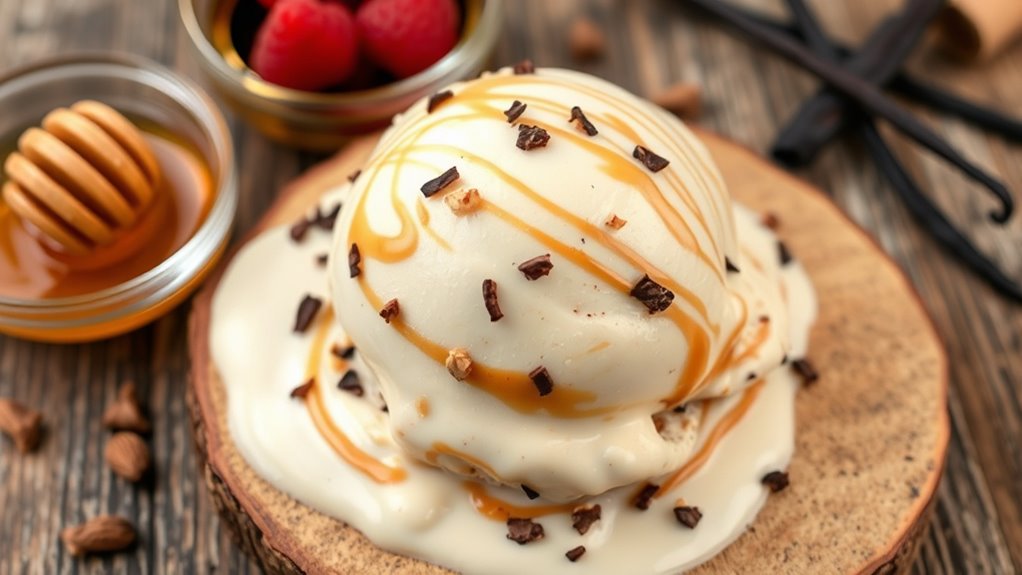
Before you begin making vegan ice cream, you need to gather the essential ingredients. These ingredients not only determine the flavor and texture but also offer nutritional benefits, like healthy fats and vitamins. Start with a good plant-based milk, such as almond, coconut, or soy, which can be swapped depending on your dietary needs or flavor preferences. For creaminess, consider coconut cream or cashew nuts, which can be blended into a smooth base. Sweeteners like maple syrup or agave nectar work well, and ingredient substitutions allow you to customize your treat. Adding natural flavorings like vanilla or cocoa powder enhances taste. Being mindful of nutritional benefits and flexible with ingredient substitutions ensures your vegan ice cream is both delicious and nourishing. Additionally, exploring plant-based ingredients can add unique regional flavors to your homemade ice cream, and understanding how to transform ordinary ingredients can elevate your culinary creations. Incorporating suitable fats can also improve texture and richness in your vegan ice cream recipes, and understanding retirement planning strategies can help ensure your future financial security.
Preparing Your Base: Choosing the Right Liquid and Creams
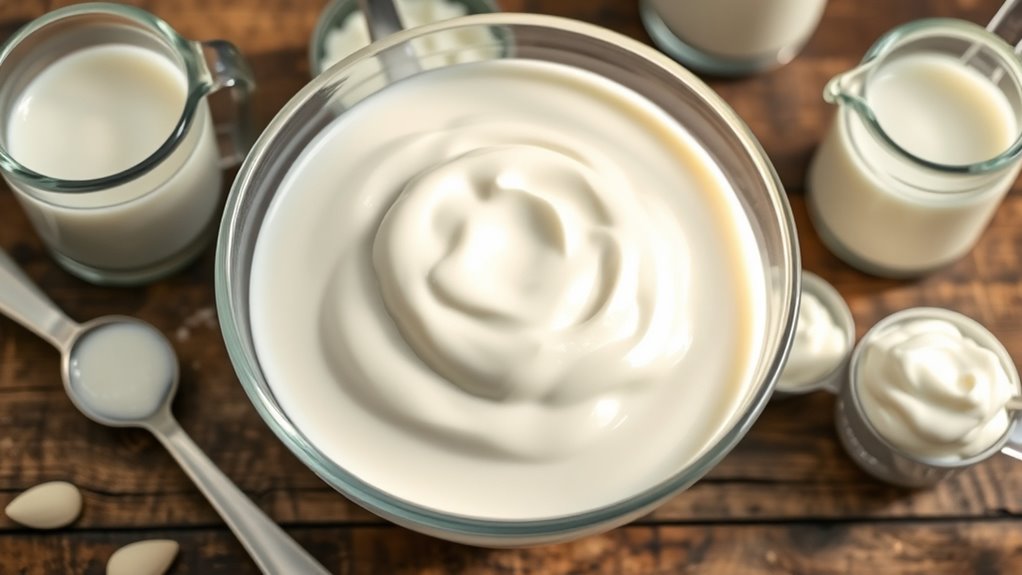
Choosing the right liquids and creams is essential for a smooth, creamy vegan ice cream. You can opt for plant-based milks like almond, cashew, or coconut, depending on your flavor preferences. Don’t forget to contemplate substitutes like coconut cream or aquafaba to achieve the desired richness and texture. To enhance the farmhouse-inspired flavor profile, consider incorporating natural ingredients like vanilla bean or fresh fruit for added depth. Additionally, selecting high-quality ingredients can significantly influence the overall fatherhood of your ice cream—just as good parenting depends on quality and care. Furthermore, understanding the contrast ratio of your ingredients can help achieve a balanced and appetizing flavor profile. When experimenting with different liquids, consider the tuning of your ingredients to optimize creaminess and flavor harmony. Staying informed about AI in Education advancements can also inspire innovative ideas in ingredient selection and recipe development.
Liquid Options Selection
Selecting the right liquid is essential for creating a smooth, creamy vegan ice cream. Your choice influences texture, flavor, and how well it blends. Dairy alternatives like coconut milk, almond milk, or cashew milk are popular because they offer different richness levels. Consider these options:
- Coconut milk for a rich, tropical flavor and creamy texture.
- Almond milk for a lighter base that’s subtly nutty.
- Cashew milk for a silky, neutral foundation perfect for flavor infusions.
Choose your liquid based on the desired consistency and taste profile. Dairy alternatives also make it easy to incorporate flavor infusions, enhancing your ice cream with fruits, spices, or extracts. Selecting the right base ensures your vegan ice cream turns out smooth, delicious, and satisfying.
Creams and Substitutes
To create a smooth and creamy vegan ice cream, you need to focus on the right combination of liquids and creams. Dairy substitutes like coconut milk, cashew cream, or almond milk work well because they add richness without dairy. Plant-based creams, such as coconut cream or soy-based options, give your ice cream a velvety texture similar to traditional creams. You can blend these dairy substitutes with nut milks or plant-based yogurts to customize the flavor and consistency. Using full-fat versions enhances creaminess, while lighter options keep the texture soft and scoopable. Mixing in plant-based creams guarantees your ice cream remains luscious and satisfying, even without dairy. Experiment with different combinations to find the perfect base for your flavor creations.
Incorporating Flavorings and Sweeteners for Perfect Taste
Adding flavorings and sweeteners is key to achieving the perfect vegan ice cream. To enhance taste, opt for natural sweeteners like agave syrup, maple syrup, or coconut sugar. These not only sweeten your ice cream but also add depth to the flavor infusion. Consider these tips:
- Use natural sweeteners to maintain a wholesome profile and avoid processed sugars.
- Add extracts such as vanilla, almond, or peppermint to boost flavor complexity.
- Incorporate fresh or dried fruits for natural sweetness and vibrant flavor.
- For optimal performance and consistency, choose Vetted electric bike conversion kits that match your bike type and riding needs.
Adjust the amount of sweetener based on your taste preferences, and remember that a little goes a long way. Proper flavoring ensures your vegan ice cream is irresistibly delicious and well-balanced.
Chilling and Blending Your Mixture for Creaminess
To get that irresistibly creamy texture, you need to chill your mixture properly before blending. Using the right techniques guarantees it stays cold and thickens evenly. When blending, aim for a smooth, consistent consistency to achieve perfect ice cream quality. Additionally, understanding the weight of equipment can help you choose the right container for freezing your mixture efficiently. Proper sound design techniques, such as listening to music or instructions through a proper headphone connection, can enhance your preparation process. Being aware of best freezing practices from reliable sources can further improve your ice cream’s texture and flavor. Incorporating a HEPA filtration system into your kitchen environment can help reduce airborne contaminants that might affect your ingredients or workspace cleanliness.
Proper Chilling Techniques
Chilling your mixture properly is essential for achieving that smooth, scoopable texture you desire in vegan ice cream. Proper chilling ensures the mixture is cold enough for ideal freezing, which improves consistency and prevents ice crystals. To master freezing techniques, consider these steps:
- Pre-chill your mixture in the refrigerator for at least 2 hours before freezing.
- Use a shallow, airtight container to promote even freezing and prevent ice crystals.
- Stir or agitate the mixture every 30-45 minutes during freezing to maintain creaminess and prevent large ice formation.
- Incorporating proper freezing techniques can significantly enhance the texture and overall quality of your vegan ice cream. Consistent messaging about the importance of proper chilling can motivate you to follow these steps diligently.
- Following these proper chilling methods helps you achieve professional-quality vegan ice cream. Remember, good freezing techniques are key to smooth, delicious results every time.
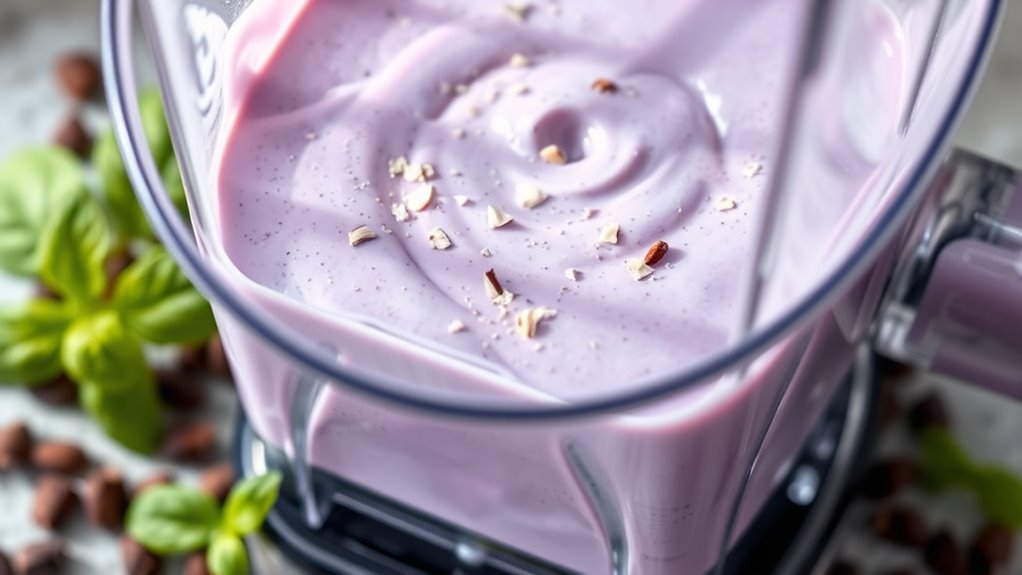
Achieving Smooth Blends
Once your mixture has been properly chilled, blending becomes the key to achieving that irresistibly smooth and creamy texture. Use quality blending equipment like a high-speed blender or food processor to guarantee even, thorough mixing. Start by blending in short bursts, then gradually increase speed until the mixture is silky. If your mixture is too thick, ingredient substitutions such as adding a splash of plant-based milk or a bit of coconut oil can help attain a smoother consistency. Be careful not to overblend, which can incorporate excess air and affect texture. For best results, blend until completely smooth, then transfer to your freezer for final chilling. Proper blending assures your vegan ice cream is luxuriously creamy, even without traditional dairy. Additionally, understanding cybersecurity vulnerabilities in your equipment can help protect your data and devices while preparing your treats. Regular maintenance of your blending appliances can also prevent equipment malfunctions, ensuring consistent performance.
Achieving the Ideal Texture With Freezing Techniques
Getting the texture right is essential for homemade vegan ice cream, and mastering freezing techniques plays a key role. Proper freezing ensures ideal texture enhancement, making your ice cream creamy and scoopable. To improve your results, consider these techniques:
Master freezing techniques for creamy, scoopable homemade vegan ice cream every time.
- Chill the mixture thoroughly before freezing to reduce ice crystal formation. Using proper freezing techniques helps prevent large ice crystals from developing, resulting in a smoother texture. Incorporating temperature control during freezing can also improve the final outcome.
- Use a metal or shallow container to promote faster, more even freezing.
- Stir every 30-45 minutes during the first few hours to break up ice crystals and maintain smoothness.
- Incorporate fiber-rich ingredients like chia seeds or flaxseeds into the mixture to help improve texture and prevent ice crystal formation.
- Selecting the appropriate freezing techniques can significantly influence the final consistency and prevent the formation of large ice crystals, resulting in a smoother ice cream.
These freezing techniques help control ice crystal size and improve texture. Avoid just leaving the mixture in the freezer, as it can turn icy. With these steps, you’ll achieve a velvety, delightful vegan ice cream every time.
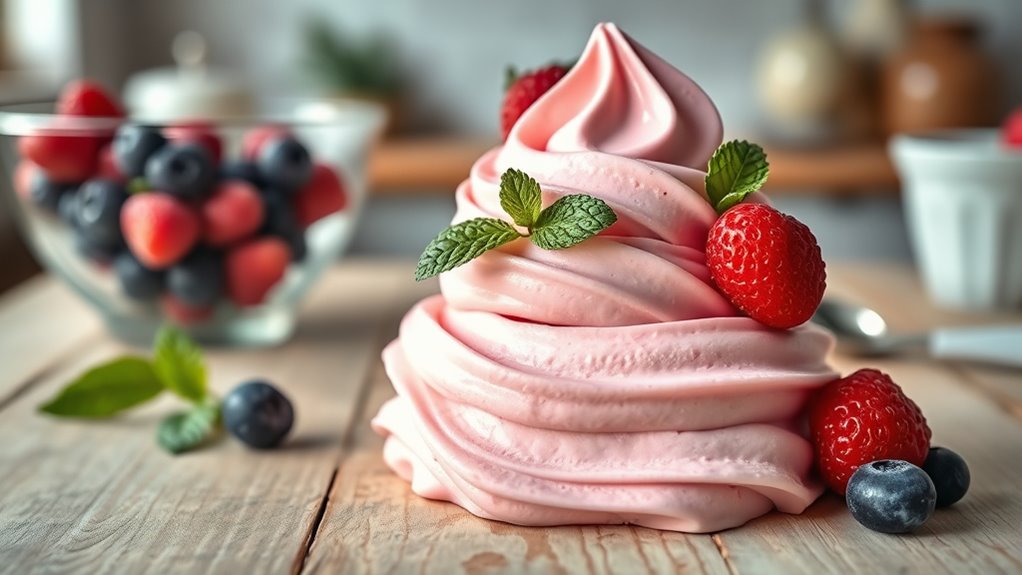
Customizing Your Vegan Ice Cream With Mix-Ins and Toppings
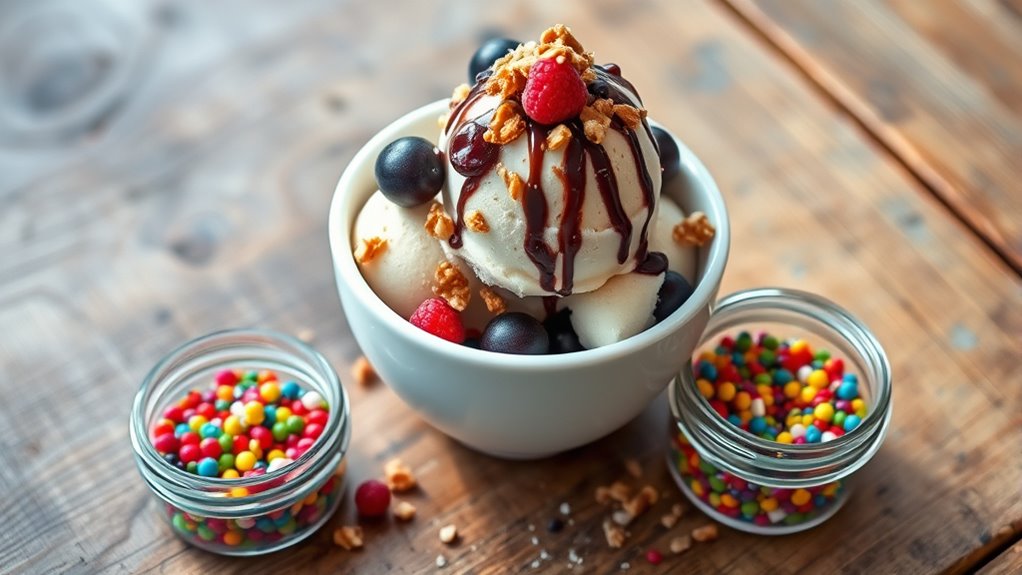
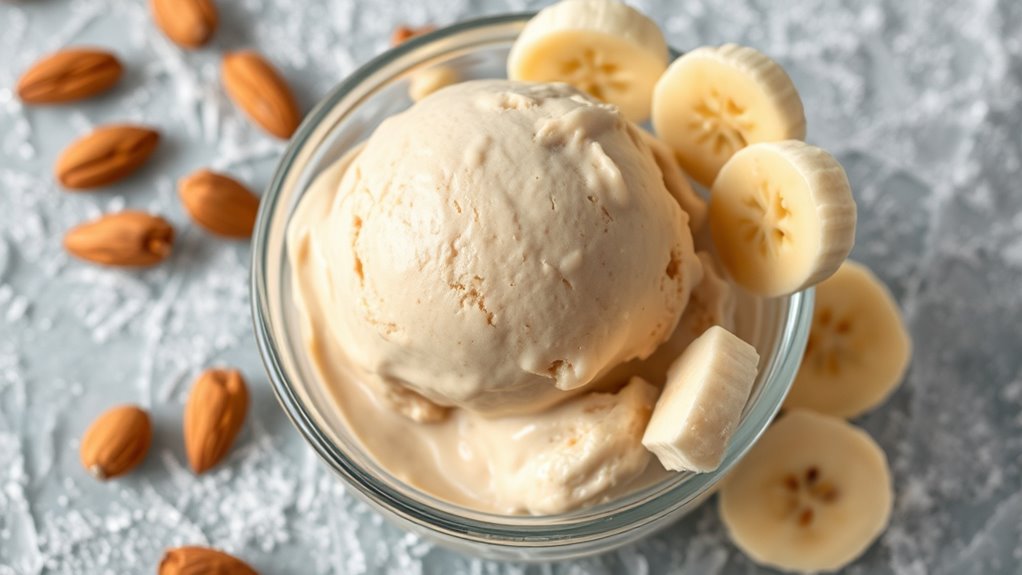
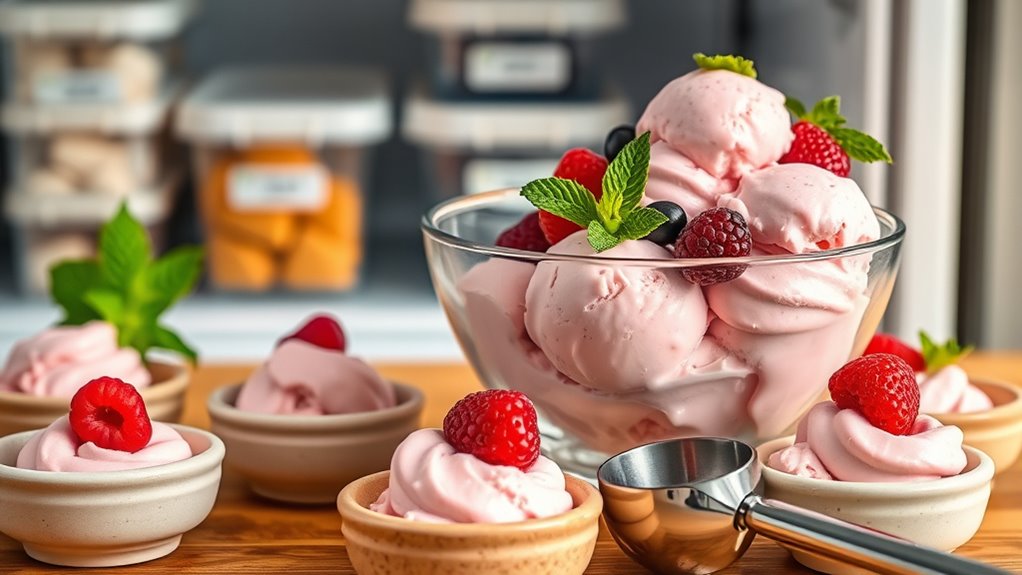
Adding mix-ins and toppings is a great way to personalize your vegan ice cream and elevate its flavor and texture. Consider fruit pairings like fresh berries, chopped mango, or sliced bananas to add natural sweetness and vibrant color. Nuts, chocolate chips, or shredded coconut also work well for crunch and richness. When it comes to presentation styles, think about layering different ingredients or creating swirls of fruit compote for visual appeal. You can serve your ice cream in bowls with colorful toppings, or use waffle cones lined with crushed nuts for added texture. Experimenting with various combinations not only enhances taste but also makes your dessert visually inviting, ensuring every scoop is both delicious and Instagram-worthy.
Serving and Storing Your Homemade Vegan Ice Cream
To enjoy your homemade vegan ice cream at its best, it’s essential to serve it properly and store it correctly. For serving suggestions, consider using warm bowls or cones to enhance texture and presentation. Before serving, let the ice cream sit at room temperature for a few minutes for easier scooping. When it comes to storage tips, always keep your ice cream in an airtight container to prevent ice crystals and freezer burn. Here are some quick tips:
- Use shallow containers for faster freezing and easier scooping.
- Cover the surface with plastic wrap before sealing to minimize ice crystals.
- Label containers with the date to track freshness.
Following these tips ensures your vegan ice cream stays delicious and fresh for longer.
Frequently Asked Questions
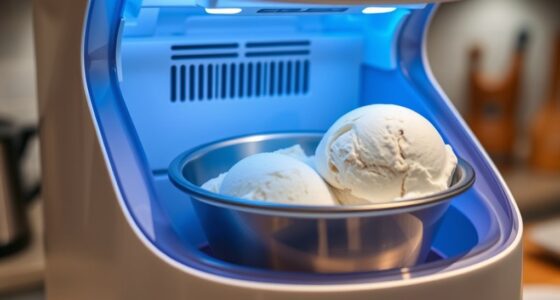
Can I Make Vegan Ice Cream Without an Ice Cream Maker?
You can definitely make vegan ice cream without an ice cream maker using simple diy ice cream tricks. Instead of traditional methods, blend your favorite vegan ingredients like coconut milk or cashews, then freeze the mixture. Every 30 minutes, stir to prevent ice crystals, creating creamy vegan ice cream alternatives. This easy process lets you enjoy homemade vegan ice cream without special equipment, and everyone loves the rich, dairy-free treat!
How Long Does Homemade Vegan Ice Cream Last in the Freezer?
You might wonder about the storage duration of your homemade vegan ice cream in the freezer. Generally, it has a freezer lifespan of about 1 to 2 months for the best taste and texture. After that, it can become ice crystals or freezer burn, which affects quality. To keep it fresh longer, store it in an airtight container and label it with the date.
Are There Gluten-Free Options for Vegan Ice Cream Ingredients?
Did you know that over 50% of people seek gluten-free options? You can easily find gluten-free vegan ice cream ingredients, like coconut milk or almond milk, which serve as a perfect base. Top it with gluten-free toppings and sweeten it with vegan-friendly sweeteners like agave or maple syrup. These choices let you enjoy delicious, allergy-friendly ice cream without sacrificing flavor or texture.
Can I Use Fresh Fruit Instead of Flavor Extracts?
You can definitely use fresh fruit instead of flavor extracts for natural flavoring. Fruit substitution adds authentic taste and vibrant color to your vegan ice cream. Simply blend your chosen fresh fruit until smooth, then mix it into your base. This not only enhances flavor naturally but also reduces the need for artificial additives. Experiment with berries, mango, or peaches to create delicious, fresh-tasting ice cream everyone will enjoy!
Is It Necessary to Churn Vegan Ice Cream Repeatedly During Freezing?
You don’t need to churn vegan ice cream repeatedly during freezing, but it helps with freezing techniques and texture improvement. Regular stirring prevents large ice crystals from forming, keeping the ice cream smooth and creamy. If you skip churning, you’ll need to stir every 30-60 minutes during the first few hours. This process guarantees a better texture, so your homemade vegan ice cream stays delicious and scoopable.
Conclusion
Now that you’ve mastered making vegan ice cream at home, you’re basically a dessert wizard capable of creating the most mind-blowingly delicious treats ever, right in your own kitchen! Say goodbye to boring store-bought flavors and hello to endless custom creations that will wow everyone — even non-vegans! With these simple steps, you’re about to become the hero of dessert time, turning ordinary days into extraordinary, ice-cold flavor explosions.

Giovanni is our Chief Tasting Evangelist and the charismatic face of Mad Tasting. He inspires a sense of culinary wonder in all who encounter our brand. With boundless enthusiasm for the art of tasting and a gift for captivating audiences, Giovanni leads our immersive tasting experiences and workshops. He empowers food enthusiasts to discover the true depth and complexity of the flavors we celebrate. Whether he’s guiding a private group through a blind tasting or hosting a masterclass on the art of pairing, Giovanni’s infectious passion for the culinary world is the driving force behind our mission to share the extraordinary.