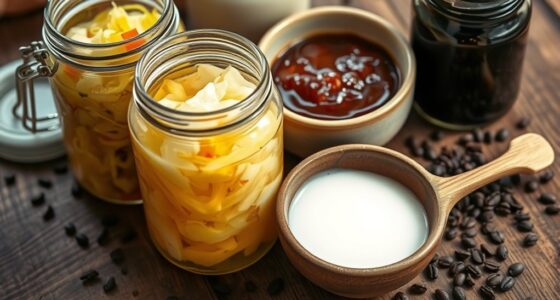
Jello shots are a classic party staple, blending the fun of gelatin and the punch of alcohol. Their origins trace back to the late 19th century, with the concept of infusing jello with liquor emerging in the 20th century. Today, jello shots remain a beloved treat, offering endless flavor combinations and customization options. To create the best jello shots, precisely measure the gelatin and alcohol, pour the mixture into molds, and refrigerate until fully set. Serve chilled for optimal firmness and texture. With a little creativity, you can craft unique and delicious jello shot creations that will impress your guests. There's more to explore when it comes to mastering the art of jello shots.
Key Takeaways
- Jello shots combine gelatin, alcohol, and optional fruit juice to create a versatile and customizable party treat.
- Precise measurement of ingredients and proper chilling time are crucial for achieving the desired texture and potency.
- Experiment with various liquor types, juice combinations, and seasonal flavors to create unique and flavorful jello shots.
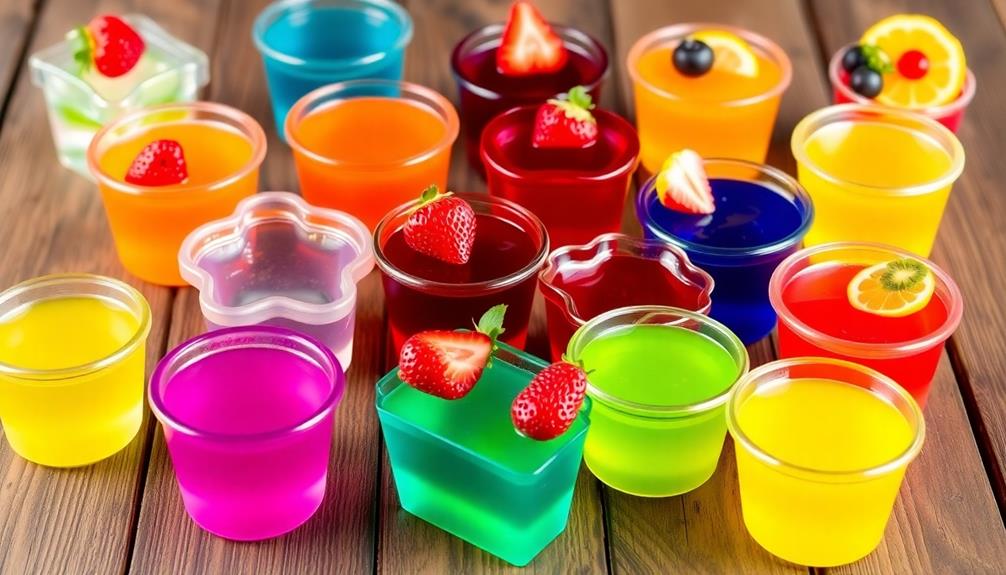
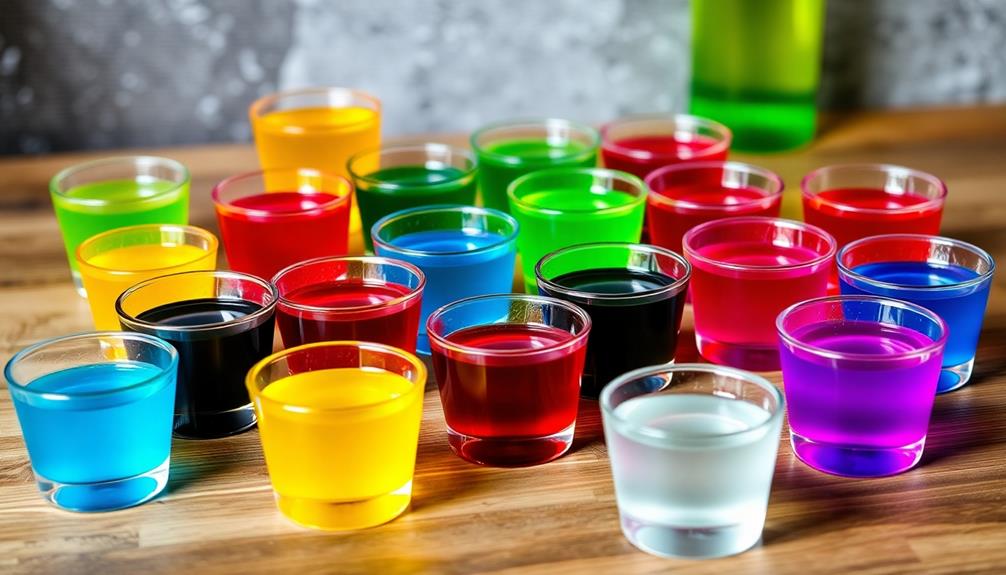
- Utilize fun molds or shot glasses for serving and consider layering different colors for a striking visual effect.
- Jello shots offer a creative and enjoyable way to elevate party experiences, encouraging guests to try new flavor combinations.
History
The origins of jello shots can be traced back to the late 19th century, when jello-based desserts became increasingly popular in the United States.
These early jello-based treats were often served at social gatherings and parties, where hosts would experiment with various flavors and ingredients to create unique and delectable offerings.
As the 20th century progressed, the concept of "jello shots" emerged, where jello was infused with alcohol to create a playful and indulgent party treat.
This trend gained significant momentum during the 1970s and 1980s, as jello shots became a staple at college dorms, fraternity parties, and other social events.
The versatility of jello shots allowed for endless flavor combinations, from classic fruity varieties to more adventurous options like margarita or Irish cream.
Today, jello shots continue to be a beloved party favorite, combining the fun and whimsy of jello with the social aspect of sharing a boozy treat with friends.
Recipe

Jello shots are a fun and versatile treat that can be enjoyed at parties, gatherings, or as a special indulgence. They're easy to make and can be customized to suit a variety of tastes and occasions.
Whether you're looking for a classic vodka-infused option or something more creative, this recipe is sure to deliver.
Preparing jello shots involves combining gelatin, liquor, and other ingredients to create a firm, flavorful shot that's perfect for sharing. The process is straightforward, but there are a few tips and techniques to keep in mind to ensure your jello shots turn out perfectly every time.
Ingredients:
- 3 (3-ounce) packages of unflavored gelatin
- 1 cup of cold water
- 1 cup of vodka (or other liquor of your choice)
- 1 cup of fruit juice or soda (optional)
- Food coloring (optional)
Instructions:
In a medium saucepan, sprinkle the gelatin over the cold water and let it stand for 2-3 minutes to bloom. Next, gently heat the mixture over low heat, stirring until the gelatin fully dissolves. Set it aside to cool slightly while you prepare the rest of your ingredients. For an added twist in your cooking routine, this gelatin mixture can be used to thicken a delicious tomato sauce recipe, giving it an extra smooth texture. Once the gelatin mixture has cooled slightly, simply stir it into your easy homemade tomato sauce recipe, ensuring it’s evenly incorporated. This technique not only enhances the sauce’s consistency but also elevates its velvety smoothness, making it perfect for pasta, pizza, or any Italian-inspired dish. Experimenting with this method can add a professional touch to your everyday cooking.
Heat the mixture over medium heat, stirring constantly, until the gelatin is completely dissolved.
Remove the pan from the heat and stir in the vodka and any additional fruit juice or soda.
If desired, add a few drops of food coloring to achieve your desired color.
Pour the mixture into shot glasses or a baking dish and refrigerate for at least 4 hours, or until the jello is set.
When it comes to jello shots, the possibilities are endless. You can experiment with different liquors, fruit juices, and flavors to create unique and delicious combinations.
Keep in mind that the alcohol content will affect the firmness of the jello, so you may need to adjust the amount of gelatin accordingly.
Enjoy your homemade jello shots and have fun with the process!
Cooking Steps
First, you'll need to measure the Jello and alcohol amounts precisely – too much or too little can affect the texture and potency.
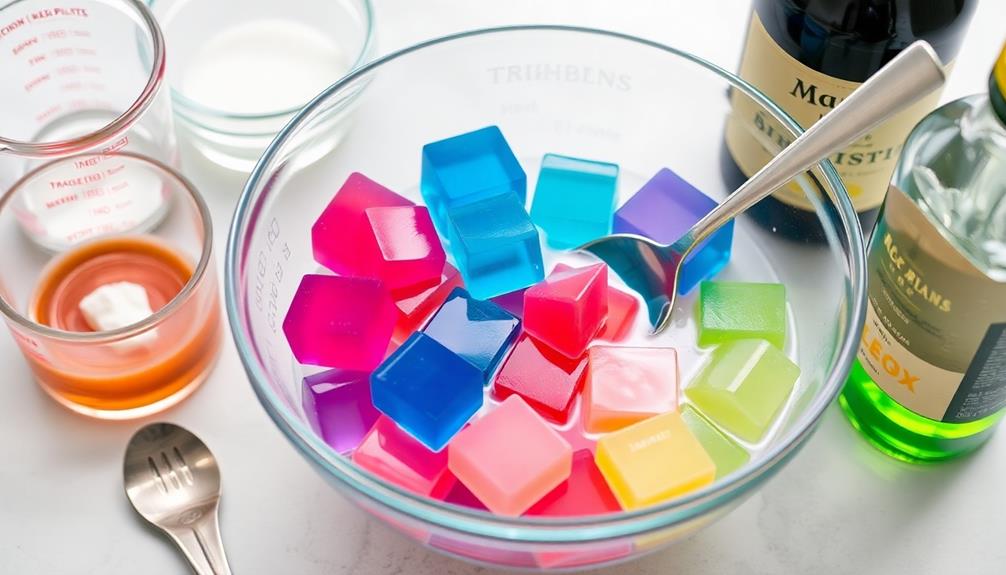
Next, carefully pour the Jello mixture into your desired molds, making sure to leave a bit of room at the top for expansion.
Step 1. Measure Jello and Alcohol Amounts
To begin, measure out the required Jello and alcohol amounts. The perfect Jello shot requires a precise balance of the two key ingredients. Generally, you'll want to use one 3-ounce package of Jello and 1 cup of your preferred alcohol, such as vodka, tequila, or rum. This ratio ensures the Jello sets properly while providing a satisfying boozy kick.
First, prepare the Jello according to the package instructions, substituting the water with the 1 cup of alcohol. Bring the mixture to a boil, then remove from heat and pour into a baking dish or shot glasses. For a standard 8×8 inch pan, this will yield around 16 Jello shots. Alternatively, you can fill individual 2-ounce shot glasses, which will result in approximately 24 servings.
Refrigerate the Jello mixture for at least 4 hours, or until fully set. This patience is key – rushing the process can lead to sloppy, messy Jello shots.
Once chilled, the Jello should have a firm, gelatinous consistency, ready to be devoured by your eager guests.
Step 2. Pour Jello Mixture Into Molds
With the Jello mixture prepared, pour it into your desired molds.
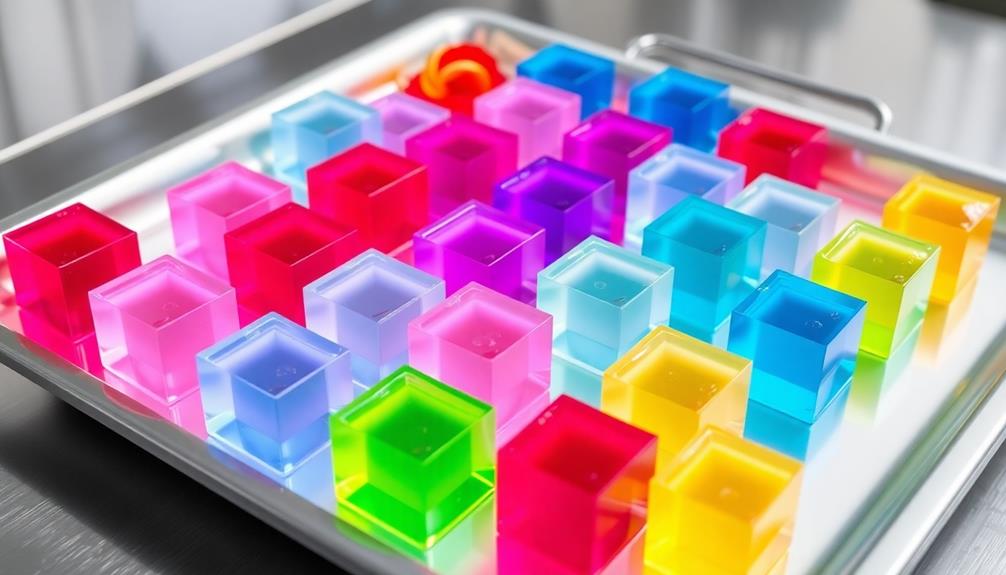
Whether you're using small plastic cups, silicone molds, or an ice cube tray, make sure to fill each cavity about 3/4 full, leaving room for the Jello to expand as it sets.
For a fun and festive presentation, consider using a variety of mold shapes and sizes.
Mini shot glasses, plastic pipettes, or even a large baking dish can all work well.
Just be mindful of the liquid volume when portioning out the Jello mixture.
Once poured, refrigerate the filled molds for at least 4 hours, or until the Jello is completely set.
This ensures your Jello shots will hold their shape when removed from the molds.
When ready to serve, simply pop the Jello shots out of the molds.
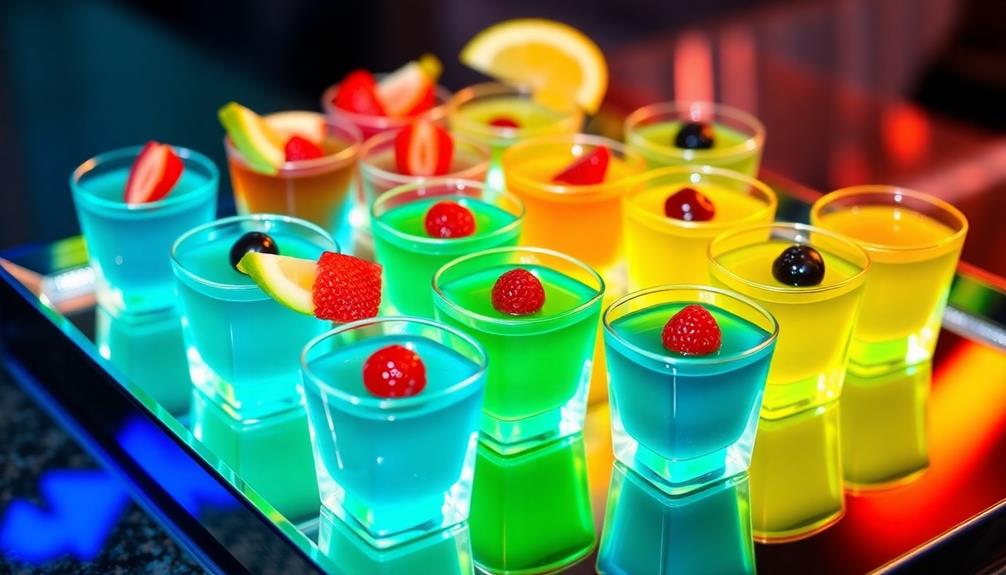
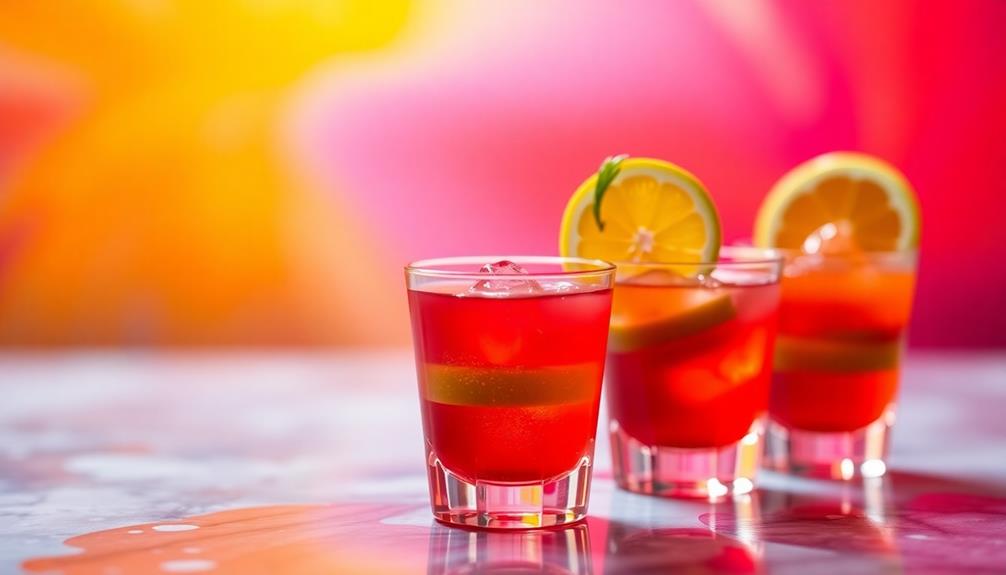
Garnish with a fruit slice, mint sprig, or edible flower for an extra touch of elegance.
Enjoy your perfectly portioned, visually appealing Jello shots!
Step 3. Refrigerate Until Completely Set

After pouring the Jello mixture into the molds, refrigerate them for at least 4 hours, or until the Jello is completely set. This waiting period is crucial, as it allows the gelatin to fully solidify and take shape. Depending on the size of your molds, it may take up to 6 hours for the Jello shots to reach the perfect consistency.
To ensure the Jello sets properly:
- Place the filled molds on a flat surface in your refrigerator, making sure they're level.
- Avoid opening the refrigerator door too often, as this can disrupt the cooling process and prevent the Jello from setting completely.
- Check the Jello occasionally, but resist the temptation to remove them from the fridge until they've had enough time to solidify.
Once the Jello shots are firm to the touch, they're ready to be removed from the molds and served.
Patience is key when making delicious Jello shots. By following these guidelines, you'll be rewarded with perfectly chilled, wobble-free Jello treats that are sure to impress your guests.
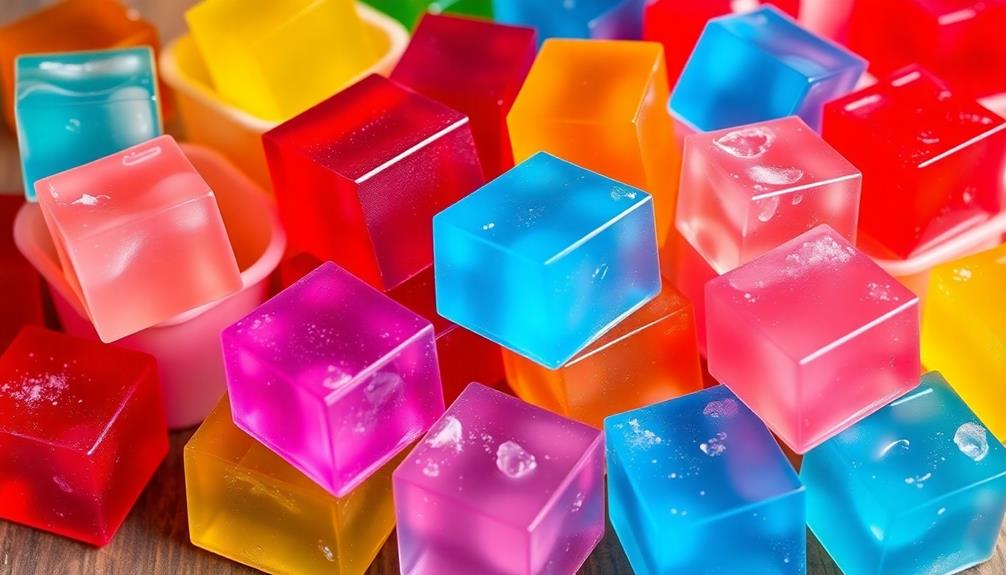
Step 4. Unmold Jello Shots Carefully
Once the Jello shots have fully set, it's time to carefully remove them from the molds. This step requires gentle precision to ensure the Jello shots retain their perfect shape.
Begin by running a thin knife or offset spatula around the edges of the mold to loosen the Jello. Gently tug on the Jello to release it from the sides, then flip the mold over onto your hand or a serving plate. If the Jello doesn't release easily, you may need to let it sit at room temperature for a few minutes to help it unmold.
Once the Jello shots are out of the molds, you can arrange them on a platter or plate. Be sure to handle them with care, as the Jello is delicate and can tear or become misshapen if you're not gentle.
If any of the Jello shots don't unmold perfectly, you can simply scoop them out with a spoon and arrange them on the serving plate. With a little patience and TLC, you'll have a beautiful, professional-looking display of your homemade Jello shots.
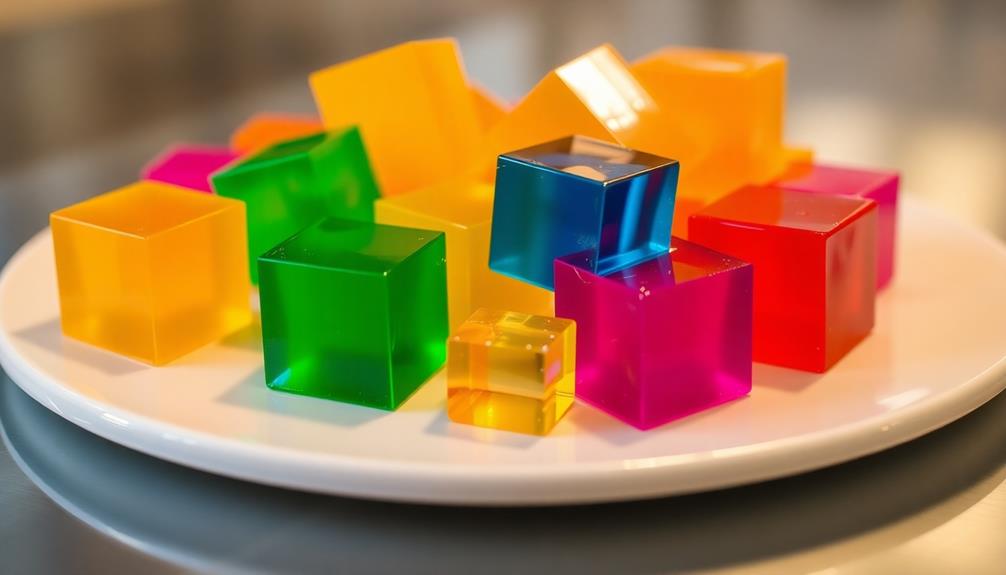
Step 5. Serve Chilled Jello Shots
Chill the Jello shots in the refrigerator for at least 2 hours before serving. This allows the gelatin to fully set and the shots to firm up to their perfect, jiggly consistency.
Once chilled, the Jello shots are ready to be served.
To serve, you'll want to use small cups or shot glasses. This ensures the Jello shots are bite-sized and easy for guests to pick up and enjoy.
You can also garnish the chilled Jello shots in creative ways, such as:
- Topping them with a fresh berry or a small slice of citrus fruit
- Dusting them with a bit of powdered sugar or edible glitter
- Drizzling them with a flavored syrup, like strawberry or coconut
The key is to keep the Jello shots chilled right up until serving time. This helps them maintain their shape and texture.
Enjoy your delicious, boozy Jello creations!
Final Thoughts
Making homemade jello shots is a fun way to liven up any party or gathering. When it comes to final thoughts, the key is to remember that the possibilities are endless when it comes to jello shot flavors and garnishes.
Get creative and experiment with different liquor and juice combinations to find your signature recipe. Don't be afraid to step outside the box – fruit-infused vodkas, spiced rums, and even craft beers can all make for delicious and unique jello shots.
Once you've perfected your recipe, be sure to plan ahead and make your jello shots well in advance. This will allow them to properly set and chill before serving.
And don't forget the fun presentation – use fun molds, shot glasses, or even fruits as vessels for your colorful creations. With a little bit of effort, you can wow your guests with the best jello shots they've ever tasted. Cheers!
Frequently Asked Questions
Can I Make Jello Shots Without Alcohol?
Absolutely! You can make delightful jello shots without alcohol. Simply substitute the liquor with fruit juices, sparkling water, or even non-alcoholic mixers. This allows you to enjoy the fun and flavor of jello shots while keeping them alcohol-free.
How Long Do Homemade Jello Shots Last?
Homemade jello shots typically last 3-5 days when stored properly in the refrigerator. The alcohol content helps preserve them, but you'll want to consume them within a week for best quality and flavor.
What Alcohol Pairs Best With Jello Shots?
When making jello shots, you'll want to choose an alcohol that complements the flavor of the jello. Vodka, rum, and tequila are all popular choices, as they blend well with the sweetness of the gelatin.
Can I Refrigerate Jello Shots Overnight?
You can certainly refrigerate jello shots overnight. This will help them set and firm up before serving. Just be sure to cover them to prevent any drying out or absorbing other flavors from the refrigerator.
How Many Jello Shots Should I Make per Person?
You should make around 2-3 jello shots per person for your party. This will ensure there are enough to go around without being too overwhelming. Consider factors like how long the party is and the drinking preferences of your guests.