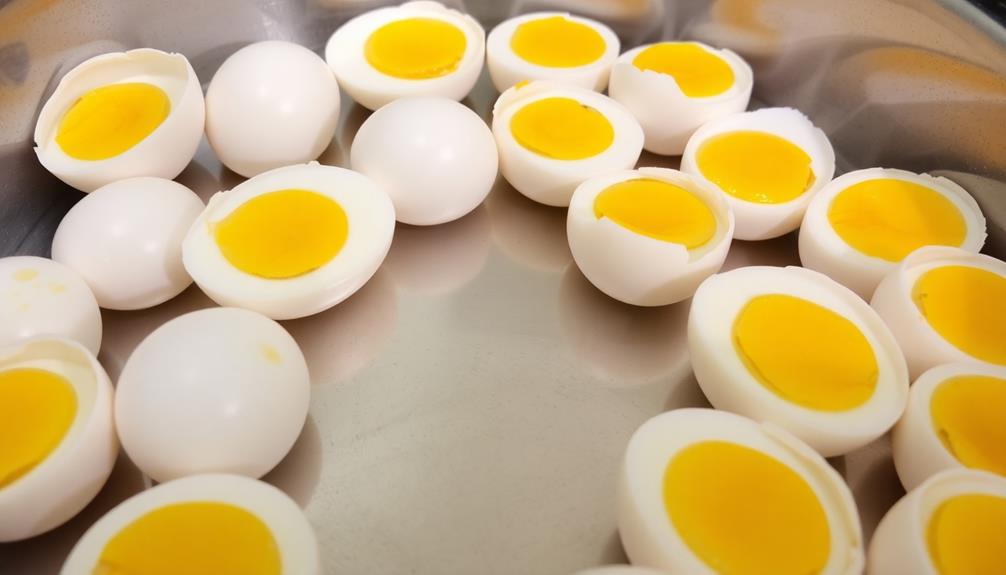
To make perfectly hard-boiled eggs, start by using fresh eggs at room temperature. Gently lower them into a pot of cold water, then bring it to a rolling boil. After 9-12 minutes of gentle simmering, transfer the eggs to an ice bath to stop the cooking. Crack the shells and peel under running water for easy removal. Slice or mash the eggs to enjoy in salads, sandwiches, or classic deviled eggs. Hard-boiled eggs offer protein, vitamins, and healthy fats, making them a versatile and nutritious ingredient. For more tips on achieving the perfect hard-boiled egg, keep reading.
Key Takeaways
- Start with fresh, room-temperature eggs for the best results and easier peeling.
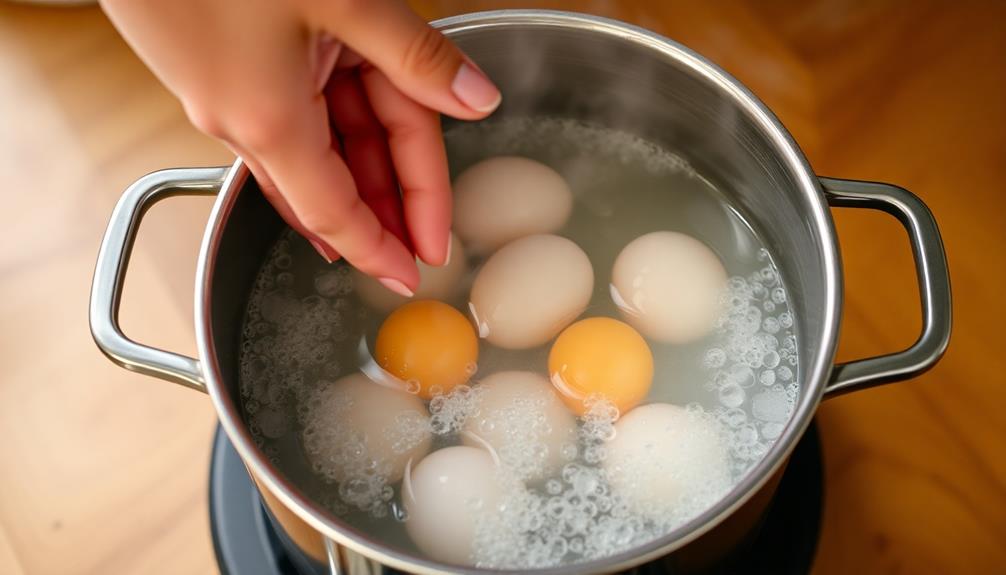
- Bring the water to a rolling boil before gently lowering the eggs into the pot.
- Cook the eggs for 9-12 minutes, adjusting the time based on desired doneness.
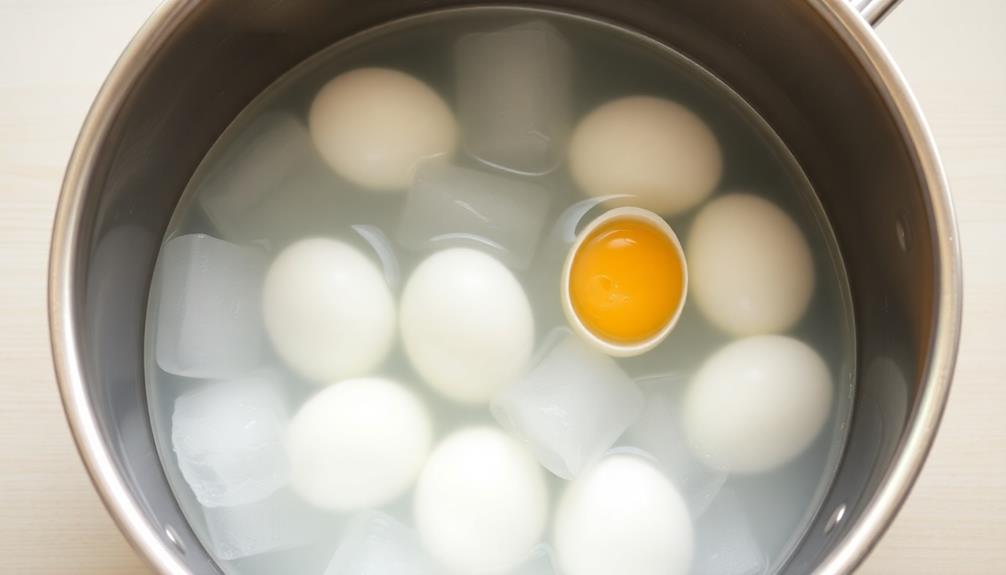
- Transfer the cooked eggs to an ice bath for at least 5 minutes to stop the cooking.
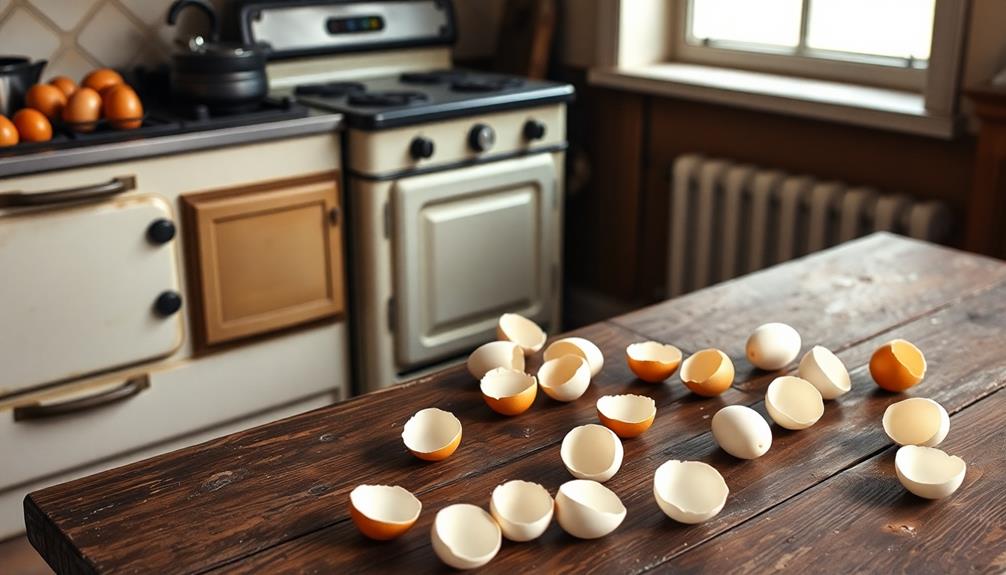
- Crack the shells gently and peel under running water for effortless removal.

The Negg Boiled Egg Peeler White
Add 1/4 cup (Negg capful) of water to the Negg. Add your hard-boiled egg and snap on the…
As an affiliate, we earn on qualifying purchases.
As an affiliate, we earn on qualifying purchases.
History
The origins of hard-boiled eggs can be traced back to ancient civilizations, where they were prized as a convenient and nutritious food. In Egypt, boiled eggs were a common breakfast item, while ancient Greeks and Romans enjoyed them as a snack or side dish. The process of hard-boiling eggs evolved over time, with various techniques and methods developed to ensure consistent results.
During the Middle Ages, hard-boiled eggs became a popular Easter tradition, with elaborately decorated "Easter eggs" serving as symbols of rebirth and renewal. As the centuries passed, the art of hard-boiling eggs spread to other parts of the world, becoming a staple in many cuisines.
Today, hard-boiled eggs remain a beloved and versatile food, enjoyed for their simplicity, nutritional value, and ability to be easily incorporated into a variety of dishes. From classic egg salad to deviled eggs, the humble hard-boiled egg continues to hold a special place in culinary history and on our plates.

Lasubst Egg Timer for Boiling Eggs that Changes Color When Done, Tricolor
Say goodbye to the worst time making hard/soft boiled eggs! Our creative egg timer for boiling eggs calculates…
As an affiliate, we earn on qualifying purchases.
As an affiliate, we earn on qualifying purchases.
Recipe

Cooking hard-boiled eggs is a simple and straightforward process, but achieving the perfect result can take some practice. The key is to pay attention to the timing and temperature to ensure the eggs are cooked through without becoming overcooked or rubbery.
One of the most important factors in making hard-boiled eggs is the freshness of the eggs. Ideally, you want to use eggs that are a week or two old, as they'll be easier to peel. Fresher eggs can be more difficult to peel, as the membranes tend to stick to the shell.
Ingredients:
- Large eggs
- Water
Cooking Instructions:
Place the eggs in a single layer in a saucepan and cover with cold water by about an inch. Bring the water to a boil over high heat. Once the water reaches a rolling boil, remove the pan from the heat, cover, and let the eggs sit for 12 minutes. After 12 minutes, transfer the eggs to a bowl of ice water to cool for easier peeling. Gently tap each egg on a hard surface and roll it under your palm to remove the shell. Whether making deviled eggs, egg salad, or even thinking ahead to an eggnog recipe for holiday celebrations, perfectly boiled eggs can be a versatile addition to your kitchen repertoire.
Extra Tips:
After the 12-minute cooking time, immediately transfer the eggs to an ice bath to stop the cooking process. This will help to prevent the yolks from turning green and will make the eggs easier to peel.
When peeling the eggs, start at the wider end and gently tap the shell to crack it, then peel the shell away from the egg. Enjoy your perfectly cooked hard-boiled eggs!

Face Bowl for Ice with Built-in Ice Tray – Collapsible Silicone Facial Ice Bath Bowl for Cold Plunge Therapy, Skin Tightening & Acne Relief – Portable Spa Tool for Home & Travel(Black)
Why Choose Our Cold Therapy – face ice bath bowl delivers full-face cooling to shrink pores, enhance facial…
As an affiliate, we earn on qualifying purchases.
As an affiliate, we earn on qualifying purchases.
Cooking Steps
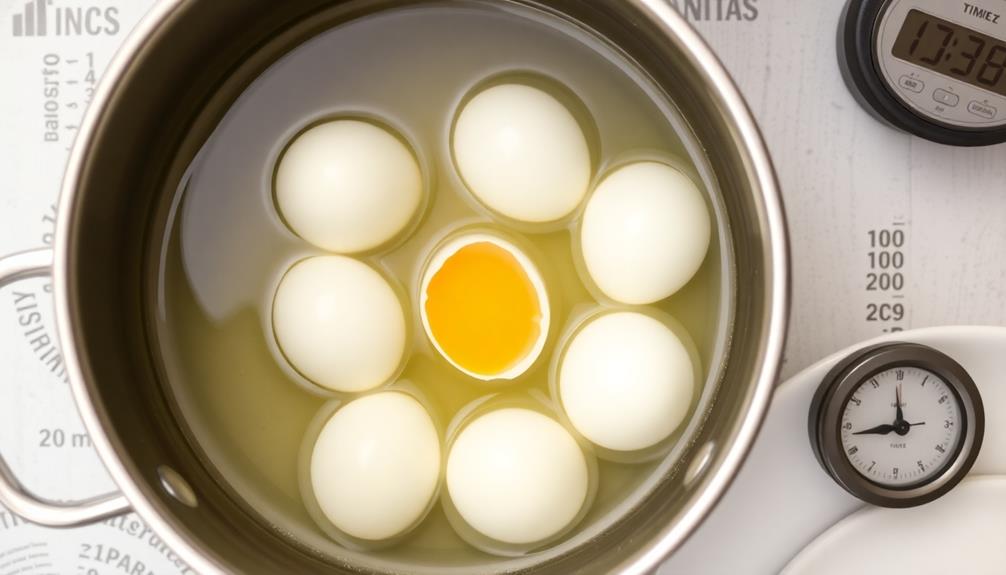
To perfectly hard-boil your eggs, start by placing them in a single layer in a saucepan.
Cover the eggs completely with water.
Bring the water to a rolling boil, then remove the pan from the heat and let the eggs stand, covered, for the desired doneness.
Step 1. Place Eggs in Single Layer
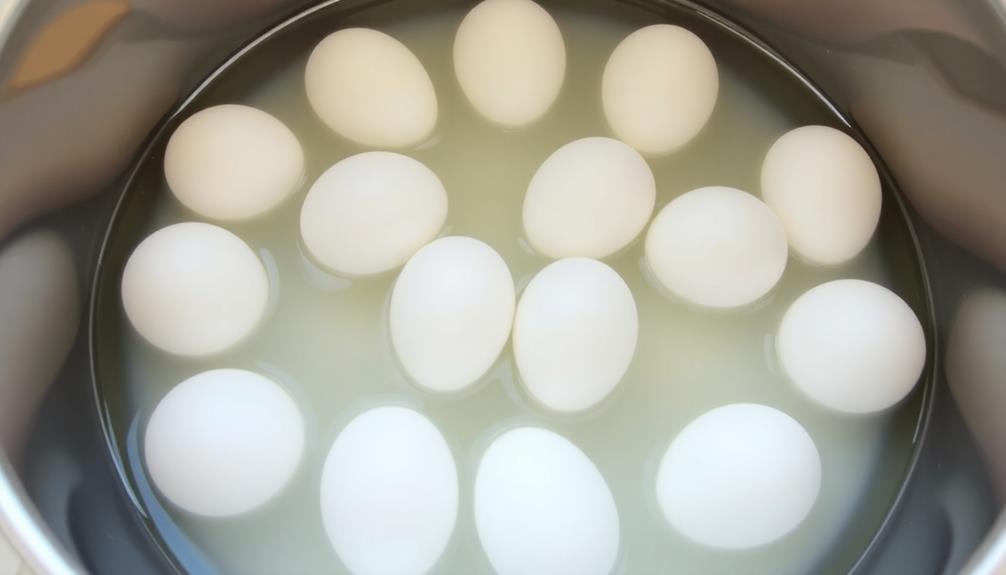
Proper placement of the eggs is crucial to ensuring they cook evenly. Arrange the eggs in a single layer in a saucepan or pot. This allows the heat to circulate around each egg, resulting in a consistent cooking process.
Avoid stacking the eggs or cramming them too tightly together, as this can lead to uneven cooking or even some eggs not cooking properly.
Once the eggs are in the pan, add enough cold water to cover them by about an inch. This helps the eggs cook evenly and prevents the shells from cracking.
Be sure to use a pan that's just large enough to accommodate the eggs in a single layer. If the pan is too large, the eggs may float and cook unevenly.
Step 2. Cover With Water
Once the eggs are arranged in a single layer, add enough cold water to the pan to cover them by about an inch. This step is crucial, as the water serves to create an even cooking environment for the eggs. The water should be cold, as this helps the eggs cook more gently and prevents the whites from becoming rubbery.
Ensure that the water level is sufficient to submerge the eggs completely. This will allow the heat to penetrate the shells evenly, resulting in perfectly cooked hard-boiled eggs. If the eggs aren't fully covered, the tops may cook faster than the bottoms, leading to uneven doneness.
Once the water is added, place the pan over high heat and bring the contents to a rolling boil. This initial blast of heat kickstarts the cooking process and helps to set the egg whites.
After the water reaches a boil, reduce the heat to maintain a gentle simmer for the remainder of the cooking time.
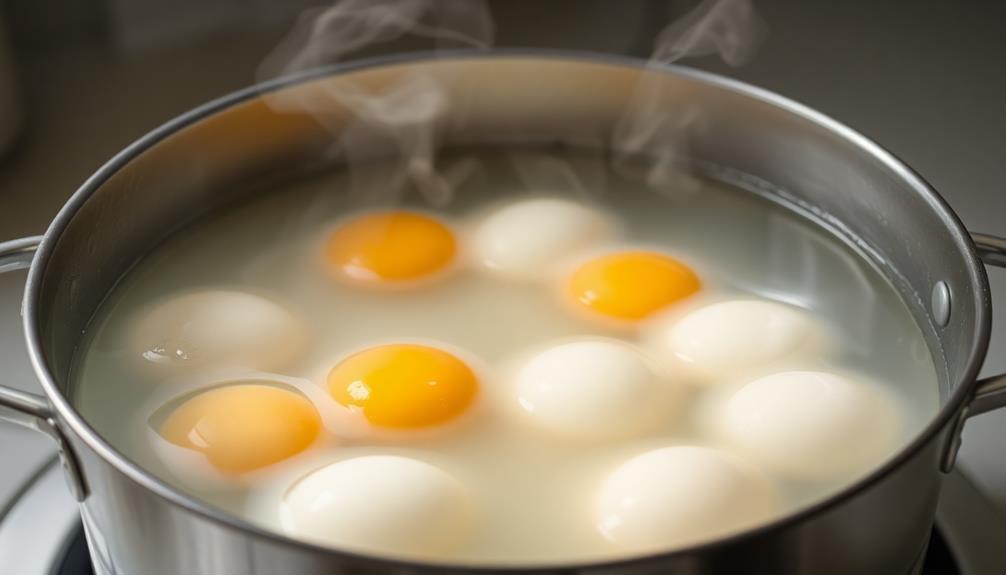
Step 3. Bring to a Rolling Boil
With the eggs submerged in cold water, place the pan over high heat. It's time to bring the water to a rolling boil. This is a crucial step in ensuring your hard-boiled eggs turn out perfectly every time.
As the water heats up, you'll notice small bubbles begin to form at the bottom of the pan. These will gradually grow in size and rise to the surface, creating a vigorous, rolling boil. This is exactly what you want to see.
The rapid, turbulent boiling action helps the eggs cook evenly and prevents that unsightly gray ring from forming around the yolks.
Once the water is at a full, rolling boil, let it continue for one minute. This brief cooking time helps the eggs separate cleanly from their shells when peeled later on.
After 60 seconds, remove the pan from the heat and proceed to the next step.
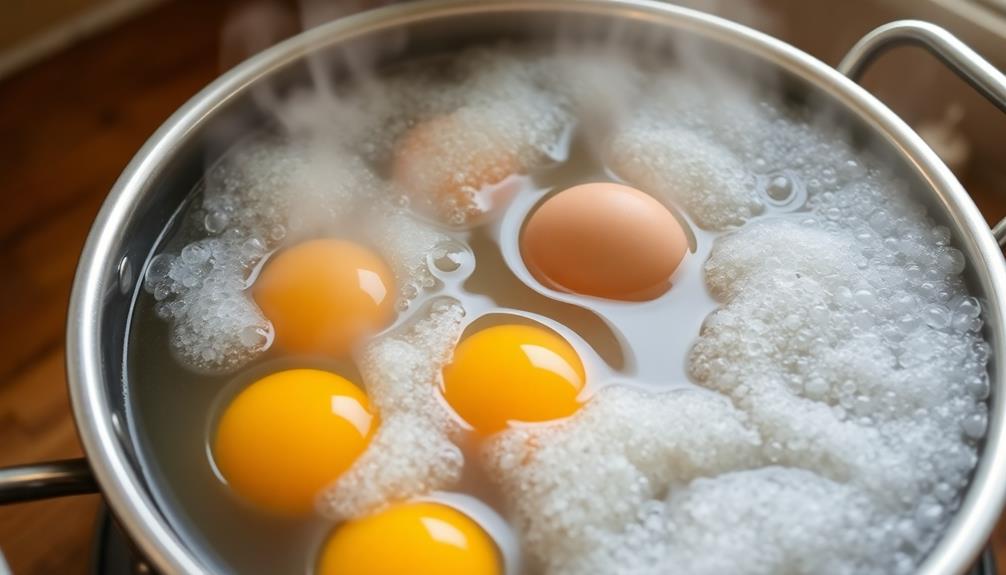
Step 4. Remove From Heat
After the water reaches a rolling boil, remove the pan from the heat. This step is crucial to prevent the eggs from overcooking and becoming rubbery or chalky.
Once the pan is off the heat, cover it with a lid and let the eggs sit for 12 minutes. This "carryover cooking" allows the eggs to finish cooking through the residual heat in the water, resulting in a perfectly cooked hard-boiled egg.
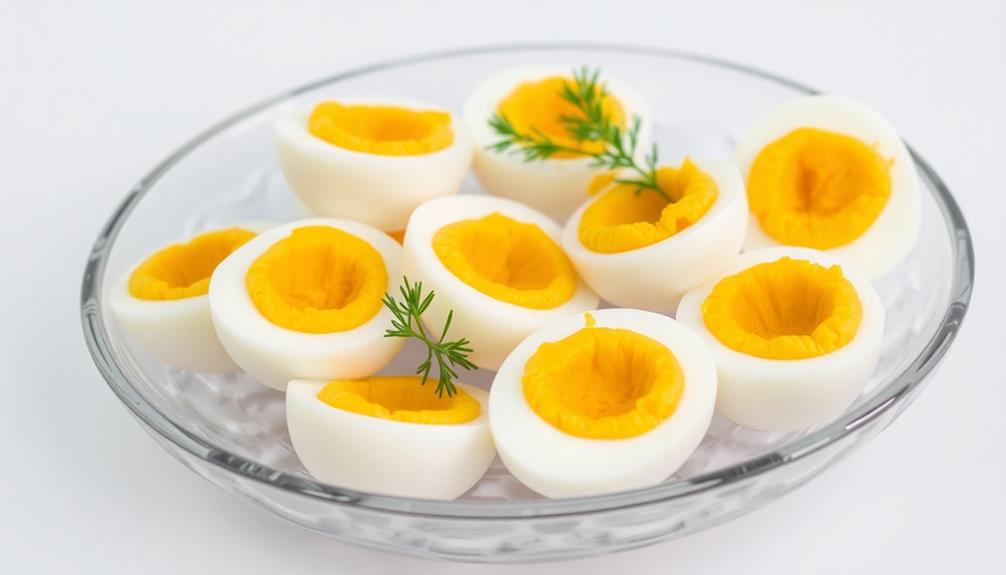
During the 12-minute rest period, the egg whites will set, and the yolks will become firm and creamy. This method helps ensure even cooking throughout the eggs, avoiding the dreaded green-tinged yolks or raw centers.
After the 12 minutes, promptly drain the hot water and cover the eggs with cold water. This quick cooling step helps the shells peel off easily, providing you with smooth, professional-looking hard-boiled eggs every time.
Step 5. Let the Eggs Stand Covered
After removing the pan from the heat, cover it with a lid and let the eggs sit for 12 minutes. This resting period is crucial for achieving perfectly cooked hard-boiled eggs. The residual heat inside the covered pan will continue to gently cook the eggs, ensuring the yolks are set to the desired firmness.
During this 12-minute waiting time, the eggs will go through a process called carryover cooking. The intense heat from the initial boiling has already denatured the egg proteins, but the sustained warmth allows the yolks to reach the perfect consistency.
Letting the eggs stand covered also helps the shells release more easily when peeling.
When the 12 minutes are up, you can uncover the pan and transfer the eggs to an ice bath. This rapid cooling will stop the cooking process and make the shells peel off cleanly.
With this straightforward method, you'll have a batch of hard-boiled eggs that are cooked evenly throughout, with vibrant yolks and tender, easy-to-peel whites.
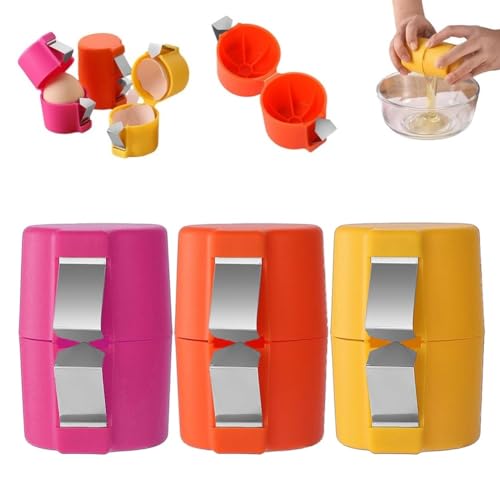
3PCS Egg Shell Opener Egg Cracker Tool for Raw Eggs Egg Topper Cutter Hard Boiled Egg Peeler Cube Egg Separator Stainless Steel Eggshell Breaker Multifunctional Raw Eggs Cracking Tool Kitchen Gadgets
Easy Egg Shell Opener: Crack the eggshell easily in seconds without damaging the contents inside. Simply place the…
As an affiliate, we earn on qualifying purchases.
As an affiliate, we earn on qualifying purchases.
Final Thoughts
Ultimately, hard-boiling eggs perfectly is a straightforward process that just takes a bit of practice. Once you've mastered the techniques outlined here, you'll be whipping up beautiful, evenly-cooked hard-boiled eggs with ease.
The key is paying close attention to the details – from gently lowering the eggs into the water to letting them sit for the right amount of time. With a little patience and a watchful eye, you'll consistently achieve that perfect balance of a fully-set yolk and tender, creamy whites.
Don't be discouraged if you don't nail it on the first try. Experiment with the timing and techniques to find what works best for your preferences and kitchen setup.
The great thing about hard-boiled eggs is that even if they don't turn out picture-perfect, they'll still be perfectly delicious. So keep practicing, have fun, and enjoy the fruits of your labor – whether that's a simple snack or the perfect addition to your favorite dishes. And remember, mastering the art of hard-boiling eggs doesn’t happen overnight. With a little patience and the right technique, you’ll soon be whipping up perfect hardboiled eggs every time. Whether you prefer them soft or fully cooked, you’ll always have a reliable, versatile ingredient on hand for any meal.
Frequently Asked Questions
How Long Do Hard-Boiled Eggs Last in the Refrigerator?
Hard-boiled eggs can last in the refrigerator for up to one week. Store them in their shells in an airtight container to maintain freshness. Discard any eggs that have a cracked shell or unusual odor.
Can I Use Older Eggs for Hard-Boiling?
You can use older eggs for hard-boiling, but they'll be harder to peel. Fresher eggs work best for easy-to-peel hard-boiled eggs. However, older eggs are still safe to eat and can be used for hard-boiling if needed.
Do I Need to Peel the Eggs Immediately?
You don't need to peel the eggs immediately after boiling. In fact, it's best to let the eggs cool completely before peeling. This helps the shells slip off more easily, resulting in a smoother, less-damaged egg.
How Can I Prevent the Eggs From Cracking?
To prevent eggs from cracking, you can try gently lowering them into the boiling water and ensuring they don't bump against each other or the sides of the pot. Use a slotted spoon for gentle handling.
What's the Best Way to Store Hard-Boiled Eggs?
To store hard-boiled eggs, keep them in the refrigerator in their shells for up to one week. Peel them right before using for best quality and texture. Avoid leaving peeled eggs at room temperature for too long.